
Reduced apple cider gives these cupcakes a deeper, more concentrated apple flavor than you get from pouring cider straight into the batter. The crumb stays soft and fine, with just enough cinnamon to warm it up, and the salted caramel frosting turns each cupcake into something that tastes bakery-made without being fussy. They’re the kind of cupcakes people reach for first because they look polished and eat even better than they look.
The key is to cook the cider down to half a cup before it ever touches the batter. That step pulls out the watery edge and leaves behind the tart, appley flavor that holds up after baking. Sour cream keeps the cupcakes tender, while brown sugar adds a little molasses depth that plays well with the caramel on top. The frosting works best when the caramel has cooled to room temperature; if it’s warm, it softens the butter too much and the whole thing goes slack.
Below, you’ll find the small details that keep the cupcakes fluffy instead of dense, plus the one frosting tip that keeps the caramel from turning greasy. If you’ve ever had apple cupcakes that tasted flat, this version fixes that.
The cider flavor came through so clearly after reducing it, and the frosting set up fluffy instead of runny. I loved the little hit of flaky salt on top — it kept the caramel from tasting too sweet.
These apple cider cupcakes with salted caramel frosting are the kind you’ll want to pin for birthdays, bake sales, and any time you need a soft cupcake with a glossy caramel finish.
The Reason Most Apple Cider Cupcakes Taste Flat
Most apple cupcakes rely on cider straight from the bottle, which sounds right but usually bakes out into something muted. The problem is water. Apple cider has plenty of flavor on the stove, but once it goes into the batter and hits the heat of the oven, that flavor gets diluted unless you reduce it first. Cutting the cider down to half a cup concentrates the apple enough that you can taste it after baking instead of just sensing a vague sweetness.
The other place these cupcakes go wrong is texture. Too much liquid, overmixed batter, or frosting that’s too warm all push the result in the wrong direction. Sour cream gives you a tender crumb without making the batter heavy, and the butter-brown sugar base keeps the cake soft but structured. For the frosting, the caramel has to be cool before it goes into the butter. Warm caramel melts the butter and makes the frosting oily instead of fluffy.
What Each Ingredient Is Doing in This Dish
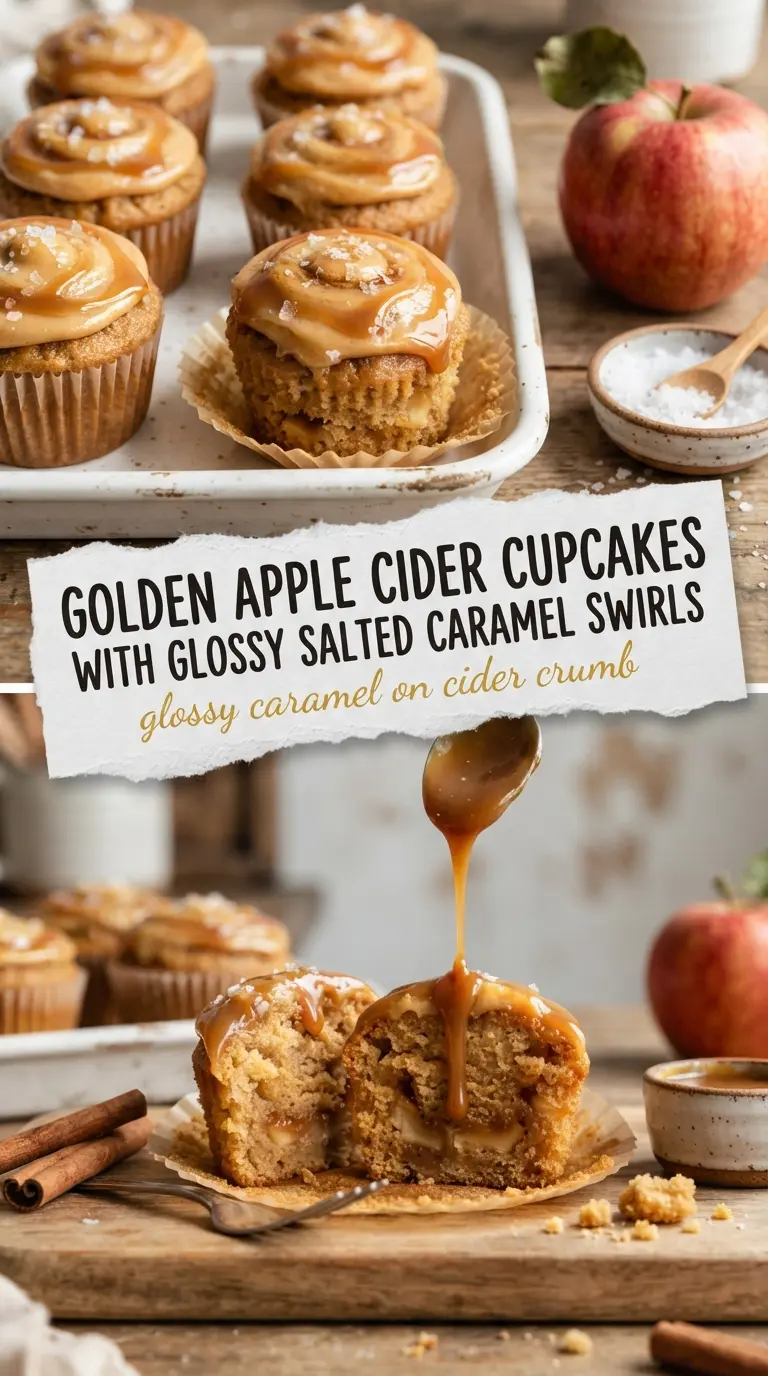
- Apple cider — Reducing it is what gives the cupcakes their actual apple flavor. You can use store-bought cider here; the important part is simmering it down until it measures 1/2 cup and letting it cool before mixing it in.
- Brown sugar — This adds moisture and a gentle molasses note that works with the caramel. White sugar will bake up a little drier and less rounded, so I’d keep the brown sugar if you can.
- Sour cream — This is what keeps the crumb soft and plush. Plain Greek yogurt works as a substitute, but it brings a slightly tangier finish and a tighter crumb.
- Butter — Use softened butter for both the batter and frosting so it creams properly. Cold butter won’t trap enough air, and melted butter changes the structure completely.
- Salted caramel sauce — This needs to be thick, not watery. If your caramel is loose, the frosting can slide; let it cool to room temperature before beating it in so the butter stays stable.
- Flaky salt — That final pinch sharpens the caramel and keeps the frosting from tasting one-note. Fine table salt won’t give the same little bursts on top.
Building the Batter and Frosting Without Losing the Texture
Reducing the Cider First
Pour the cider into a small saucepan and simmer it until it measures 1/2 cup. You want steady bubbles and a slightly syrupy look, not a hard boil that scorches the edges. Cool it completely before adding it to the batter, because warm cider softens the butter and makes the cupcakes bake up heavier.
Mixing the Batter Without Toughening It
Cream the butter and brown sugar until the mixture looks lighter and a little fluffy, then add the eggs and sour cream. Once the dry ingredients go in, mix only until the flour disappears. Overmixing is what gives you a dense cupcake with a tunneled crumb, and you’ll notice it most after baking when the tops dome oddly and the texture turns tight.
Baking for a Soft, Even Crumb
Fill the liners about two-thirds full so the cupcakes rise evenly without spilling over. Bake at 350°F until the tops spring back when touched and a toothpick comes out with a few moist crumbs. If they’re baked until completely dry in the center, they’ll lose that soft bite once they cool.
Whipping the Frosting to the Right Point
Beat the butter and powdered sugar first, then add the cooled caramel and keep going until the frosting looks airy and smooth. If it looks loose, the caramel was still warm or the butter was too soft. Chill it for a few minutes, then beat again; that usually brings it back to a pipeable texture without making it stiff.
Three Ways to Make These Cupcakes Fit Your Kitchen
Dairy-Free Version with a Few Smart Swaps
Use a plant-based butter for both the cupcakes and frosting, and swap the sour cream for an unsweetened dairy-free yogurt with some body. The cupcakes will still be tender, though the frosting may be a touch softer, so chill it a little longer before piping.
Gluten-Free Adaptation That Still Rises Well
Replace the all-purpose flour with a 1:1 gluten-free baking blend that includes xanthan gum. The texture will be a little more delicate, but the reduced cider and sour cream still keep the cupcakes moist instead of crumbly.
Turning Them Into Mini Cupcakes
Use a mini muffin pan and start checking them around 10 to 12 minutes. Mini cupcakes bake faster and dry out faster too, so pull them as soon as the tops spring back and the centers are just set.
Storage and Reheating
- Refrigerator: Store frosted cupcakes in an airtight container for up to 4 days. The frosting stays stable, but the cake is best at room temperature.
- Freezer: Freeze the unfrosted cupcakes for up to 2 months. Wrap them well so they don’t pick up freezer smells, then thaw at room temperature before frosting.
- Reheating: These are best served at room temperature rather than warmed. If the cake feels firm from the fridge, let it sit out for 20 to 30 minutes so the crumb softens and the caramel flavor opens up again.
Answers to the Questions Worth Asking
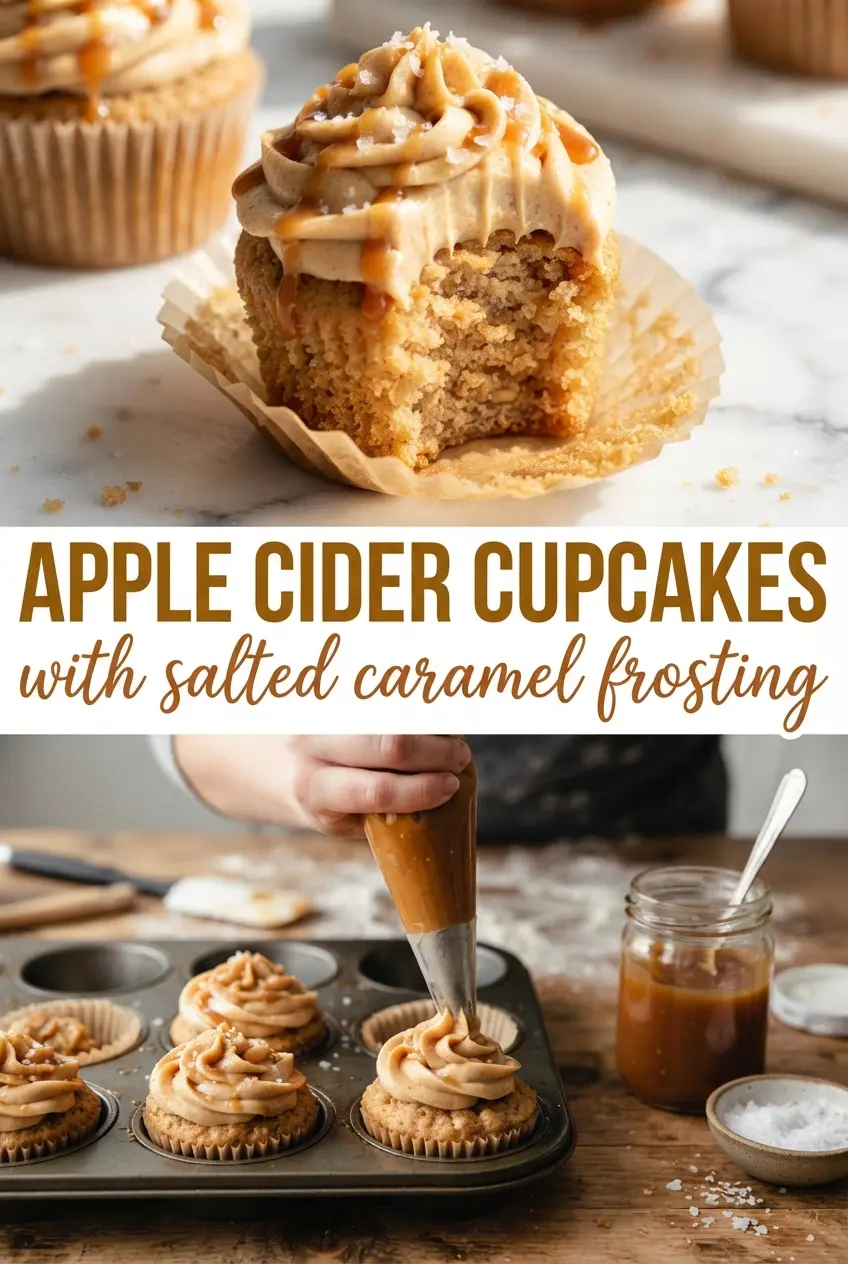
Apple Cider Cupcakes with Salted Caramel Frosting
Ingredients
Equipment
Method
- Simmer the apple cider until reduced to 1/2 cup, then cool to room temperature (steam and volume should noticeably decrease).
- Preheat the oven to 350°F and line a muffin pan with 12 liners (pan should be ready before mixing).
- Beat the unsalted butter and brown sugar until light and combined, then add the eggs and sour cream (mixture should look smooth and cohesive).
- Fold in the all-purpose flour, baking powder, baking soda, salt, and ground cinnamon, then fold in the reduced apple cider (batter should be thick but smooth with no dry flour pockets).
- Fill each liner two-thirds full and bake for 20 minutes, until the tops spring back and a toothpick comes out clean (golden edges cue doneness).
- Cool the cupcakes completely before frosting (cooling prevents the frosting from melting and sliding).
- Beat the unsalted butter and powdered sugar until fluffy, then mix in the salted caramel sauce until glossy (frosting should hold soft peaks).
- Pipe the frosting onto the cupcakes and finish with flaky salt (a light, visible sparkle cues the final texture).