
Chewy oat layers, tender cinnamon apples, and a ribbon of gooey caramel make these caramel apple oatmeal bars the kind of pan dessert that disappears before it has a chance to cool all the way. The bottom bakes up sturdy enough to slice cleanly, while the top stays crumbly and golden, with just enough caramel to hold the apple filling together without turning the whole pan soggy.
The trick here is using melted butter in the oat mixture so the base presses firmly into the pan and bakes into a dense, cookie-like crust instead of a dry crumb. A little cornstarch in the apple layer matters too; it thickens the juices as the apples bake, which keeps the bars from collapsing into a sticky mess once they cool. I also like cutting the apples into small dice so they soften evenly and tuck into every bite.
Below, I’ll walk through the one cooling step that keeps the bars from falling apart, plus a few easy variations if you want to swap the fruit or make them fit what you’ve got on hand.
The oat layer baked up chewy instead of dry, and the caramel stayed tucked into the apples after cooling. I cut them after about an hour, and the squares held together perfectly for lunchboxes the next day.
Save these caramel apple oatmeal bars for when you want chewy oat squares with a gooey apple-caramel center and clean slices.
The Secret to Clean Slices Is Waiting for the Caramel to Set
These bars bake up with a soft, sticky center, which is exactly why they need a full cool-down before you cut them. If you slice too soon, the caramel and apple juices slide around and the layers smear instead of stack. Once the pan is completely cool, the oat crust firms up and the filling settles into neat squares that hold their shape.
The other thing that matters is the balance between the crumb layer and the fruit layer. Too much topping and the bars dry out before the apples soften; too little and the filling overwhelms the base. Using about two-thirds of the mixture for the bottom gives you a sturdy foundation and leaves enough for a loose, craggy top that browns without sealing the pan shut.
What Each Ingredient Is Doing in These Bars
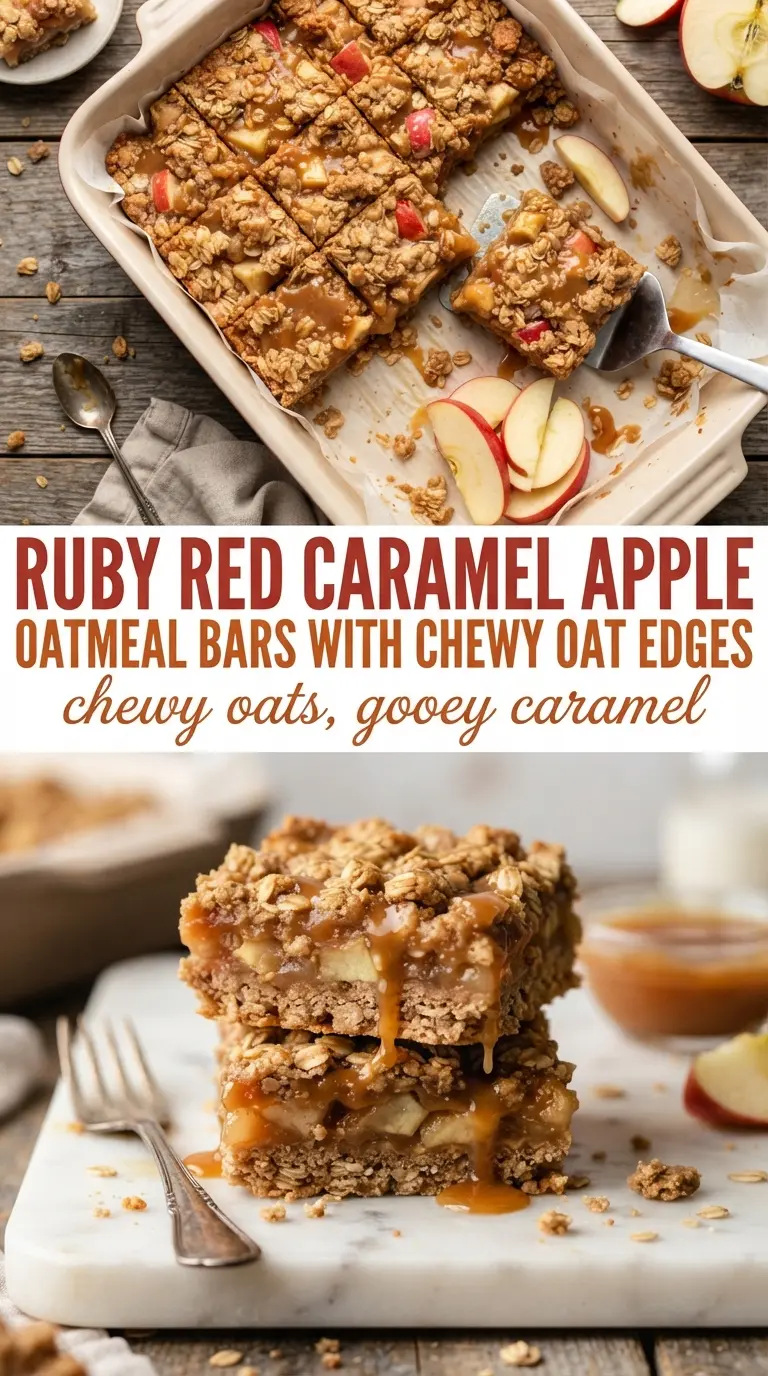
- Old-fashioned oats — These give the bars their chewy structure and that bakery-style texture you don’t get from quick oats. Quick oats will work in a pinch, but the bars turn softer and less substantial.
- All-purpose flour — This holds the oat mixture together and helps the crust bake into a sliceable base. I wouldn’t swap in a flour blend here unless it’s one made for 1:1 baking; otherwise the texture gets crumbly fast.
- Brown sugar — The molasses in brown sugar brings warmth and helps the bars stay moist. Light or dark brown sugar both work, but dark brown sugar gives you a deeper caramel note.
- Butter — Melted butter is what lets the dry ingredients clump into a press-in crust and crumble topping. If you use softened butter instead, you’ll get a fluffier mixture that doesn’t pack down as cleanly.
- Apples — Choose a firm apple that keeps some shape in the oven, like Honeycrisp, Granny Smith, or Braeburn. Soft apples break down too fast and make the filling pasty.
- Caramel sauce — This is the flavor center of the bars, so use one you actually like eating by the spoonful. Thick caramel sauce works best; thin ice cream topping can leak into the crust.
- Cornstarch — This is the quiet ingredient that keeps the fruit layer from running. Toss it with the apples before baking so it can thicken the juices as they bubble.
Building the Layers So the Bars Hold Together
Mixing the oat base
Stir the oats, flour, brown sugar, cinnamon, baking soda, and melted butter until the mixture looks sandy but clumps when pressed. That texture tells you the butter has coated the dry ingredients enough to bake into a firm crust. If it looks dry and powdery, it won’t hold; add a teaspoon or two more melted butter only if needed.
Pressing the bottom layer
Use about two-thirds of the mixture for the base and press it firmly into an 8×8-inch pan. The pressure matters here because loose crumbs bake into loose crumbs. I like using the bottom of a measuring cup to pack the corners tight so the filling doesn’t seep underneath.
Preparing the apple-caramel filling
Toss the diced apples with the caramel sauce and cornstarch until every piece looks lightly coated. You want the apples glossy, not drowned. Spread them in an even layer so they soften at the same rate; clumps of fruit take longer to bake and can leave the center wet while the edges are already done.
Finishing with the crumble topping
Sprinkle the remaining oat mixture over the apples without pressing it down. The loose topping lets steam escape, which helps the top brown instead of turning gummy. Bake until the edges are golden and the center looks set with just a little bubble from the caramel at the sides, then cool the pan completely before slicing.
What to Change When You Want a Different Version
Make them gluten-free with a good 1:1 flour blend
Swap the all-purpose flour for a cup-for-cup gluten-free baking blend that already contains xanthan gum. The bars will still be chewy, though the top may brown a little faster, so start checking near the end of the bake time.
Use pears when you want a softer, more delicate filling
Firm pears can replace the apples in the same amount, but the filling will be softer and a little juicier. Keep the cornstarch in place so the fruit layer still sets, and expect a gentler, less tart finish.
Make them dairy-free with plant-based butter
A good vegan butter substitute works here because the recipe depends on fat for texture, not dairy flavor. Choose a stick-style version, not a tub spread, so the base still firms up and bakes with structure.
Storage and Reheating
- Refrigerator: Store covered for up to 5 days. The bars firm up in the fridge, and the caramel layer gets a little denser.
- Freezer: They freeze well. Wrap individual bars tightly and freeze for up to 2 months, then thaw in the refrigerator so the topping doesn’t go soggy.
- Reheating: Warm a bar in the microwave for 10 to 15 seconds if you want the caramel soft again. Heat longer and the base turns hard at the edges before the center has a chance to warm through.
Answers to the Questions Worth Asking
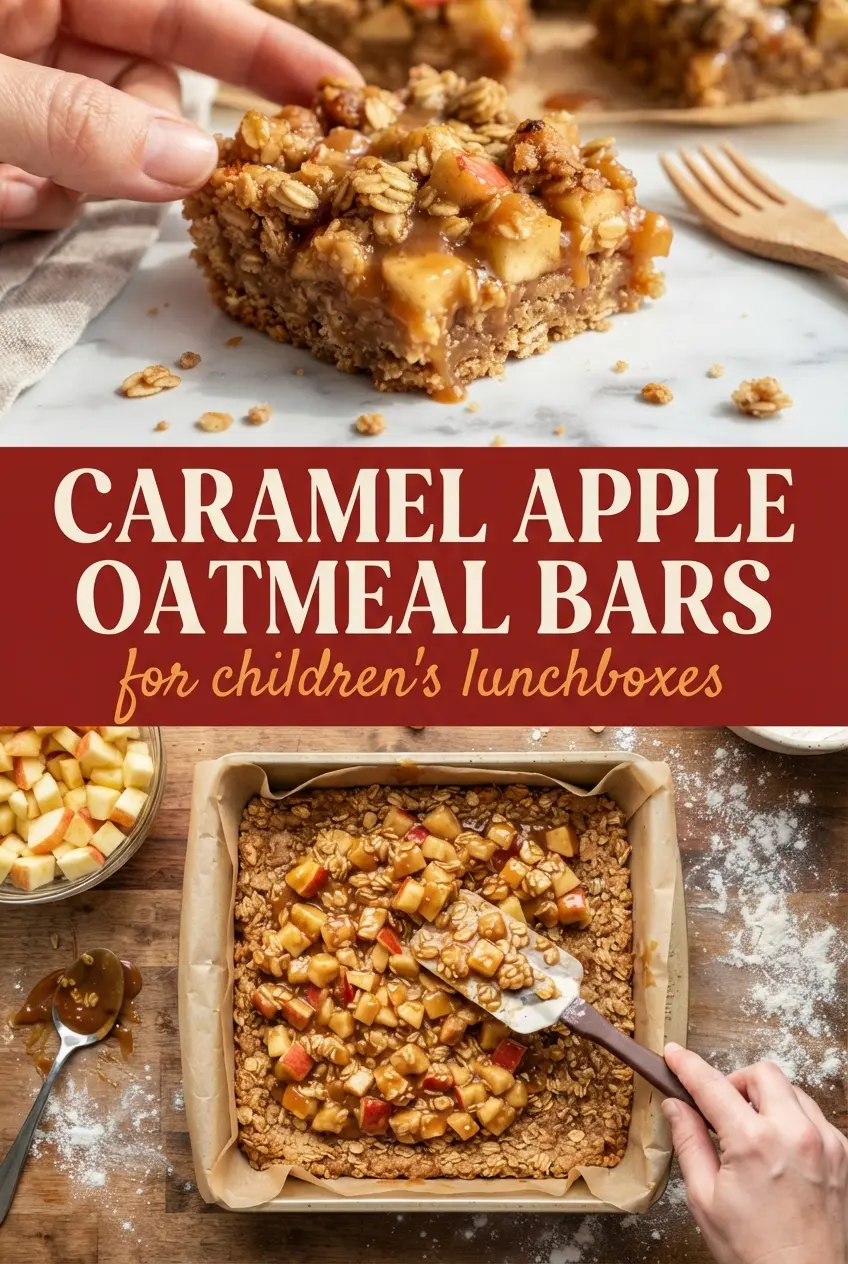
Caramel Apple Oatmeal Bars
Ingredients
Equipment
Method
- Preheat the oven to 350°F and lightly grease an 8x8-inch pan. This helps prevent sticking while you assemble the bars.
- Mix the old-fashioned oats, all-purpose flour, brown sugar, cinnamon, baking soda, and melted butter until evenly combined. The mixture should clump slightly when pressed.
- Press ⅔ of the oat mixture into the 8x8-inch pan, covering the bottom firmly. Use steady pressure so the base bakes into chewy edges.
- Toss the diced apples with caramel sauce and cornstarch until the apples look coated. Spread the apple mixture on top of the base in an even layer.
- Crumble the remaining oat mixture over the apples, creating an even top. Leave small gaps so steam can escape during baking.
- Bake for 35 minutes at 350°F until the top is lightly golden and the center looks set. If needed, bake 2–3 minutes longer for a firmer middle.
- Cool completely before cutting to allow the caramel to set. Slice only after fully cooled for clean bars that hold together.