
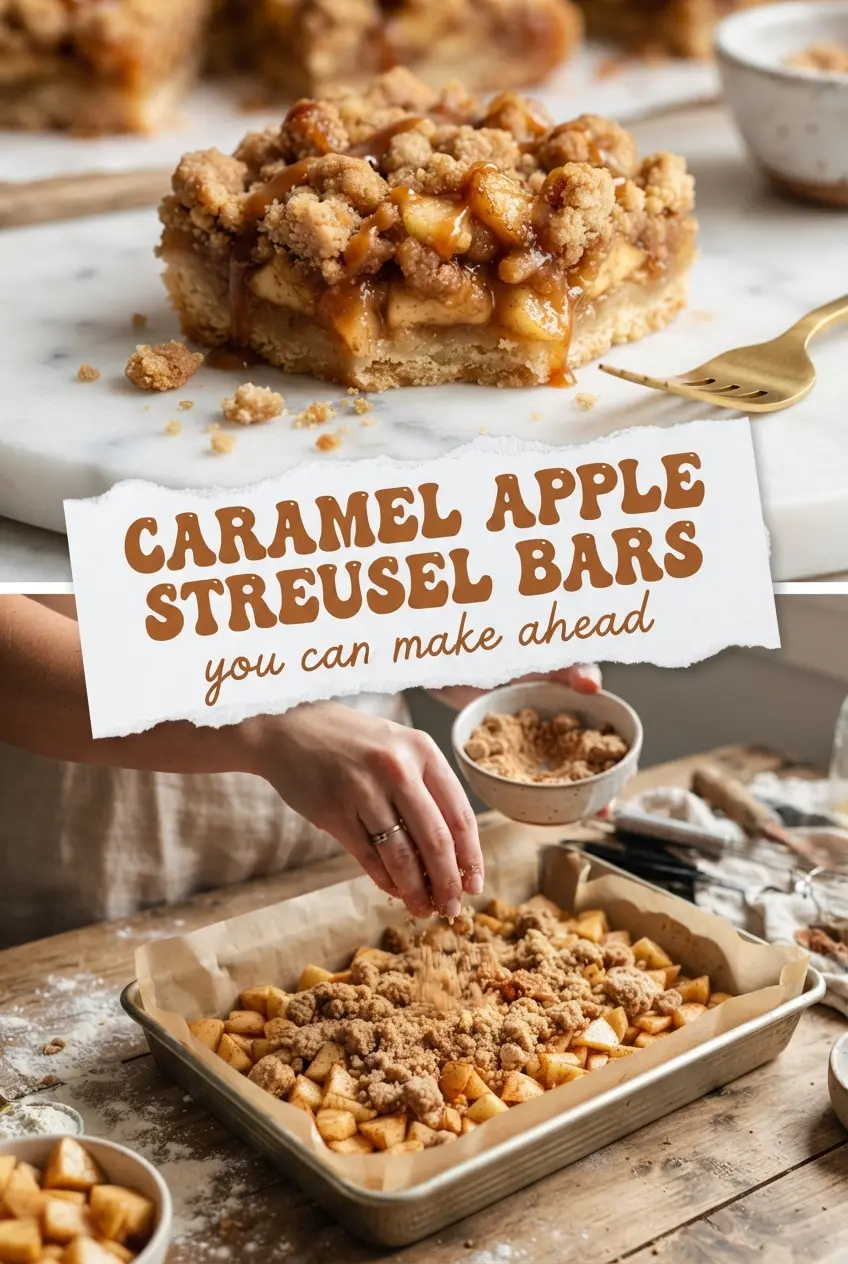
Caramel apple streusel bars bake into a soft, buttery base with spiced apples tucked underneath a crumbly oat topping that turns deeply golden in the oven. The best part is the contrast: a tender shortbread-style bottom, juicy fruit in the middle, and those crisp little streusel clumps that hold their texture even after the bars cool. They slice cleanly, travel well, and taste like the kind of dessert people quietly keep going back to for “just one more square.”
What makes these work is keeping the butter cold and not overworking the crumb mixture. That gives you the shortbread layer and the streusel topping instead of one dense, greasy dough. The caramel gets folded in with the apples so it melts into the fruit as it bakes, which keeps the filling from tasting flat or one-note. A little cinnamon is enough here; the apples and caramel do the heavy lifting.
Below, I’ll show you how to keep the bottom from turning soggy, how to get the topping crumbly instead of sandy, and the easiest way to turn these into a make-ahead dessert for a crowd.
The streusel stayed crumbly after cooling, and the caramel baked right into the apples without making the bottom soggy. I brought these to a potluck and came home with an empty pan.
Save these caramel apple streusel bars for the moment you want a make-ahead dessert with a buttery crumb and a glossy caramel apple center.
The Trick to Keeping the Bottom Crisp Under Juicy Apples
The biggest risk with fruit bars is a soft, damp base. Apples release moisture as they bake, and caramel adds even more liquid if the filling isn’t handled carefully. The fix is to use a crumbly base that bakes up into a sturdy layer, then keep the apple filling evenly distributed so the juices don’t pool in one corner.
Pressing in only half the crumbs for the base helps the bottom set before the fruit goes in. You’re not aiming for a thick cookie layer. You want a thin, even foundation that firms up enough to support the apples without turning heavy. The top layer should stay loose and craggy, because those open spaces let steam escape instead of trapping it under the streusel.
- Cold butter — This is what creates the crumbly texture. If the butter softens before baking, the bars lose that shortbread-meets-streusel contrast and bake up dense.
- Apples — Use firm apples that hold their shape. Softer baking apples can still work, but they’ll collapse faster and make the filling wetter.
- Caramel sauce — Use a thick sauce, not a thin ice cream topping. A looser caramel can make the filling runny before the bars set.
- Old-fashioned oats — These add structure to the topping. Quick oats can work in a pinch, but the texture will be finer and less crisp.
Building the Layers So the Streusel Stays Crumbly
Mixing the Crumb Base
Work the flour, sugar, butter, and egg together just until the mixture looks like coarse crumbs with some pea-sized bits. Those bigger pieces are what bake into a tender, layered crust instead of a tight, cookie-like slab. If you keep mixing until it looks smooth, the bars lose that airy crumble. The mixture should hold together when pinched, but still fall apart easily in your hands.
Pressing and Filling the Pan
Press half the crumb mixture firmly but not aggressively into the pan. A gentle, even press gives you a base that slices cleanly without becoming hard. Toss the diced apples with cinnamon and caramel until every piece is lightly coated, then spread them in an even layer. If the filling is mounded in the center, the middle bakes slower and the edges dry out before the bars are done.
Finishing With the Oat Streusel
Mix the oats into the remaining crumbs and scatter them over the apples in loose clusters. Don’t pack the topping down; the open texture is what lets it bake into golden crumbles. Bake until the top is deep golden and the edges are bubbling lightly. If the center still looks wet and glossy, give it a few more minutes so the filling sets as it cools.
Three Ways to Adapt These Bars Without Losing the Crumb
Dairy-Free Version With the Same Crumbly Top
Swap the butter for a firm plant-based butter stick, not a soft tub spread. You want something that behaves like real butter when cold, because that chill is what gives the bars their layered texture. The flavor changes a little, but the structure holds up well.
Gluten-Free Bars That Still Slice Cleanly
Use a good 1:1 gluten-free flour blend in place of the all-purpose flour. The bars will be a little more delicate, so let them cool completely before cutting. If your blend already contains xanthan gum, you’re set; if not, the bars may be slightly more crumbly when sliced.
Extra Apple, Less Caramel
If you want the filling to taste more like baked apples and less like candy, cut the caramel back a little and add an extra half apple. The bars will still be sweet, but the fruit flavor gets sharper and the texture stays a touch firmer. This is the version I’d make for a brunch table.
Storage and Reheating
- Refrigerator: Store covered for up to 5 days. The topping softens a little, but the bars stay sliceable.
- Freezer: These freeze well. Wrap individual bars tightly and freeze for up to 2 months, then thaw in the refrigerator so the filling doesn’t turn watery.
- Reheating: Warm bars in a 300°F oven for 8 to 10 minutes if you want the top crisp again. The microwave softens the streusel, so use it only if you don’t mind a softer texture.
Answers to the Questions Worth Asking
Caramel Apple Streusel Bars
Ingredients
Equipment
Method
- Preheat the oven to 350°F and lightly prepare a 9x9-inch pan for easy release or lining.
- Mix the flour, sugar, cold cubed butter, and egg until crumbly, with no large dry pockets.
- Press half of the crumb mixture into the bottom of the 9x9-inch pan, pressing firmly into an even layer.
- Toss the diced apples with cinnamon and caramel until glossy and evenly coated.
- Spread the spiced caramel apples over the pressed base in an even layer.
- Mix the oats into the remaining crumbs, then sprinkle the oat-crumb streusel evenly over the apples and lightly press so it adheres.
- Bake for 40 minutes at 350°F until the streusel is golden and the center looks set around the edges.
- Cool bars in the pan until warm to the touch so the caramel thickens and the layers hold together.