
Creamy Pumpkin Bisque is a warm, silky soup that feels like a cozy hug in a bowl. It’s packed with the smooth richness of pumpkin, a hint of spices like cinnamon and nutmeg, and a touch of cream that makes every spoonful melt in your mouth. This bisque is perfect for chilly days when you want something comforting but not too heavy.
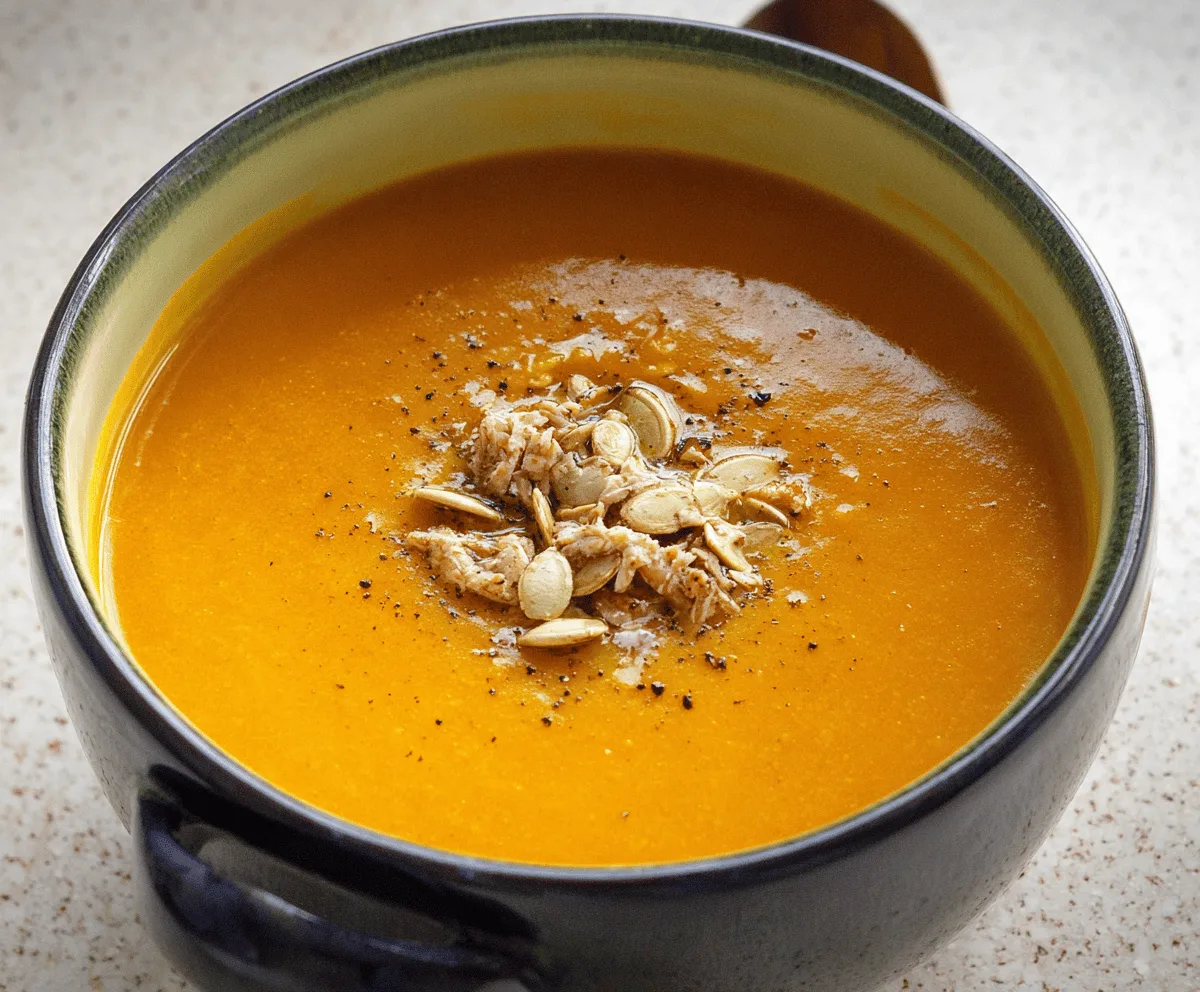
I love making this soup whenever pumpkin season rolls around because it’s simple to whip up but always feels special. I usually add a sprinkle of toasted pumpkin seeds on top for a nice crunch, and sometimes a swirl of cream to make it extra pretty. It’s one of those recipes that always gets compliments, and I find myself reaching for seconds every time.
Serving this bisque is a joy — I often pair it with crusty bread or grilled cheese to soak up all that velvety goodness. It’s a great starter for a fall dinner or even a light lunch on its own. Whenever I make it, it reminds me of cool autumn evenings and friends gathered around the table, sharing good food and laughter.
Key Ingredients & Substitutions
Pumpkin Puree: Canned pumpkin puree is convenient and consistent in flavor. If fresh pumpkin is available, cook and puree a sugar pumpkin or pie pumpkin for a fresher taste. Avoid pumpkin pie filling, as it’s sweetened and spiced already.
Butter & Onion: Butter gives a rich base and the onion adds sweetness. Use olive oil for a dairy-free version, but butter adds a lovely depth here.
Broth: Vegetable broth keeps it vegetarian, chicken broth adds more depth. Use low-sodium broth so you can better control the salt.
Spices: Cinnamon and nutmeg bring gentle warmth. Feel free to add a pinch of ground ginger or a little cumin for variety. Fresh ginger adds a nice zing but is optional.
Cream: Heavy cream adds silky richness, but half-and-half or coconut milk are great lighter or dairy-free options.
Toppings: Crispy bacon bits add saltiness and crunch. For a vegetarian option, toasted pumpkin seeds or crispy sage leaves work well.
How Can I Achieve a Silky Smooth Texture in Pumpkin Bisque?
Getting that creamy, velvety texture is key to a great bisque. Here’s how I do it:
- Cook the onions and garlic gently to soften and deepen flavors without browning too much.
- Simmer the pumpkin and broth together long enough (about 15-20 mins) to let flavors combine well.
- Use an immersion blender directly in the pot for easy pureeing; or blend in batches if needed. Avoid overfilling the blender to prevent spills.
- Blend until completely smooth; if it feels a bit thick, add a splash of broth or cream to loosen it up.
- Stir in cream at the end and gently warm to maintain a silky mouthfeel without curdling.
Equipment You’ll Need
- Large heavy-bottomed pot – I like it because it heats evenly and reduces sticking during simmering.
- Immersion blender or regular blender – an immersion blender makes pureeing super easy and quick.
- Measuring spoons and cups – for accurate spices and liquid measurements.
- Spatula or wooden spoon – helps stir the soup and scrape the sides of the pot.
- Serving bowls and spoons – for enjoying the bisque hot and in style.
Flavor Variations & Add-Ins
- Spice it up: Add a pinch of cayenne pepper or smoked paprika for a bit of heat and smokiness.
- Protein boost: Stir in cooked sausage, shredded chicken, or crumbled bacon after blending for extra flavor and substance.
- Cheesy twist: Finish with a handful of grated Parmesan or sharp cheddar for added richness.
- Veggie variations: Mix in roasted carrots or sweet potatoes for more sweetness and color.
Creamy Pumpkin Bisque
Ingredients You’ll Need:
- 2 tablespoons unsalted butter
- 1 medium onion, finely chopped
- 2 cloves garlic, minced
- 1 teaspoon fresh ginger, grated (optional)
- 1 (15 oz) can pumpkin puree (or 2 cups fresh cooked pumpkin)
- 3 cups vegetable or chicken broth
- 1 cup heavy cream or half-and-half
- ½ teaspoon ground cinnamon
- ¼ teaspoon ground nutmeg
- Salt and freshly ground black pepper, to taste
- Fresh sage leaves, for garnish
- Crispy bacon bits or toasted pumpkin seeds, for garnish
- Additional heavy cream, for swirling (optional)
How Much Time Will You Need?
This recipe takes about 10 minutes to prepare and 25 minutes to cook. So, in less than 40 minutes, you’ll have a warm, smooth, and creamy pumpkin soup ready to enjoy!
Step-by-Step Instructions:
1. Cook Onion and Garlic:
In a large pot, melt the butter over medium heat. Add the finely chopped onion and cook until soft and translucent, about 5 minutes. Then add the minced garlic and grated ginger (if using) and cook for 1–2 more minutes until fragrant, but don’t let it brown.
2. Add Pumpkin and Spices:
Stir in the pumpkin puree, mixing it well with the onion and garlic. Pour in the broth and add cinnamon and nutmeg. Stir everything together to combine the flavors.
3. Simmer and Blend:
Bring the mixture to a gentle simmer and cook for 15–20 minutes to let the flavors come together. Then, use an immersion blender to puree the soup until smooth. If you don’t have an immersion blender, carefully blend the soup in batches until creamy, then return it to the pot.
4. Add Cream and Season:
Stir in the heavy cream and warm the soup gently over low heat. Taste and adjust with salt and pepper as needed.
5. Serve and Garnish:
Ladle the bisque into bowls. If you like, drizzle a bit of extra cream on top, then sprinkle with crispy bacon bits or toasted pumpkin seeds and fresh sage leaves for a lovely touch. Serve hot with crusty bread or a fresh side salad.
Can I Use Fresh Pumpkin Instead of Canned?
Yes! Use fresh cooked pumpkin by roasting or boiling until tender, then pureeing it. About 2 cups of fresh pumpkin puree will replace one 15 oz can. Just avoid using pumpkin pie filling, which contains added sugar and spices.
Is There a Dairy-Free Alternative for the Cream?
Absolutely! Substitute heavy cream with coconut milk or cashew cream for a dairy-free version. These add creaminess while keeping the soup rich and satisfying.
Can I Make This Soup Ahead of Time?
Yes, this bisque tastes even better the next day! Cool completely, then store in an airtight container in the fridge for up to 3 days. Reheat gently on the stove, stirring occasionally.
How Should I Store Leftovers?
Keep leftovers in an airtight container in the refrigerator for up to 3 days, or freeze for up to 2 months. Thaw in the fridge overnight before reheating gently on the stove or in the microwave.