
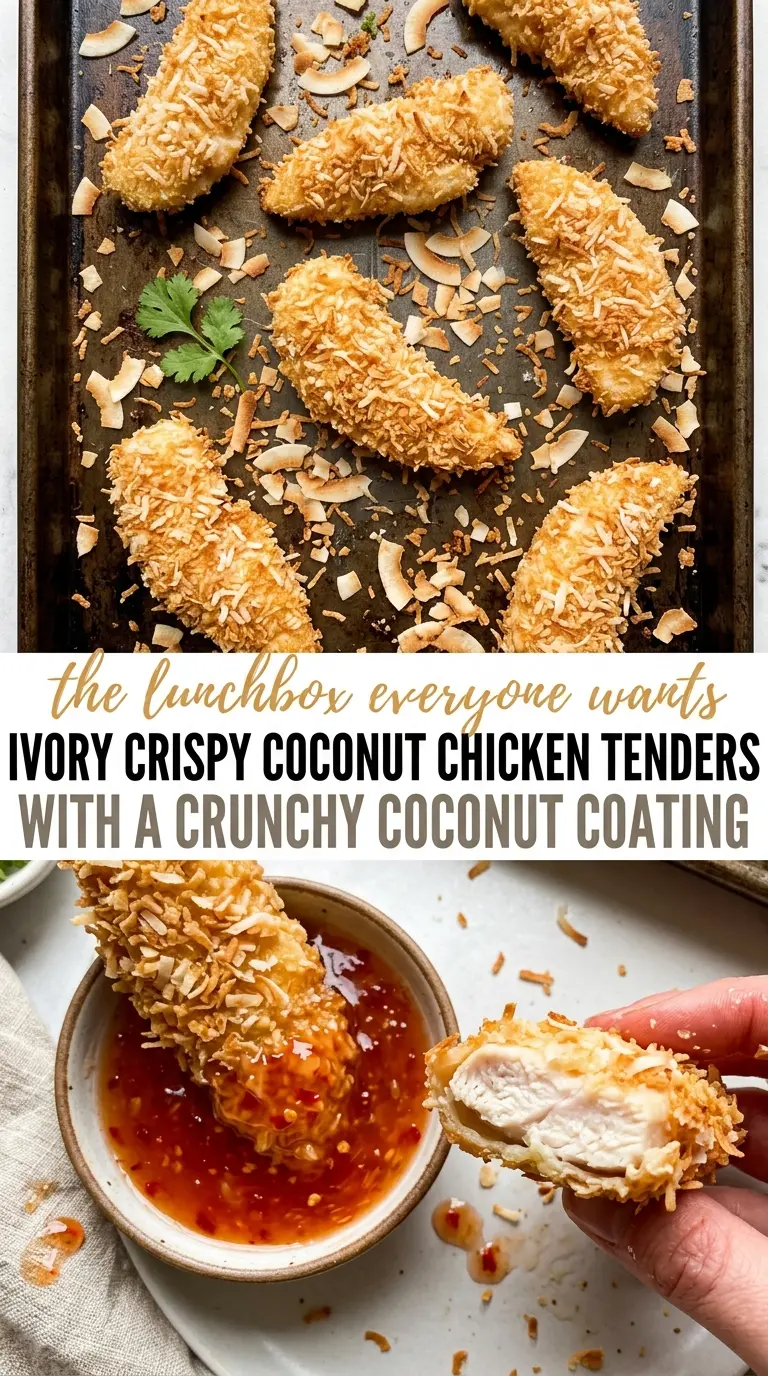
Crispy Coconut Chicken Tenders hit that sweet spot between crunchy, juicy, and just a little bit playful. The shredded coconut toasts into a golden crust that stays crackly in the oven, while the panko keeps the coating light instead of heavy or greasy. You get chicken that feels like takeout-adjacent comfort food, but it still lands on the table fast enough for a weeknight.
The part that makes this version work is the combination of textures. Coconut on its own can brown too fast and go brittle; panko on its own can bake up dry. Together, they create a coating that clings well, browns evenly, and gives you those big crispy flakes in every bite. A quick dredge through flour and egg helps the crust stick, and pressing the crumbs on by hand keeps the coating from falling off in the oven.
Below you’ll find the exact order that keeps the breading intact, plus the small detail that keeps the coconut from tasting toasted in a bad way. The dipping sauce matters here too — sweet chili sauce gives the tenders the right contrast without drowning out the crunch.
The coconut got so crisp in the oven and the breading stayed on the chicken instead of sliding off. I flipped them halfway like you said and they browned evenly all over.
Crispy Coconut Chicken Tenders need a spot on your Pinterest board for the nights when you want a crunchy baked dinner that still feels fun.
The Crunch Secret: Toasted Coconut Needs Panko Beside It
Chicken tenders can go soggy in the oven when the coating is too fine, too wet, or too thick. Coconut alone has a tendency to brown before the chicken is fully cooked, and it can turn brittle instead of crisp. Panko fixes that by adding structure and air pockets, which lets the coating bake into a lighter crust with more surface area for browning.
The other common miss is pressing the breading on too loosely. Coconut flakes need a little encouragement to stick, especially once they hit the egg layer. A firm press after dredging keeps the crust attached so you don’t end up with bare spots on the pan.
What Each Ingredient Is Actually Doing in This Dish
- Unsweetened shredded coconut — This matters. Sweetened coconut browns too quickly and can taste candy-like once baked. Unsweetened coconut gives you the nutty, toasted flavor you want without extra sugar burning on the pan.
- Panko breadcrumbs — Regular breadcrumbs pack down too tightly here. Panko keeps the crust open and crisp, and it’s the reason the tenders stay crunchy after baking.
- Chicken tenders — Their thin shape helps them cook fast and evenly, which means the coating can finish crisping before the meat dries out. If you only have chicken breasts, slice them into even strips so they cook at the same rate.
- Eggs and flour — This is the glue system. Flour dries the surface first, egg gives the coating something to latch onto, and skipping either one usually means patchy breading.
How to Build the Coating So It Stays Put in the Oven
Set Up the Dredging Station First
Line up the flour, beaten eggs, and coconut-panko mixture before you touch the chicken. Once your hands get coated, the process moves fast, and an organized station keeps the breading from clumping. Season the chicken before dredging so the flavor goes all the way to the meat, not just the crust.
Press the Crumbs, Don’t Just Dip
Coat each tender in flour first, then egg, then the coconut-panko mix. After that, press the crumbs onto the surface with your fingertips so they actually adhere. If the coating looks shaggy and loose, it will fall off when you flip the tenders.
Bake Until the Edges Look Deep Golden
Place the tenders on parchment so the bottoms don’t weld to the pan. Bake at 400°F and flip halfway through; that second side needs direct contact with the hot pan to brown properly. Pull them when the coating is deep golden and the chicken reaches 165°F at the thickest part. If the coconut is getting dark too quickly, the pan is too close to the heat or the coating is too sugary.
What to Change When You Need a Different Version
Gluten-Free Coconut Chicken Tenders
Swap the panko for certified gluten-free breadcrumbs or crushed gluten-free cornflakes. The crunch changes a little, but the coconut still brings plenty of texture, and the coating will brown the same way as long as the crumbs are fine enough to stick.
Extra-Crispy Broiled Finish
Turn on the broiler for the last 1 to 2 minutes only after the chicken is cooked through. That last blast gives the coconut the kind of toasty edges people expect from fried chicken, but it burns fast, so stay close and pull the pan the second the top looks deeply golden.
Milder Kid-Friendly Dip
If sweet chili sauce feels a little sharp, mix it with a spoonful of honey or serve it with plain ranch. The tenders are still the star, and a gentler dip lets the coconut crust stay front and center.
Make Them Ahead for Lunches
Bake the tenders, cool them completely, and pack the dipping sauce separately. The coating won’t stay shatteringly crisp after refrigeration, but the coconut still gives you a good texture if you reheat them in the oven or air fryer instead of the microwave.
Storage and Reheating
- Refrigerator: Store in an airtight container for up to 3 days. The crust softens a bit, but the flavor stays good.
- Freezer: Freeze baked tenders on a sheet pan until solid, then move them to a freezer bag for up to 2 months. Reheat from frozen for best texture instead of thawing first.
- Reheating: Use a 375°F oven or air fryer until hot and crisp again, about 8 to 12 minutes depending on size. The big mistake is microwaving, which turns the coconut coating rubbery and flattens the crunch.
Questions I Get Asked About This Recipe

Crispy Coconut Chicken Tenders
Ingredients
Equipment
Method
- Preheat the oven to 400°F and line a sheet pan with parchment.
- Set up a dredging station with flour, beaten eggs, and a mixture of shredded coconut and panko breadcrumbs.
- Season the chicken tenders with garlic powder, salt, and pepper.
- Dredge each tender in flour, then dip into the beaten eggs.
- Roll each tender in the coconut-panko mixture and press firmly to adhere.
- Bake for 18–20 minutes at 400°F, flipping halfway, until golden and cooked through.
- Serve the crispy coconut chicken tenders with sweet chili sauce for dipping.