
Crunchy, tangy, and deeply savory, this dill pickle Parmesan chicken earns its place in the dinner rotation fast. The pickle juice gives the meat a bright bite that cuts through the richness of the coating, while the panko and Parmesan bake into a crust that stays crisp instead of turning heavy or bready. The best part is that the flavor goes all the way through the chicken, not just on the surface.
The pickle brine does more than add flavor. It seasons the chicken from the inside and helps it stay juicy while it bakes. Parmesan brings salt and a nutty edge, and panko keeps the crust light enough to shatter when you cut into it. If you’ve ever had breaded chicken come out dull or soggy, this version fixes both problems with one smart move: let the chicken sit in the brine long enough to pick up the tang, then press the coating on firmly so it actually sticks.
Below, I’ve included the little details that matter most, including the best way to keep the crust crunchy and what to do if you want to push the pickle flavor even farther. That last part is worth reading before you start.
The pickle flavor came through without tasting overpowering, and the Parmesan-panko coating stayed crunchy even after we sliced into it. I baked it the full 25 minutes and the chicken was still juicy.
Save this dill pickle Parmesan chicken for the night you want a tangy crust, juicy chicken, and almost no cleanup.
The Step That Keeps Pickle Chicken from Tasting Flat
Pickle juice can do two jobs here, and both matter. It seasons the chicken all the way through and adds enough acid to keep the meat from tasting heavy under the crust. The mistake is marinating too briefly and expecting the coating to carry the whole recipe. It won’t. Give the chicken at least 30 minutes so the brine has time to work, and don’t go so far past overnight that the texture turns soft around the edges.
The other common failure happens after the marinade. Wet chicken won’t take flour properly, and if you rush the dredge, the crust slides off in the oven. Pat the chicken lightly after brining, then build the coating in the usual flour-egg-panko order. The flour gives the egg something to grip, and the egg gives the crumbs something to cling to. That simple chain is what keeps the crust attached until the moment you cut into it.
What Each Ingredient Is Doing in This Dish
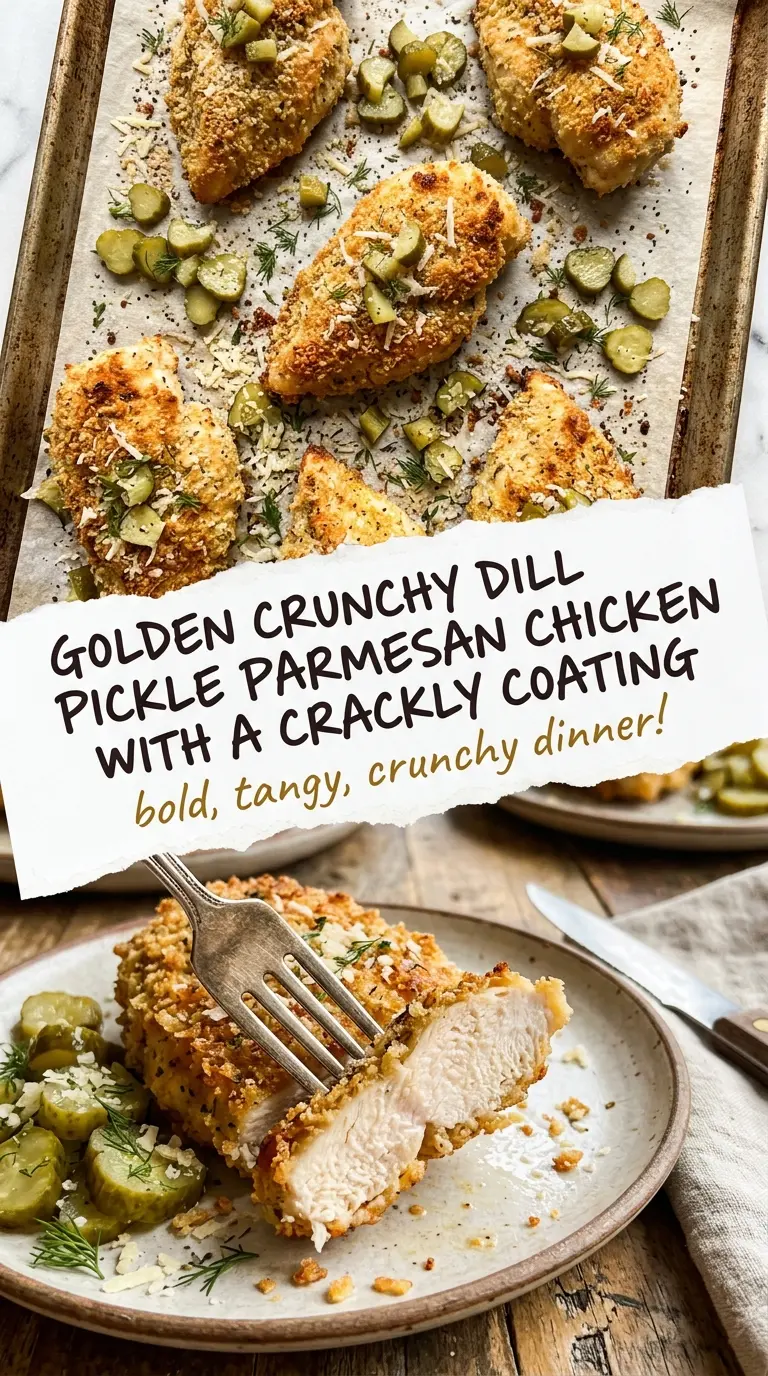
Dill pickle juice — This is the flavor engine. Use the juice from a jar of dill pickles, not sweet pickle brine, or the whole dish will go in the wrong direction. A longer soak builds more tang, but the chicken should still feel firm when you pull it out.
Panko breadcrumbs — Panko stays crisp in the oven where fine breadcrumbs tend to turn dense. If all you have is regular breadcrumbs, they’ll work, but the crust will be tighter and less shattery. For the best texture, don’t crush the panko too much when mixing it with the cheese.
Parmesan cheese — Parmesan adds salt, browning, and a nutty finish that makes the crust taste fuller. Grated Parmesan from a wedge melts and browns better than the dusty shelf-stable kind. If you use the pre-grated shaker style, the coating will still work, but the flavor will be flatter.
Dried dill — This reinforces the pickle flavor without adding moisture. Fresh dill is fine as a garnish, but dried dill is what gives the breading its savory herb note. If you only have fresh, use a little more and expect a softer, greener flavor instead of a pronounced dill punch.
Eggs and flour — These aren’t there for filler. They’re the glue that keeps the crust on the chicken. If you skip either one, the coating won’t hold as neatly, especially when the chicken is moved to the baking sheet.
Getting the Coating to Bake Up Crisp, Not Heavy
Building the Dredging Station
Set up the flour, beaten eggs, and panko-Parmesan mixture before you touch the chicken. That keeps the process clean and stops the coating from clumping with damp fingers. Season the flour lightly so the first layer isn’t bland. If the chicken goes straight from brine to crumbs, the surface gets slippery and the breading won’t lock on.
Pressing on the Crust
Press each chicken breast firmly into the crumb mixture after the egg wash. Don’t just roll it through and hope for the best. The pressure helps the panko and cheese embed into the surface, which matters because this chicken bakes rather than fries. A loose coating sheds in the oven and leaves bald spots.
Baking to the Right Finish
Lay the chicken on a baking sheet with space around each piece so the hot air can move. Crowding traps steam and steals the crunch. Bake at 400°F until the crust is deeply golden and the chicken reaches a safe internal temperature in the thickest part. If you want extra color, a short broil at the end works, but only after the chicken is cooked through so the coating browns without drying out the meat.
How to Adapt This for Different Kitchens and Diets
Gluten-Free Crunch That Still Holds
Swap the flour for a gluten-free all-purpose blend and use certified gluten-free panko. The method stays the same, but the crumbs may brown a little faster, so keep an eye on the last few minutes in the oven. The result is still crisp, just a touch more delicate.
Extra Pickle Flavor Without Soggy Chicken
Add a spoonful of finely chopped pickles to the panko mixture or serve them on top after baking. Keeping the pickles out of the coating prevents excess moisture from softening the crust. This gives you a louder pickle bite without changing the texture of the chicken itself.
Air Fryer Version for a Faster Dinner
Cook the coated chicken in a single layer in the air fryer and give it a light spray of oil so the crumbs brown instead of drying out pale. Air fryers run hot and fast, so the outside can look done before the center cooks through. Check the thickest part early, especially with large chicken breasts.
Storage and Reheating
- Refrigerator: Store leftovers in an airtight container for up to 3 days. The crust softens a bit, which is normal.
- Freezer: It freezes best after baking, but the coating loses some crunch. Wrap pieces individually and freeze for up to 2 months.
- Reheating: Reheat in a 375°F oven or air fryer until hot and crisp again. The biggest mistake is microwaving, which turns the coating leathery and makes the chicken steam instead of re-crisp.
Questions I Get Asked About This Recipe
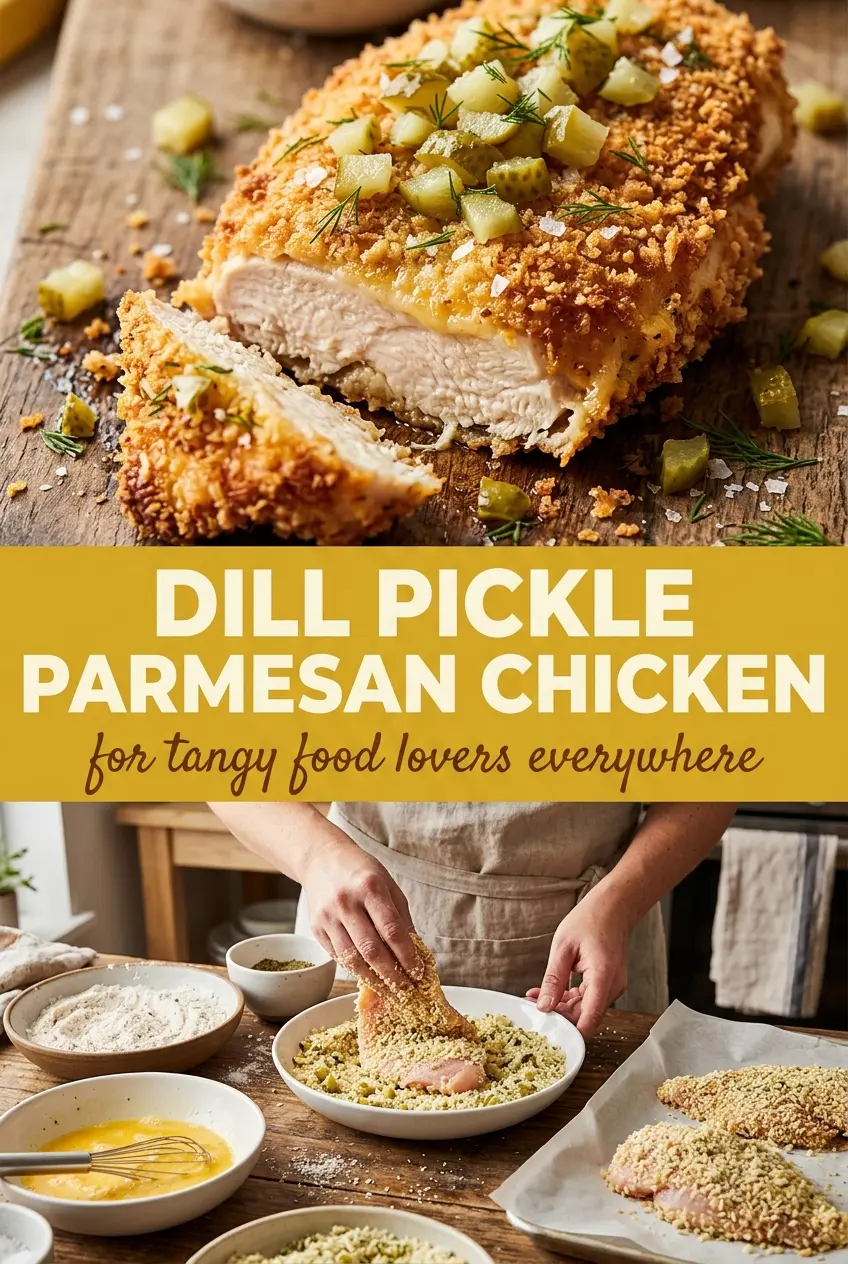
Crunchy Dill Pickle Parmesan Chicken
Ingredients
Equipment
Method
- Place the boneless chicken breasts in a container and pour in the dill pickle juice. Marinate for at least 30 minutes or up to overnight so the chicken absorbs the tangy flavor.
- Arrange three shallow bowls: flour, beaten eggs, and a mixture of panko breadcrumbs, grated Parmesan cheese, and dried dill. Season the coating mixture with salt and pepper to taste.
- Dredge each chicken breast in flour, then dip into the beaten eggs, and finally coat in the panko-Parmesan mixture. Press the coating to adhere fully for better crunch.
- Preheat the oven to 400°F and place the coated chicken on a sheet pan in a single layer. Bake for 20-25 minutes, until golden and cooked through.
- Garnish the Crunchy Dill Pickle Parmesan Chicken with chopped dill pickles before serving. If you want extra crunch, broil for the last 2 minutes of baking before garnishing.