
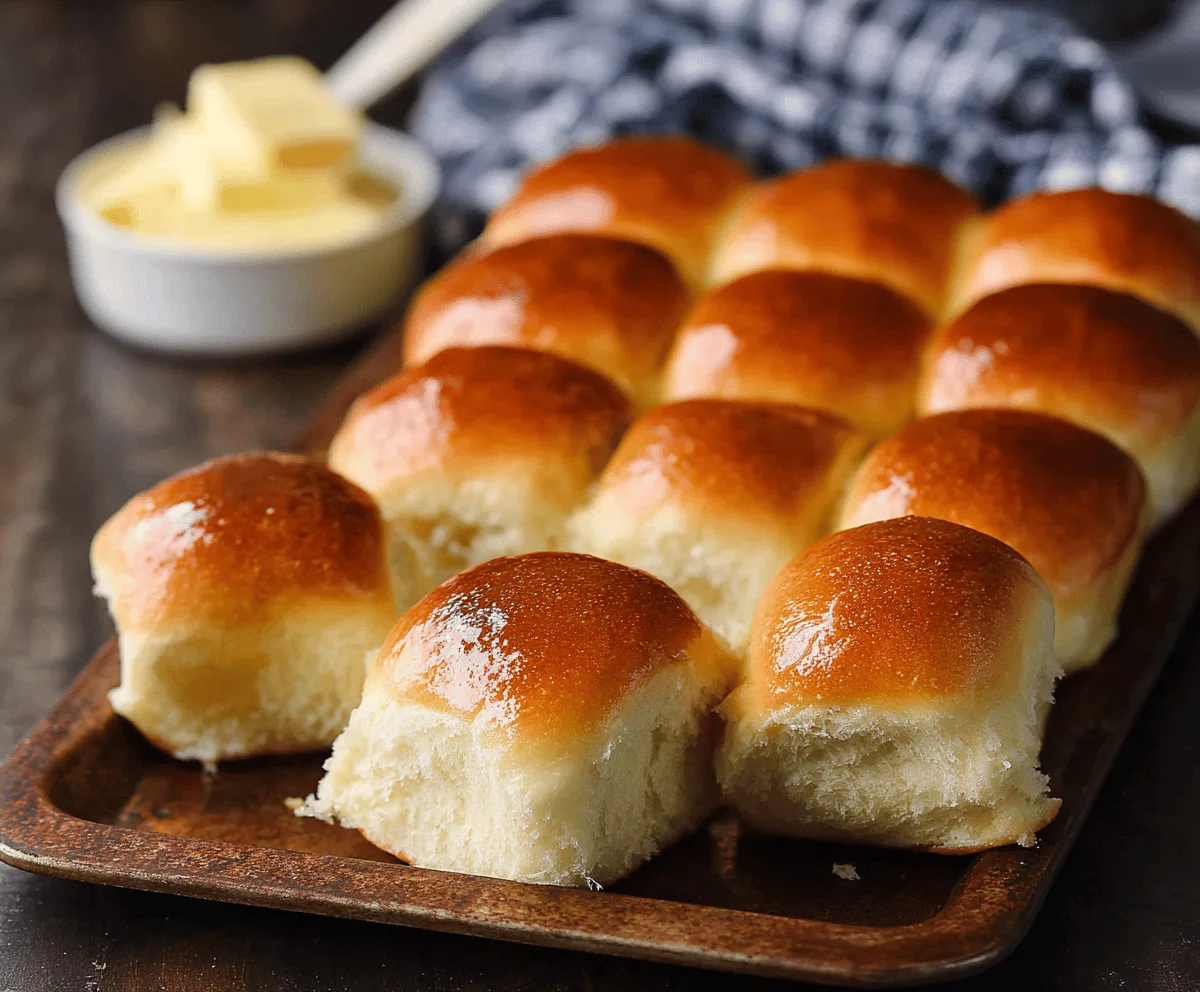
These dinner rolls are soft, fluffy, and just the right amount of buttery. They come out golden brown on the outside and pillowy on the inside, making them a perfect side for any meal. You can almost smell them fresh from the oven, inviting everyone to the table.
I love making these rolls because they’re simple and always a crowd-pleaser. I often make the dough the night before and let it rise slowly in the fridge, which makes the flavor even better. It’s such a nice touch when the house smells like fresh bread by dinner time.
My favorite way to serve these rolls is warm with a little pat of butter melting right on top. They go so well with soups, stews, or just alongside a big family dinner. Whenever I bring these rolls to a gathering, they seem to disappear fast — they’re that good!
Key Ingredients & Substitutions
All-purpose flour: This is the base of your dough and gives structure. For a lighter texture, you can try bread flour. If you prefer whole grains, substitute half with whole wheat flour, but the rolls may be denser.
Active dry yeast: This helps the dough rise and get fluffy. Instant yeast works too—just mix it directly with the flour. If you don’t have yeast, try a quick bread version using baking powder, though it won’t be quite the same.
Milk: Warm milk adds flavor and moisture, helping create that soft crumb. For dairy-free, use almond or oat milk, warmed to the right temp. Avoid overheating or the yeast may die.
Butter: Adds richness and flavor. You can swap with margarine or plant-based butter for dairy-free options. Melt it gently so it doesn’t cook the egg when mixing.
Egg: Gives structure and adds moisture. If you’re vegan or allergic, try a flax egg (1 tbsp ground flax + 3 tbsp water, mixed and rested) as a substitute.
How Do I Get Soft, Fluffy Dinner Rolls Every Time?
Making soft rolls means careful kneading, proper rising, and baking at the right time. Here’s my method:
- Kneading: Work the dough until smooth and elastic—about 8-10 minutes by hand or 6-8 minutes with a mixer. This develops gluten, giving a chewy, soft texture.
- First rise: Let the dough double in size in a warm spot. This activates the yeast and creates air bubbles essential for fluffiness.
- Shaping: Make smooth dough balls by pulling edges under to create tension on top. This helps them keep a nice shape during the second rise.
- Second rise: Let the shaped rolls puff up again until nearly doubled. This ensures they bake light and airy.
- Baking: Bake until golden brown. Don’t overbake or they dry out. Brush with butter right after to keep soft and add flavor.
Following these steps patiently really makes a difference. You’ll end with rolls that are tender inside with a lovely golden crust on the outside!
Equipment You’ll Need
- Mixing bowls – I use a large bowl for mixing and proofing the dough, making it easy to handle and keep warm.
- Measuring cups and spoons – for accurate ingredient amounts, ensuring your rolls turn out perfect.
- Stand mixer with a dough hook (optional) – speeds up kneading and helps develop the gluten without heavy arm work.
- 9-inch round baking pan or cast-iron skillet – gives the rolls a lovely shape and even baking.
- Pastry brush – for brushing melted butter on top of the baked rolls, keeping them soft and shiny.
- Plastic wrap or clean towel – covers the dough during rising to prevent it from drying out and creating a warm environment.
Flavor Variations & Add-Ins
- Cheddar and herbs – mix shredded cheddar cheese and chopped herbs into the dough for savory, cheesy rolls.
- Cinnamon sugar – sprinkle a cinnamon-sugar mixture on the rolls before baking for sweet, dessert-like treats.
- Garlic butter – brush the rolls with garlic-infused butter after baking for extra flavor and aroma.
- Sun-dried tomatoes and basil – fold chopped sun-dried tomatoes and fresh basil into the dough for an Italian twist.
Essential Equipment & Delicious Variations for Dinner Rolls
What You’ll Need:
- Large mixing bowls – for combining and rising the dough comfortably.
- Measuring cups and spoons – to get every ingredient just right.
- Stand mixer with dough hook (optional) – helps knead the dough quickly and evenly.
- 9-inch round baking pan or cast iron skillet – perfect for shaping and baking the rolls together.
- Pastry brush – to apply melted butter for a soft, shiny finish.
- Plastic wrap or clean kitchen towel – keeps the dough moist during rising.
- Floured surface or dough scraper – handy for kneading and shaping the dough.
Try These Yummy Variations:
- Garlic Herb Rolls: Mix in a teaspoon of dried herbs like rosemary or thyme into the dough and brush rolls with garlic butter after baking.
- Cheesy Rolls: Fold shredded sharp cheddar or mozzarella into the dough for a melty surprise inside.
- Sweet Cinnamon Rolls: Sprinkle the dough balls with cinnamon sugar before the second rise, then brush with butter and sugar glaze after baking.
- Sun-Dried Tomato & Basil: Add chopped sun-dried tomatoes and fresh chopped basil into the dough for an Italian flavor twist.
Can I Use Instant Yeast Instead of Active Dry Yeast?
Yes! You can use instant yeast and mix it directly with the flour without dissolving it first. It may even shorten the rise time slightly since it activates faster.
How Should I Store Leftover Dinner Rolls?
Keep leftovers in an airtight container or zip-top bag at room temperature for up to 2 days. For longer storage, freeze the rolls wrapped tightly and thaw before reheating.
Can I Make the Dough Ahead of Time?
Absolutely! After the first rise, punch down the dough, cover it tightly, and refrigerate overnight. Let it come to room temperature and rise a bit before shaping and baking.
What’s the Best Way to Reheat Dinner Rolls?
Warm rolls in a 300°F (150°C) oven for 5-10 minutes, or microwave wrapped in a slightly damp paper towel for about 15 seconds to keep them soft and fresh-tasting.