
Soft key lime cookies with a glossy lime glaze hit that sweet-tart middle ground that keeps you reaching for one more. The centers stay tender and almost cake-like, while the edges bake up just enough to give the cookies structure without drying them out. The glaze sets into a thin, tangy shell that turns every bite brighter.
What makes these work is the balance of fat, citrus, and just enough flour to hold the dough together. Creaming the butter and sugar until fluffy gives the cookies lift, and the lime zest does more heavy lifting than the juice alone ever could. If you’ve had citrus cookies turn flat or dull, it usually means the dough was overloaded with liquid or the glaze was added before the cookies cooled.
Zesting the limes before juicing them saves a lot of fuss, and letting the cookies cool completely before glazing keeps the topping from sliding off. Below, I’ve included the one baking cue that matters most for keeping the centers soft, plus a few ways to adjust the recipe if you want a sharper lime finish or a different texture.
The cookies stayed soft for days and the glaze set up beautifully without getting sticky. I added a little extra zest and the lime flavor came through in every bite.
These key lime cookies bake up soft, tangy, and finished with that bright glaze you’ll want to keep on hand for cookie trays and bake sales.
The Tiny Lime Bursts That Keep These Cookies From Tasting Flat
Key lime cookies can end up one-note if all the citrus comes from juice alone. The juice gives the tartness, but the zest carries the aroma that makes the cookies taste bright instead of sour. That’s why the zest goes into the dough early, where it can rub into the sugar and perfume the whole batch.
The other thing that matters here is keeping the dough just mixed. Once the flour goes in, stop as soon as the streaks disappear. Overworking it makes the cookies tougher and can push them toward a puffy, breadier texture instead of a soft, tender crumb.
These cookies also rely on a short bake. Pull them when the edges have just started to turn pale gold and the centers still look slightly soft. They finish setting on the pan, and that extra minute in the oven is often the difference between tender cookies and dry ones.
What Each Ingredient Is Actually Doing in These Key Lime Cookies
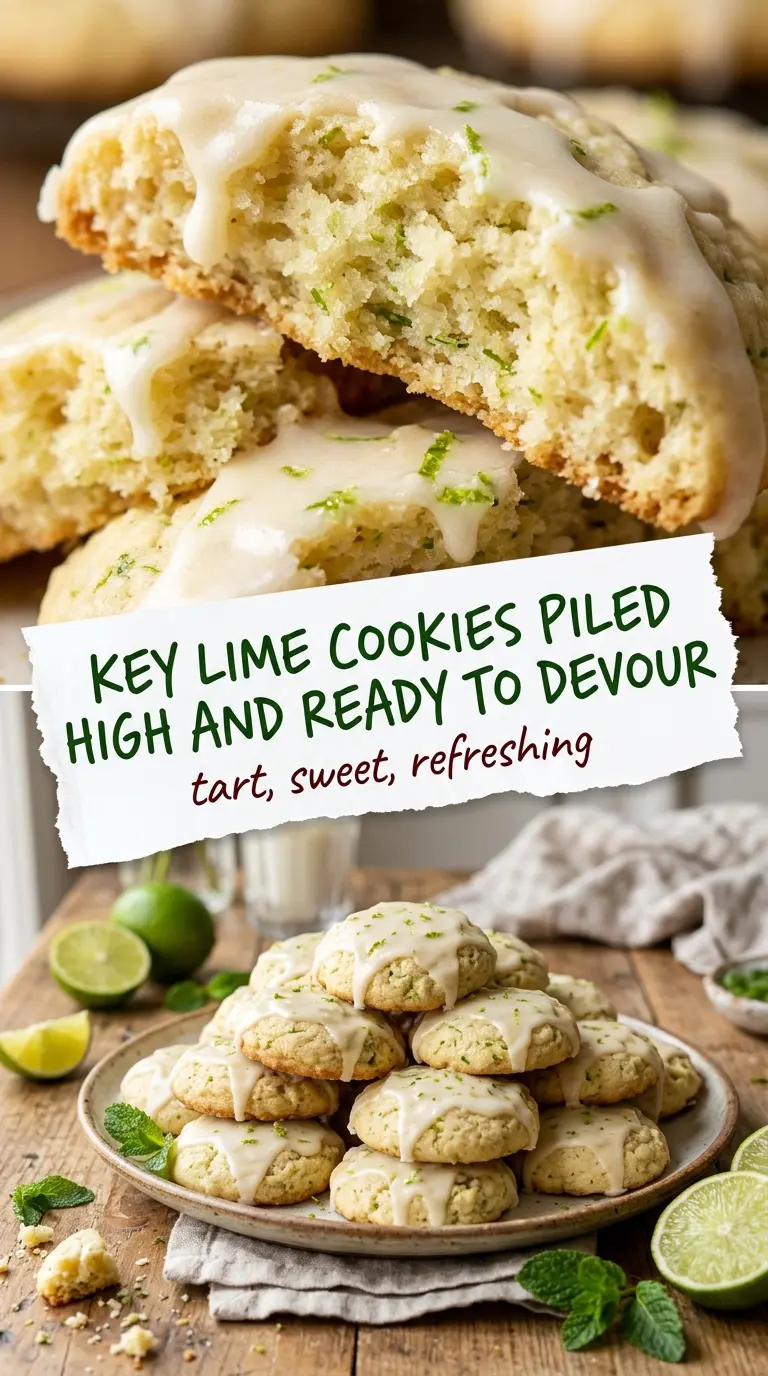
- Butter — Softened butter traps air when you cream it with the sugar, which gives these cookies their light, tender crumb. If your butter is melted or too warm, the dough spreads more and the cookies lose that soft center.
- Sugar — Regular granulated sugar gives structure and helps the edges bake with a little bite. It also works with the lime zest during creaming, which pulls more citrus aroma into the dough.
- Key lime zest and juice — The zest brings the real key lime character, while the juice adds the tang. If you only have regular limes, use them; the cookies will still work, just with a slightly sharper, less floral citrus note.
- Flour — This is what keeps the cookies from collapsing into thin rounds. Spoon and level it if you can, because packed flour makes the dough dry and dense.
- Baking powder — This gives the cookies a gentle lift without making them cakey. It’s what keeps them from baking up flat after the citrus juice goes in.
- Powdered sugar for the glaze — Powdered sugar dissolves cleanly and makes a smooth glaze instead of a gritty one. If it looks too thick, add lime juice a few drops at a time until it drizzles easily.
Getting the Dough Mixed Just Enough and the Glaze Smooth
Creaming the Butter and Sugar
Beat the butter and sugar until the mixture looks pale and fluffy, not just combined. That usually takes a few minutes and the texture should look a little like whipped frosting. If you rush this part, the cookies can bake up dense instead of tender. Scrape down the bowl once or twice so the butter at the bottom doesn’t stay streaky.
Working in the Lime
Beat in the egg, vanilla, zest, and measured lime juice before the dry ingredients go in. The zest should look evenly speckled through the batter, and the mixture may look slightly looser once the juice is added. That’s normal. What you don’t want is a wet, glossy batter; if it looks soupy, too much juice went in and the flour won’t hold the dough properly.
Bringing the Dough Together
Fold in the flour and baking powder just until no dry patches remain. The dough should be soft and scoopable, not sticky enough to pour. If you keep mixing after the flour disappears, the cookies can turn tough around the edges. Scoop them right away so the dough stays easy to portion and doesn’t warm up too much.
Baking and Finishing
Bake until the edges are just barely golden and the centers still look set but soft. Let them sit on the baking sheet for a few minutes before moving them, or they may break while they’re still fragile. Whisk the powdered sugar with the remaining lime juice until smooth, then drizzle it over fully cooled cookies. If the cookies are even slightly warm, the glaze thins out and disappears instead of sitting on top.
How to Adapt These Cookies for Different Tastes and Diets
Make Them a Little More Tart
Use the full amount of lime juice in the dough and keep the glaze on the thinner side so it brings more sharpness than sweetness. The cookies will taste brighter, but the crumb stays the same because the flour balance doesn’t change.
Gluten-Free Version
Use a good 1:1 gluten-free baking blend in place of the flour. The texture will be a little more delicate, so let the cookies cool fully on the pan before moving them. That rest time helps them set without breaking.
Dairy-Free Swap
Use a plant-based butter that’s designed for baking and keep it cold until you’re ready to cream it. Some spreads contain extra water, which can make the cookies spread more, so chill the scooped dough for 15 minutes if it seems soft.
Storage and Reheating
- Refrigerator: Store in an airtight container for up to 5 days. The glaze may soften slightly, but the cookies stay tender.
- Freezer: These freeze well without the glaze. Freeze the baked cookies in a single layer, then glaze after thawing for the best texture and the cleanest finish.
- Reheating: Warm unglazed cookies for 5 to 8 seconds in the microwave if you want them soft again. Don’t reheat glazed cookies for long, or the icing will melt and turn sticky.
Questions I Get Asked About This Recipe
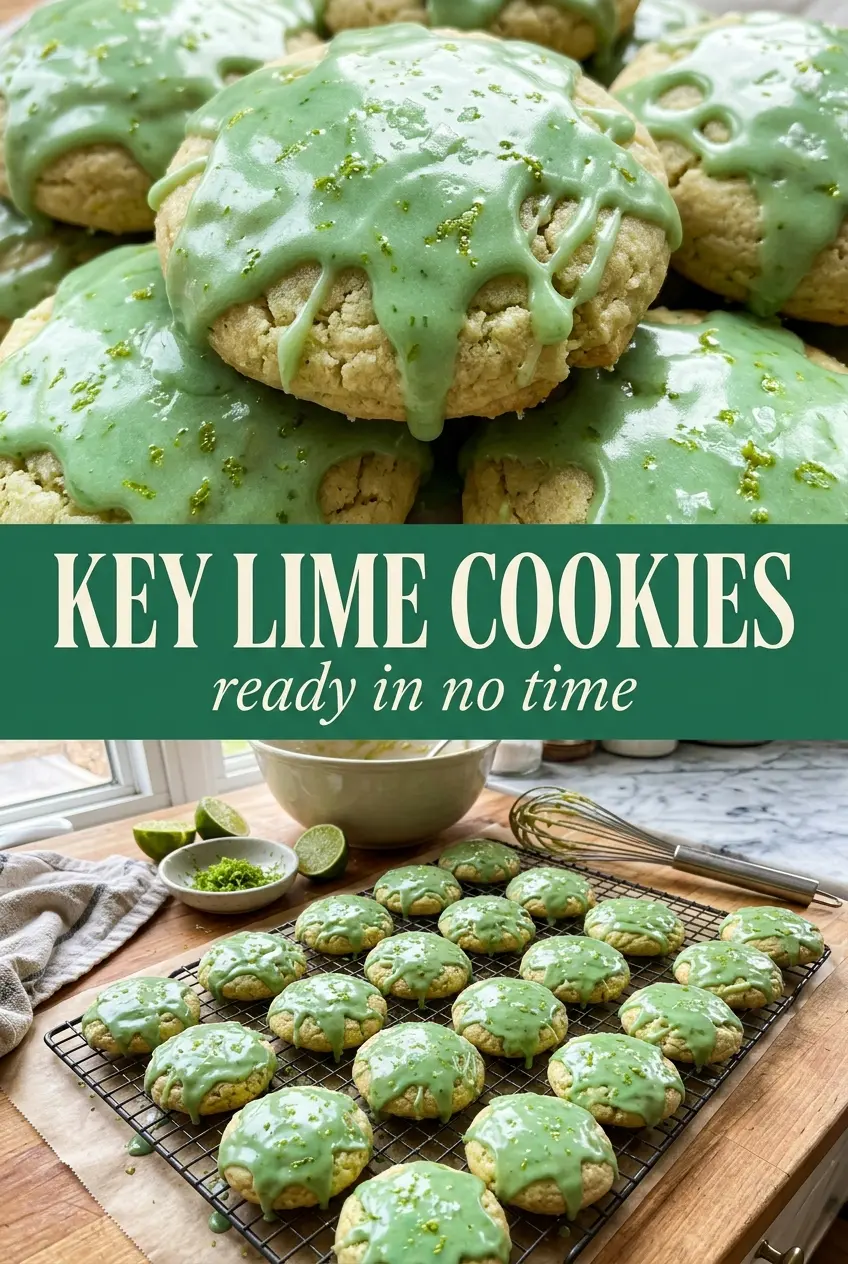
Easy Key Lime Cookies With Lime Glaze
Ingredients
Equipment
Method
- Preheat the oven to 350°F and line a sheet pan for easy transfer. Arrange the pan so cookies can bake evenly without overcrowding.
- Cream butter and sugar together until fluffy. Mix until the color lightens and the texture looks aerated.
- Beat in the egg, vanilla extract, lime zest, and 2 tbsp lime juice. Keep mixing until the batter is smooth and glossy.
- Fold in the flour and baking powder until just combined. Stop mixing as soon as no dry streaks remain to keep the cookies tender.
- Scoop dough onto the prepared sheet pan, spacing them apart. Bake for 10-12 minutes at 350°F until the edges are just golden.
- Whisk powdered sugar with the remaining lime juice until smooth. The glaze should be pourable and thick enough to coat.
- Drizzle the glaze over cooled cookies. Let the glaze set before stacking or serving.