
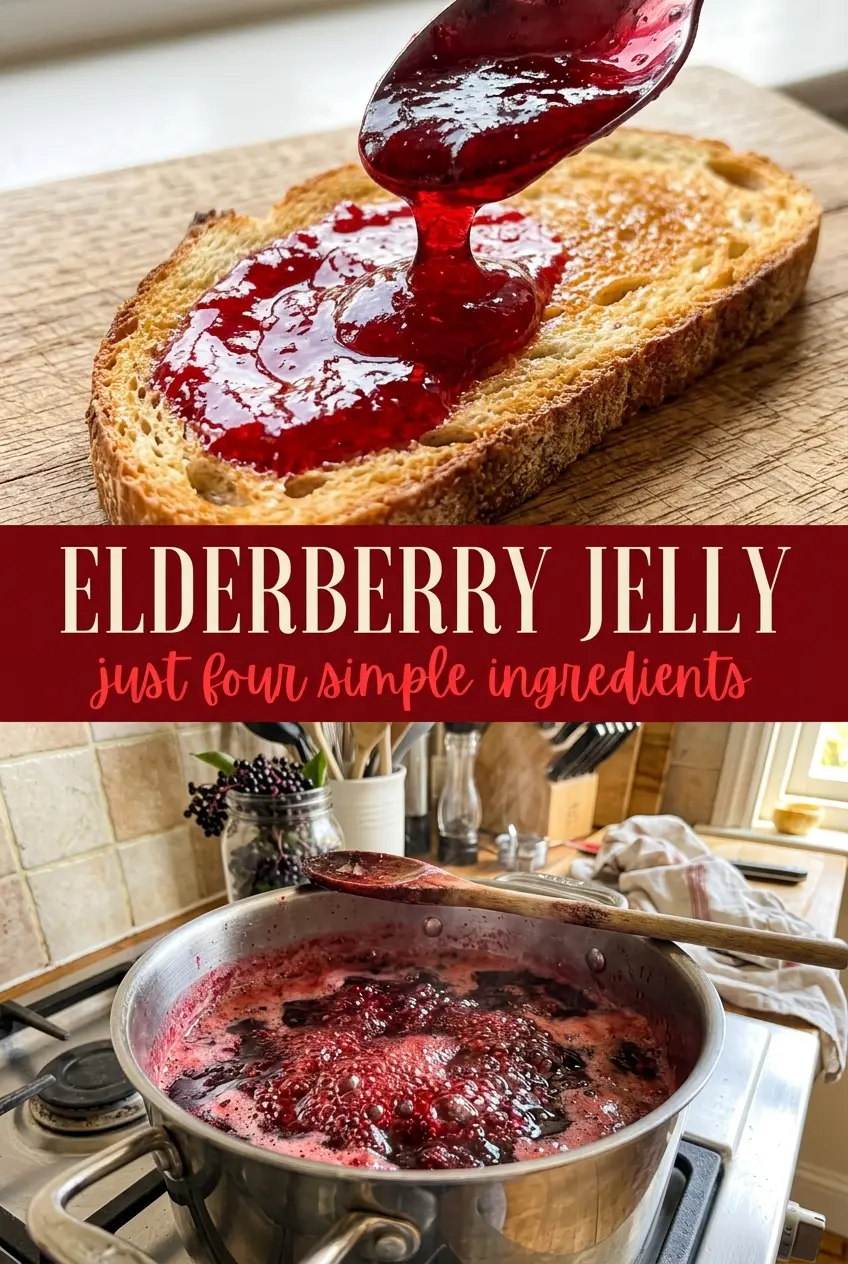
Glossy elderberry jelly earns its place in the pantry because it sets into a clean, spoonable spread with a deep ruby color and a tart finish that tastes brighter than most store-bought jellies. It’s the kind of jar that makes plain toast feel like something worth slowing down for, and the texture lands right between firm and delicate instead of sliding off the bread.
The trick is balancing the natural tartness of the elderberry juice with enough sugar and pectin to create a reliable set. The jelly needs a full rolling boil after the sugar goes in, and that one-minute timing matters more than people think. Too little and it stays loose; too much and the flavor dulls and the texture gets overly stiff.
Below, I’ll walk through the part that matters most: how to get a dependable set without turning the batch gummy. I’ve also included the small details that keep the color bright and the jars clean, plus a few storage notes so the jelly stays just as good weeks later.
The jelly set up beautifully right at 220°F, and the texture is perfect — not rubbery at all. I used it on biscuits and the color was gorgeous.
Like this deep ruby elderberry jelly? Save it to Pinterest for the morning toast, biscuit, and gift-jar moments when you want a spread that sets beautifully every time.
The Part That Makes Elderberry Jelly Set Instead of Staying Syrupy
Jelly failures usually come from one of two places: not reaching a true boil, or not holding that boil long enough after the sugar goes in. Elderberry juice has plenty of character, but it still needs the pectin to be activated at the right temperature and timing. If the boil is timid, the mixture never gets hot enough for the set to happen cleanly.
The other trap is stirring and second-guessing the clock. Once the sugar hits the pot, the mixture needs a full rolling boil that doesn’t stop when you stir it. The foam on top is normal; it skims off easily at the end, and leaving it alone during the boil helps the jelly set with a smoother finish.
What Each Ingredient Is Actually Doing in This Dish

- Elderberry juice — This is the backbone of the jelly, so the flavor of your juice matters. Freshly strained juice gives the brightest color, but bottled elderberry juice works if it’s unsweetened and not diluted.
- Lemon juice — This sharpens the flavor and helps the set by adding acidity. Bottled lemon juice is fine here because consistency matters more than fresh-squeezed fragrance.
- Powdered pectin — This is what turns a sweet fruit syrup into jelly. Don’t swap in a different type of pectin unless the package instructions match, because the ratio and boil time can change.
- Granulated sugar — The sugar isn’t just for sweetness; it works with the pectin to create the proper gel. Cutting it down usually means a softer set and a less stable jar.
Building the Jelly So It Cooks Down Cleanly
Start With Sterilized Jars
Wash the jars and lids in boiling water before you start the jelly so everything is hot and ready when the pot comes off the stove. Cold jars can crack when the hot jelly goes in, and a rushed canning setup is where a clean batch can turn messy fast. Keep the jars warm until filling so the jelly doesn’t start setting in the ladle.
Bring the Juice, Lemon, and Pectin Together First
Whisk the elderberry juice, lemon juice, and pectin in a large pot before you heat it. That keeps the pectin from clumping in the bottom of the pan, which is one of the most common reasons people end up with grainy spots. The mixture should look smooth before it ever reaches a boil.
Boil Hard, Not Gently
Once the mixture reaches a full rolling boil, keep it there and stir constantly. You want bubbles that don’t stop when you stir through them, not just steam and a few lazy pops at the edges. This is the stage that activates the pectin, and if the boil softens too much, the set can fail.
Add the Sugar All at Once and Time It
Pour in all the sugar and bring the pot back to a full boil for exactly 1 minute. That minute is the difference between a spoonable jelly and a loose syrup, so start timing when the boil returns, not before. If the mixture climbs up the pot, lower the heat slightly while keeping the boil vigorous enough to keep moving.
Skim, Jar, and Process
Take the pot off the heat, skim the foam from the surface, and ladle the jelly into the hot jars with 1/4 inch headspace. Wipe the rims clean before sealing, because any residue can keep the lids from closing properly. Process the filled jars in a boiling water bath for 10 minutes so the seals hold through pantry storage.
What to Change When You Need a Different Finish
Lower-Sugar Jelly
You can’t just cut the sugar in this version and expect the same set. If you want a lighter jelly, use a pectin designed for reduced-sugar preserves and follow that package’s sugar ratio exactly, or the texture will stay loose.
Strained or Clearer Jelly
If your juice has a little pulp, strain it through fine cheesecloth before cooking. The flavor stays the same, but the finished jelly looks cleaner and glossier in the jar.
No Fresh Elderberries on Hand
Frozen elderberry juice works well as long as it’s unsweetened and measured after thawing. If the juice is concentrated or blended with other fruit, the flavor and set can drift, so keep the ratio close to the original recipe.
Storage and Reheating
- Refrigerator: Opened jars keep for about 3 weeks in the fridge. The texture may firm up a little more after chilling, which is normal.
- Freezer: This jelly isn’t the best freezer candidate once it’s sealed and processed. A little batch in a freezer-safe container can work for short-term use, but the set can turn softer after thawing.
- Reheating: Jelly doesn’t need reheating for serving, but if you want to loosen it for glazing, warm only the amount you need over low heat. High heat can make it runny at first and then overly sticky as it cools.
Questions I Get Asked About This Recipe
Elderberry Jelly
Ingredients
Equipment
Method
- Sterilize canning jars and lids in boiling water until ready to fill, keeping everything hot. Set the jars on a clean surface so they stay warm while the jelly cooks.
- In a large pot, whisk together the elderberry juice, lemon juice, and pectin until smooth. Bring the mixture to a full rolling boil over high heat while stirring constantly.
- Stir in the sugar all at once and return to a full rolling boil. Boil for exactly 1 minute, continuing to stir to prevent sticking.
- Remove from heat and skim off any foam from the surface. Keep the jelly hot so it fills smoothly and stays at a pourable consistency.
- Ladle the hot jelly into sterilized jars, leaving 1/4 inch headspace. Seal with lids and bands, tightening just until secure.
- Process the sealed jars in a boiling water bath for 10 minutes. Remove carefully, cool undisturbed, and confirm seals before storing.