
Ground beef enchiladas land on the table with exactly what you want from a pan of baked comfort food: soft tortillas, seasoned beef, and a saucy top that bubbles at the edges before the cheese turns golden. The best versions don’t go dry in the oven, and they don’t turn soggy either. This one stays balanced because the filling is rich but not loose, the sauce goes in layers, and the tortillas get just enough help to roll without cracking.
The trick is to build flavor in the skillet before anything goes into the baking dish. Browning the beef with onion, cumin, and chili powder gives the filling a deeper base than plain taco meat, and stirring in a little sauce and cheese before rolling helps everything hold together once it bakes. Warm tortillas matter here too. Cold flour tortillas split the second you try to roll them, and that’s how you end up with filling leaking into the pan instead of staying tucked inside.
Below, I’ve included the one timing detail that keeps the enchiladas neat, plus a few smart swaps if you need to work with what’s already in your kitchen.
The beef filling held together perfectly and the enchiladas didn’t get soggy, even after sitting for a few minutes. Warming the tortillas first made rolling them so much easier, and the extra cheese on top turned into those melty strings everyone wanted.
Ground beef enchiladas with saucy layers and melty cheese are the kind you’ll want to pin for game day or an easy family dinner.
The reason these enchiladas stay rolled instead of falling apart
The biggest mistake with enchiladas is overfilling the tortillas and then wondering why the whole pan looks messy after baking. A thin layer of sauce under the rolls keeps them from sticking, but the real stability comes from the filling itself. Once the beef is browned and drained, it should be juicy enough to taste good but not wet enough to flood the tortilla.
Cheese inside the filling does more than add richness. It helps bind the beef so it settles into a compact roll instead of slipping out the ends. The sauce belongs both inside and on top, but not in huge amounts. Too much sauce in the filling turns the tortillas soft before they even hit the oven.
What Each Ingredient Is Actually Doing in This Dish
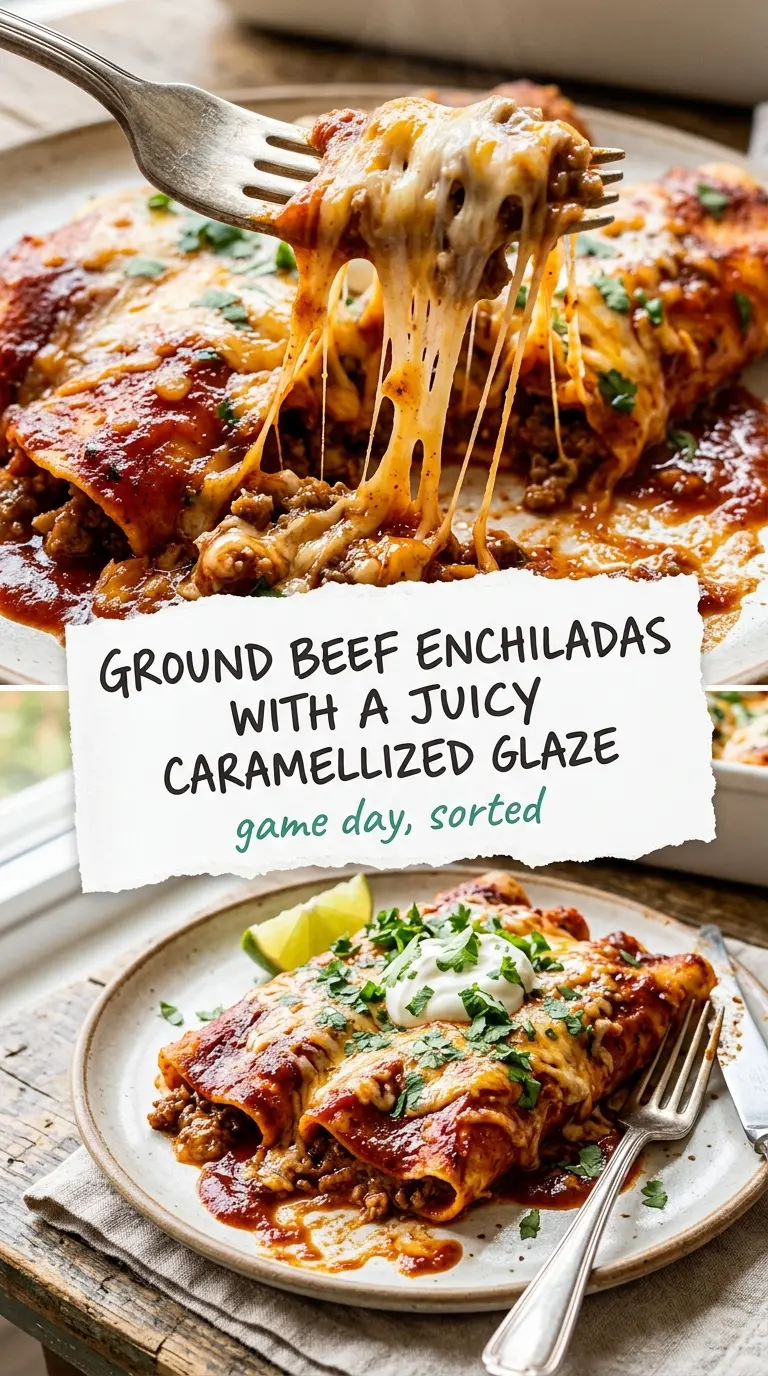
- Ground beef — An 80/20 or 85/15 blend gives you enough flavor without swimming in grease. If you use a leaner beef, the filling will taste a little lighter, so keep the onion and seasoning in place.
- Red enchilada sauce — This is where the main flavor and moisture come from. Use a sauce you actually like, because a bland one makes the whole pan taste flat.
- Flour tortillas — They roll easily and bake up soft. Corn tortillas work if you want a more traditional version, but they need to be warmed well or they’ll crack when you fold them.
- Shredded cheese — A melty blend like Monterey Jack, cheddar, or a Mexican blend works best. Pre-shredded cheese is fine here, though freshly grated melts a little smoother if you have the time.
- Onion — Diced onion cooks right into the beef and gives the filling depth. If you skip it, the meat tastes flatter, so I’d only leave it out if you absolutely have to.
Building the filling so it tastes cooked, not just mixed
Brown the beef with the onion first
Cook the beef and diced onion together over medium heat until the meat loses its pink color and the onion turns soft and translucent. You want some browning on the bottom of the pan because that’s where the flavor builds, but don’t let the beef sit in a puddle of fat. If the pan looks greasy, drain it before seasoning or the enchiladas will taste heavy.
Season while the meat is still hot
Stir in the cumin and chili powder while the beef is hot so the spices bloom in the fat. That keeps the seasoning from tasting raw or dusty. At this point the filling should smell warm and savory, not sharp, and the onion should have disappeared into the meat instead of staying crunchy.
Roll the tortillas while they’re warm and flexible
Warm the tortillas briefly before filling them, whether you do that in the microwave, a dry skillet, or wrapped in foil in the oven. Cold tortillas split along the seam and crack at the fold, especially once they’re stuffed with beef and cheese. Spoon the filling down the center, roll tightly, and place each one seam-side down so it stays put in the dish.
Bake until the sauce bubbles at the edges
Pour the remaining sauce over the top and scatter the rest of the cheese over everything before baking. The enchiladas are done when the cheese is melted, the sauce is bubbling around the edges, and the center feels hot all the way through. If the top browns too quickly, tent it loosely with foil for the last few minutes so the sauce doesn’t dry out.
How to change these enchiladas without losing the good part
Make them gluten-free with corn tortillas
Corn tortillas give you a more classic enchilada texture and make this naturally gluten-free, but they’re less flexible than flour tortillas. Warm them first and work quickly so they don’t tear. The flavor gets a little earthier, and the texture is a touch sturdier once baked.
Swap in ground turkey for a lighter pan
Ground turkey works well if you want something a little leaner, but it needs the onion and seasoning to carry more of the flavor. Add a small splash of oil if the pan looks dry while browning. The result is milder, so choose a red sauce with enough punch to stand up to it.
Make it dairy-free by skipping the cheese and using a richer sauce
You can leave out the cheese and still get a good pan of enchiladas, but the filling will be looser, so don’t overstuff the tortillas. Use a sauce with plenty of body and a little extra seasoning in the meat to replace the richness the cheese normally brings. The finished dish won’t have the same pull, but it still bakes up satisfying and bold.
Storage and Reheating
- Refrigerator: Store covered for up to 4 days. The tortillas soften a bit as they sit, but the flavor stays strong.
- Freezer: These freeze well after baking. Cool completely, wrap tightly, and freeze in portions for up to 2 months. The sauce may loosen slightly after thawing, but the texture holds up better than you’d expect.
- Reheating: Reheat covered in a 350°F oven until hot in the center, or use the microwave for individual portions. The common mistake is blasting them uncovered, which dries out the edges before the middle warms through.
Answers to the questions worth asking
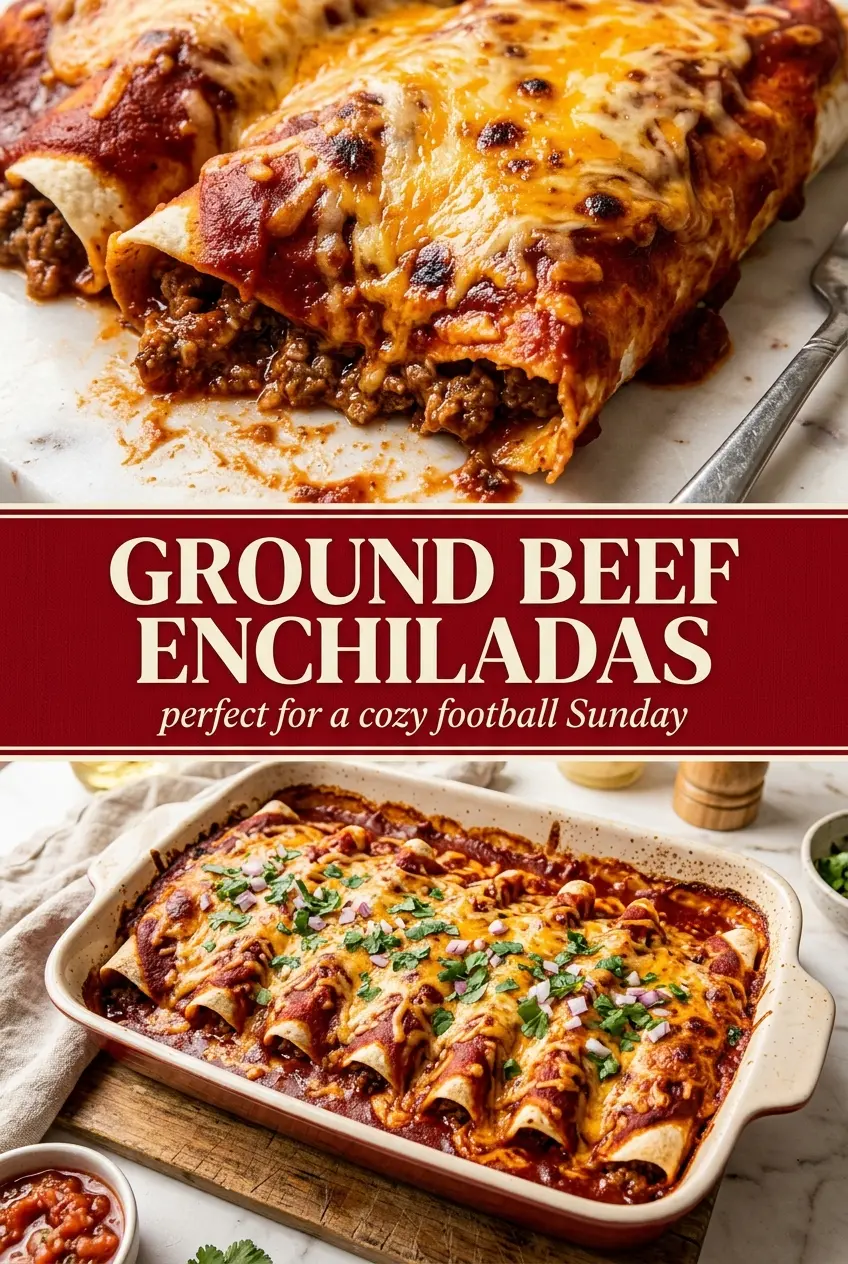
Ground Beef Enchiladas
Ingredients
Equipment
Method
- Preheat the oven to 375°F and set out a baking dish for assembling the enchiladas.
- Warm the flour tortillas briefly until pliable so they don’t crack when you roll them.
- Brown the ground beef with the diced onion, cumin, and chili powder in a hot pan until the beef is no longer pink.
- Drain any excess fat so the filling stays thick and not greasy.
- Stir in 1 cup shredded cheese and ½ cup red enchilada sauce until the mixture is evenly coated and cheesy.
- Spoon a thin layer of enchilada sauce into the baking dish to prevent sticking and add moisture.
- Fill each tortilla with the beef mixture, roll, and place seam-side down in the dish.
- Pour the remaining sauce over the top, sprinkle with the remaining shredded cheese, and add fresh cilantro for garnish.
- Bake at 375°F for 20-25 minutes until bubbly and the tops look lightly golden at the edges.