
Mac and cheese packed into a thermos has to do two jobs at once: it needs to taste like dinner, and it needs to stay creamy enough to still feel worth opening at lunchtime. This version does both. The sauce is built from a simple roux, which gives it a smooth, stable body that clings to every curve of the macaroni instead of sliding off and turning oily in the container.
Sharp cheddar brings the bold, familiar flavor kids expect, but the real difference is in the way it gets melted. The cheese goes in off the heat, a handful at a time, so the sauce stays glossy instead of grainy. Once the pasta is coated, it goes straight into a preheated thermos while it’s still piping hot, which is what keeps that creamy texture intact until lunch.
If you’ve ever opened a lunchbox to find stiff noodles or a broken cheese sauce, the method below is the part worth paying attention to. There’s also a good swap for gluten-free noodles and a few storage notes that help this work on school mornings when everything has to move fast.
The sauce stayed smooth and creamy in the thermos, and my son said the noodles were still warm at lunch. I also loved that the cheddar flavor came through without getting greasy or gluey.
Creamy mac and cheese thermos lunch for the days when you need a lunchbox that still tastes hot, silky, and loaded with cheddar.
The Reason This Thermos Mac Stays Creamy Instead of Turning Stiff
The biggest mistake with thermos mac and cheese is cooking the sauce like it only has to survive the stove. It also has to survive time, movement, and a sealed container. That means the sauce needs enough body to coat the pasta without becoming paste-thick as it sits. A roux gives you that structure, and the off-heat cheese addition keeps the sauce smooth instead of breaking into little oily specks.
Temperature matters just as much as technique. If the macaroni cools down before it goes into the thermos, the sauce tightens too much before lunch ever starts. Hot pasta, hot sauce, and a preheated thermos give you the best shot at a lunch that still feels spoonable hours later.
What Each Ingredient Is Actually Doing in This Dish

- Elbow macaroni — The shape traps sauce in the curves, which is exactly what you want here. Small shells can work too, but long noodles don’t hold up as well in a thermos.
- Butter and flour — This roux is what keeps the sauce stable. If you skip it and just melt cheese into milk, the sauce is much more likely to separate as it sits.
- Milk — Whole milk gives the creamiest result, but 2% works if that’s what you have. Lower-fat milk is fine, though the sauce will be a little less plush.
- Sharp cheddar — Freshly shredded cheddar melts smoother than the bagged kind, which often has anti-caking starches that make sauces grainier. Extra-sharp cheddar gives the lunch more flavor because the thermos mutes seasoning a bit by lunchtime.
Building the Cheese Sauce in a Way That Still Works at Lunch
Cooking the Pasta Just Past Tender
Boil the macaroni until it’s just tender, not soft enough to fall apart when stirred. That extra minute matters because the pasta keeps absorbing liquid after the sauce goes on, and overcooked noodles turn mushy by lunchtime. Drain it well so you’re not watering down the sauce before it ever gets a chance to cling.
Whisking the Roux Until It Smells Toasty
Melt the butter over medium heat and whisk in the flour until it looks smooth and slightly foamy. Let it cook for 2 to 3 minutes, until it smells a little nutty and loses that raw flour taste. If the roux stays pale and chalky, the sauce can taste flat; if it browns too much, the cheese flavor gets buried.
Thickening the Milk Without Lumps
Add the milk slowly while whisking constantly so the roux loosens into a smooth sauce. At first it looks thin and a little uncertain, then it suddenly turns glossy and thick enough to coat the back of a spoon. If you dump the milk in all at once, the flour can clump before it has a chance to disperse.
Melting the Cheese Off the Heat
Pull the pan off the burner before you add the cheddar. Stir it in a handful at a time so each addition melts into a smooth sauce before the next goes in. High heat is what makes cheese sauce grainy and greasy, and once that happens, it’s hard to bring it back.
Filling the Thermos While Everything Is Hot
Fold the macaroni into the sauce until every piece is coated, then spoon it into a preheated thermos right away. The pasta should go in hot enough that steam is still rising from the pot. A cold thermos steals heat fast, which is why warming it with boiling water first makes a real difference.
How to Adapt This for Different Lunchboxes and Diets
Gluten-Free Version
Use your favorite gluten-free elbow macaroni and swap the all-purpose flour for a gluten-free 1:1 blend. The sauce still gets that same spoon-coating texture, though some gluten-free pastas soften faster, so keep a close eye on the cooking time and stop while the noodles still have a little bite.
Extra-Boosted Veggie Lunch
Stir in a handful of finely chopped steamed broccoli or peas after the cheese melts. Keep the pieces small so they don’t crowd the thermos or make the sauce feel bulky; this works best when the vegetables are tender enough to blend into the mac and cheese instead of fighting it.
Different Cheese Blend
Swap part of the cheddar for Monterey Jack, Colby, or mild gouda if you want a softer, milder sauce. Just keep some sharp cheddar in the mix or the lunch can taste muted once it’s been held warm for a few hours.
Storage and Reheating
- Refrigerator: Store leftovers in an airtight container for up to 3 days. The sauce will thicken as it chills, so expect it to look firmer the next day.
- Freezer: It freezes, but the sauce can turn a little grainy after thawing. If you do freeze it, cool it completely, pack it tightly, and thaw overnight in the fridge before reheating with a splash of milk.
- Reheating: Warm it gently on the stove or in the microwave with a spoonful of milk stirred in. The main mistake is blasting it on high heat, which dries out the pasta and can make the cheese separate.
Answers to the Questions Worth Asking
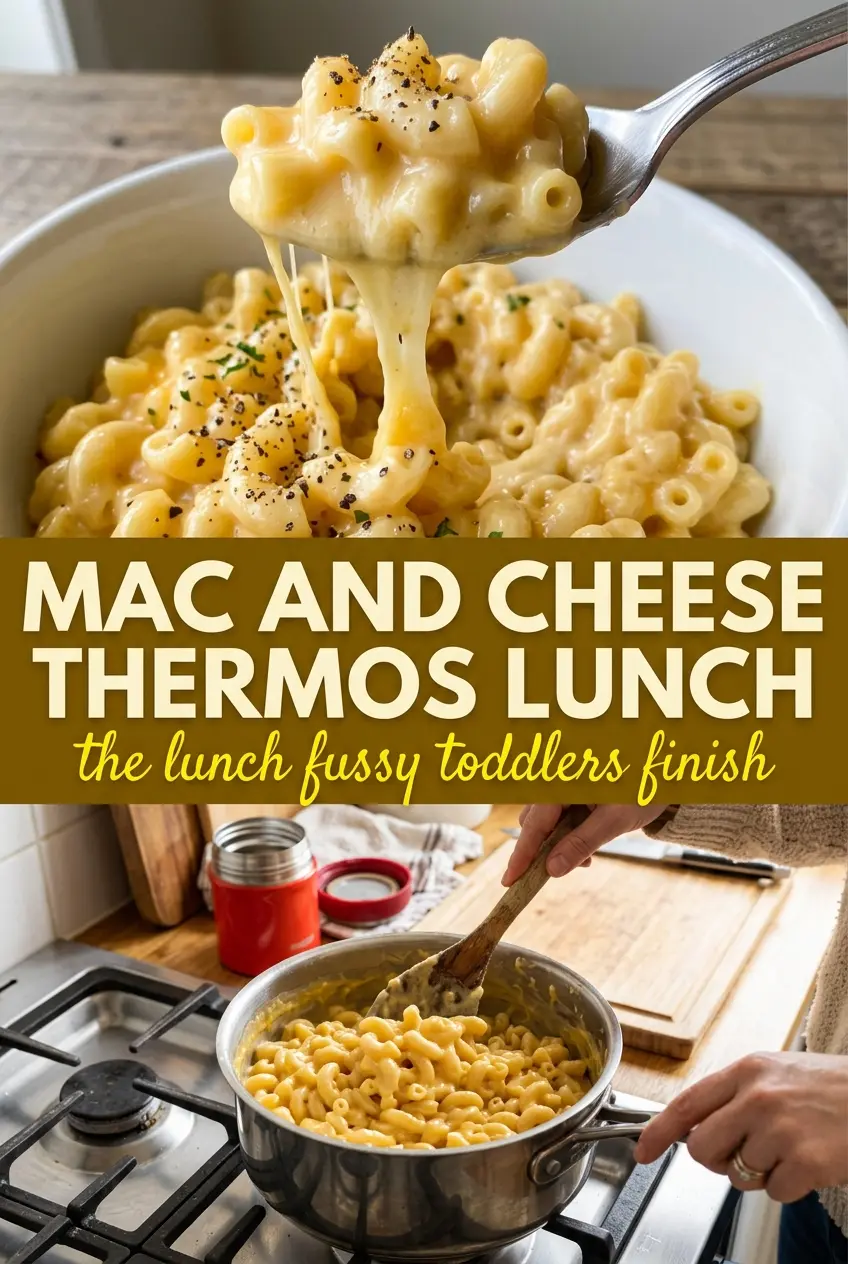
Mac and Cheese Thermos Lunch
Ingredients
Equipment
Method
- Cook the elbow macaroni according to package directions, then drain and set aside.
- Preheat the thermos by filling it with hot water while you cook the pasta.
- Melt the butter in a saucepan over medium heat, then whisk in the all-purpose flour and cook for 2 to 3 minutes to form a roux.
- Slowly whisk in the milk, stirring constantly until the mixture thickens and begins to bubble.
- Remove from heat and stir in the shredded sharp cheddar cheese a handful at a time until fully melted and smooth.
- Season with salt and pepper, then fold in the drained macaroni until fully coated.
- Spoon the hot mac and cheese into the preheated thermos to keep warm until lunchtime.