
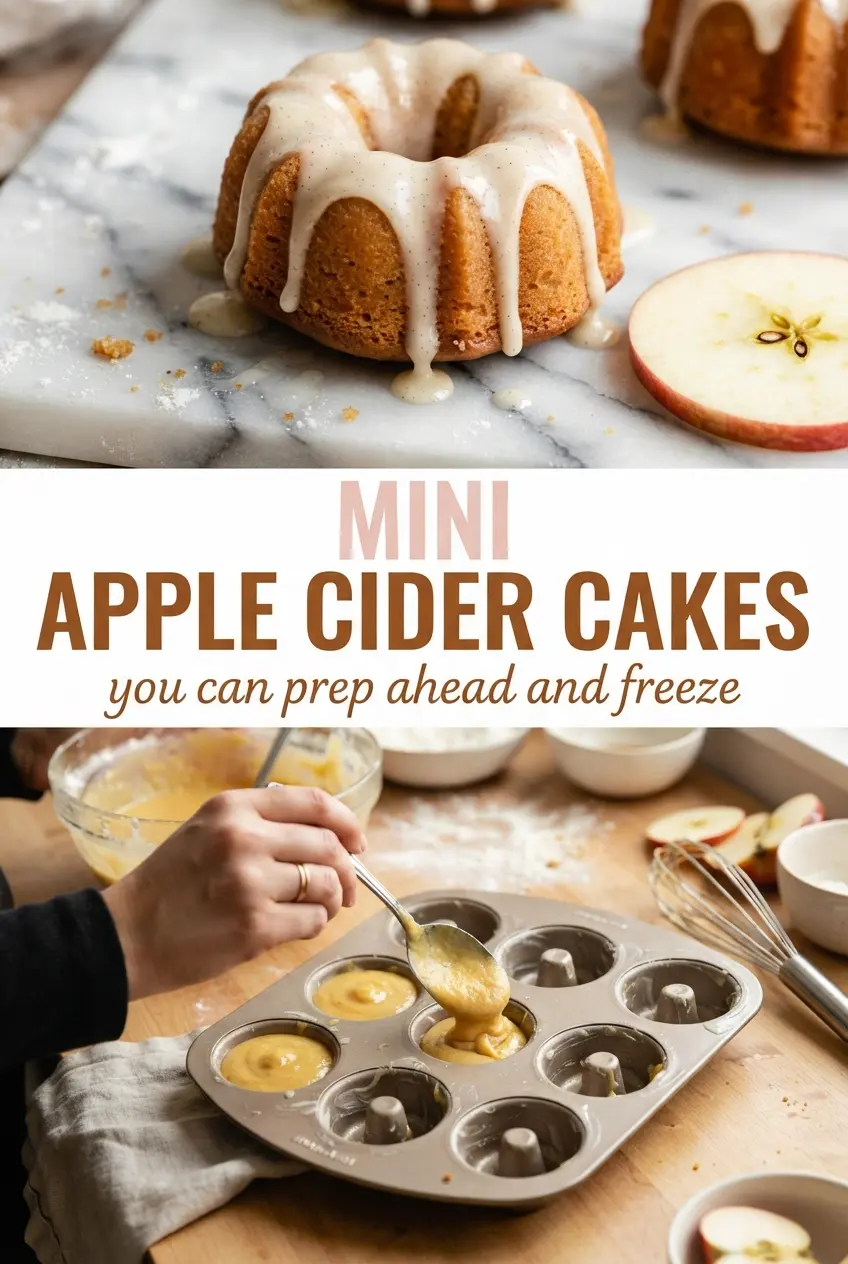
Mini apple cider cakes bake up with tender crumbs, a gentle cider tang, and a glossy vanilla glaze that settles into every ridge as it drips down the sides. They taste like the best part of a cider donut, only lighter and softer, with a single-serve size that makes them easy to share or stash away for later.
The trick is reducing the cider first. That step concentrates the apple flavor so it doesn’t disappear into the batter, and it also keeps the cakes from tasting flat. I also like beating the butter and sugar until the mixture turns pale and fluffy before adding anything else; that little bit of air gives these cakes their lift and keeps the texture fine and soft instead of dense.
Below, I’ll walk you through the reduction, the mixing order that keeps the batter tender, and the glaze that lands with the right thickness instead of running right off the cakes.
The cider flavor came through so clearly after reducing it first, and the glaze set up beautifully instead of soaking in. Mine baked in exactly 19 minutes and stayed soft the next day.
These mini apple cider cakes stay tender and glaze up like a dream, so pin this for the next time you want a make-ahead treat that tastes like a cider donut in cake form.
The Reason These Mini Cakes Stay Soft Instead of Drying Out
The biggest mistake with apple cider cakes is treating the cider like a background note. In a small cake, liquid flavor gets lost fast, and if you skip the reduction, you end up with a sweet vanilla cake that hints at apple instead of tasting like it. Reducing the cider to one-third cup gives you a stronger flavor without adding extra water to the batter.
The other thing that matters is not overmixing once the flour goes in. These mini cakes only need the batter brought together until the last streaks disappear. Stir too long and the crumb turns tight, which is the opposite of what you want in a cake this small and delicate. The goal is a soft, even crumb that springs back when you press the top lightly.
- Reduced apple cider — This is where the apple flavor comes from. Fresh cider tastes bright, but once you simmer it down, it becomes deeper and more concentrated. Let it cool before adding it to the batter so you don’t melt the butter.
- All-purpose flour — Standard flour gives these cakes enough structure without making them heavy. Cake flour will make them a touch lighter, but all-purpose is the better everyday choice here because it holds the cider and glaze without collapsing.
- Butter — Softened butter traps air when you beat it with the sugar, and that air is what helps the cakes bake up tender. If the butter is too cold, the mixture stays grainy and won’t whip properly.
- Powdered sugar glaze — The glaze is simple on purpose. It needs to be thin enough to flow, but thick enough to sit on top of the cakes instead of disappearing into them. Add the cider a little at a time until it falls in a ribbon off the whisk.
How to Build the Batter So the Cider Flavor Stays Front and Center
Reduce the cider first
Pour the cider into a small saucepan and simmer it until you’re left with about one-third cup. You should see the bubbles slow down and the liquid look slightly syrupy. If you reduce it too far, the flavor gets sharp and the volume won’t be enough for the batter, so pull it from the heat as soon as it measures correctly. Let it cool before moving on; warm cider can loosen the butter mixture and change the texture of the cakes.
Whip the butter and sugar until pale
Beat the softened butter and granulated sugar until the mixture looks fluffy and lighter in color. That usually takes a few minutes, not a quick stir. This step builds the structure that keeps the cakes soft, so if the mixture still looks dense and sandy, keep going. Add the eggs one at a time and mix just until the batter looks smooth before adding the vanilla.
Fold in the dry ingredients just until combined
Stir the flour, baking powder, salt, and cinnamon into the batter along with the cooled reduced cider. Stop as soon as the flour disappears. If you keep stirring after that point, the cakes can bake up tough and a little chewy around the edges. Fill each cup about two-thirds full so the batter has room to rise without spilling over the sides.
Glaze after the cakes are completely cool
Let the cakes cool all the way before you glaze them. If they’re warm, the glaze melts and soaks in instead of sitting on top in a thick white layer. Whisk the powdered sugar, cider, and vanilla until smooth, then spoon it over the cakes and let it drip naturally. A thick glaze gives you that pretty bakery look; a thin one vanishes into the cake and leaves you with sticky tops instead.
Three Ways to Make These Mini Apple Cider Cakes Fit Your Kitchen
Dairy-Free Version
Swap the butter for a plant-based stick butter with a similar fat content. Coconut oil works in a pinch, but it changes the flavor and firms up differently, so the crumb won’t be quite as plush. Use an unsweetened dairy-free milk only if you need to loosen the glaze; the cider already does most of the work.
Gluten-Free Cakes
Use a cup-for-cup gluten-free flour blend that includes xanthan gum. The texture will be a little more delicate and slightly less springy, but the cider flavor still comes through cleanly. Don’t swap in almond flour alone; these cakes need a starch-based blend to hold their shape in the mini pan.
Turn Them Into Donut-Style Muffins
Bake the batter in a standard muffin tin for a slightly bigger, more breakfast-style treat. Add 2 to 4 minutes to the bake time and watch for domed tops that spring back when touched. The flavor stays the same, but the texture becomes more muffin-like and less bite-size cake.
Storage and Reheating
- Refrigerator: Store glazed cakes in an airtight container for up to 4 days. The glaze softens a little, but the crumb stays tender.
- Freezer: Freeze the unglazed cakes for up to 2 months. Wrap them well, then thaw at room temperature before glazing so the frosting doesn’t slide off.
- Reheating: Warm unglazed cakes for 10 to 15 seconds in the microwave if you want them just slightly cozy. Don’t heat glazed cakes too long or the topping will melt into the cake instead of staying glossy.
Answers to the Questions Worth Asking
Mini Apple Cider Cakes
Ingredients
Equipment
Method
- Simmer the apple cider until reduced to ⅓ cup, then cool.
- Let the reduced cider cool completely so it doesn’t scramble the eggs in the batter.
- Preheat the oven to 350°F and grease a 12-cup mini cake or muffin pan.
- Beat the unsalted butter and granulated sugar until fluffy, about 1 to 2 minutes, then add the eggs and vanilla extract and beat until smooth.
- Stir in the dry ingredients and the reduced apple cider just until combined, then fill each cup about two-thirds full.
- Bake at 350°F for 18 to 20 minutes, until the tops spring back when lightly pressed and a toothpick comes out mostly clean.
- Cool the cakes completely.
- Whisk the glaze ingredients—powdered sugar, apple cider, and vanilla extract—until smooth, then spoon it over each cake so it drips down the sides.