
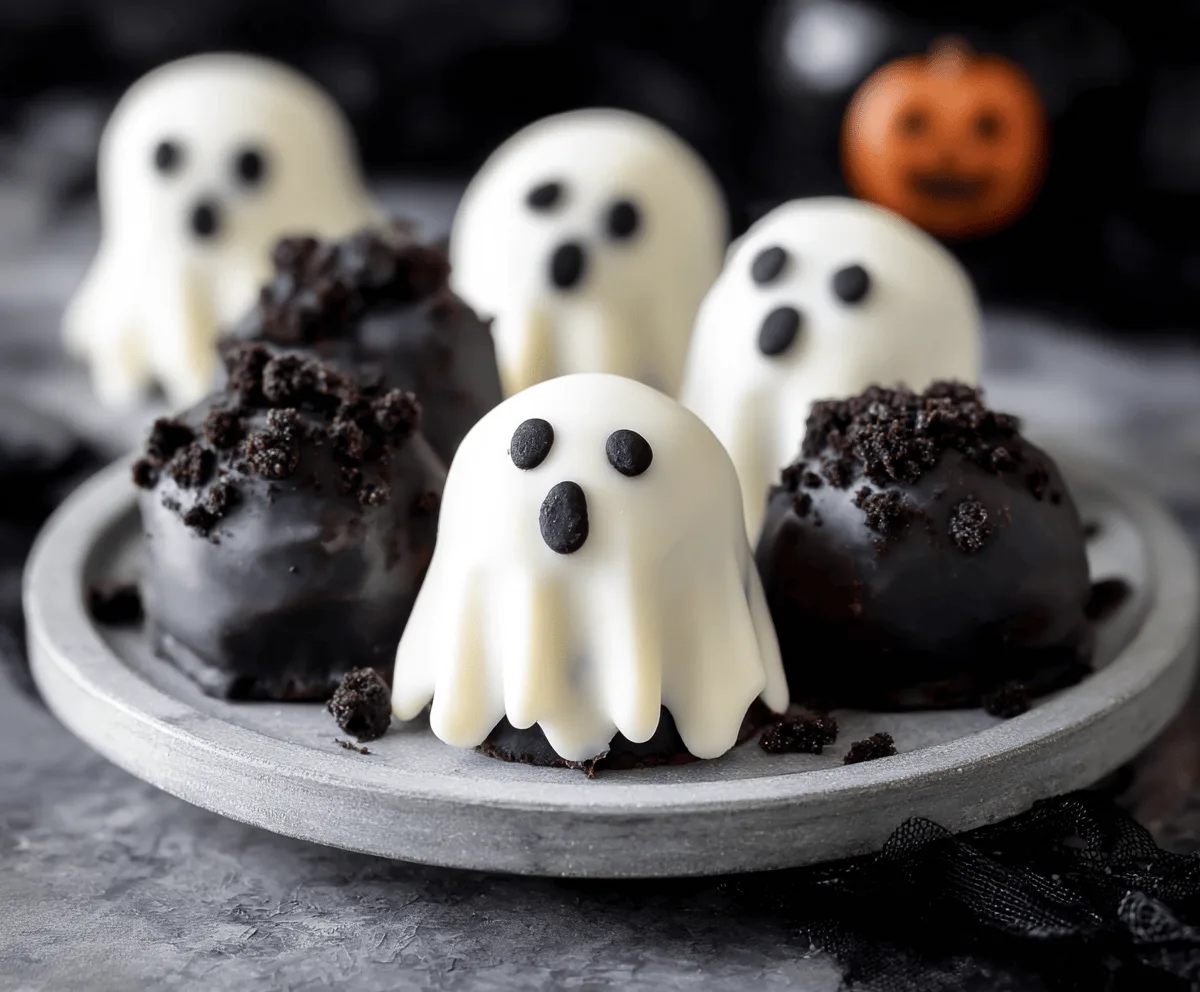
No-Bake Oreo Ghost Truffles are a fun and easy treat that everyone will love, especially around Halloween! These little ghost-shaped truffles are made from crushed Oreos mixed with cream cheese, all covered in smooth white chocolate and topped with cute little ghost faces. They’re sweet, creamy, and have just the right bit of crunch from the Oreos.
I love making these truffles because they don’t need any baking and come together super fast. Plus, decorating the ghosts is the best part—I always try out different silly faces! It’s a great activity to do with kids, and they always get so excited when they see the little ghosts ready to snack on.
These truffles are perfect for parties or just a simple snack at home. I like to pop them in the fridge to chill until they’re nice and firm, then serve them on a cute platter. They’re sure to be a hit whether you’re sharing them with friends or keeping them all to yourself!
Key Ingredients & Substitutions
Oreos: The main ingredient gives these truffles their classic chocolate cookie flavor. If you want, you can use any chocolate sandwich cookie as a substitute. Gluten-free Oreos work well too for dietary needs.
Cream Cheese: This makes the mixture soft and creamy, helping the crumbs stick together. Full-fat cream cheese is best for taste and texture, but you can use light cream cheese if you prefer.
White Chocolate Melts: These create the ghostly coating. Candy melts are easy to work with, but you can also use white chocolate chips. Just melt gently to avoid burning the chocolate.
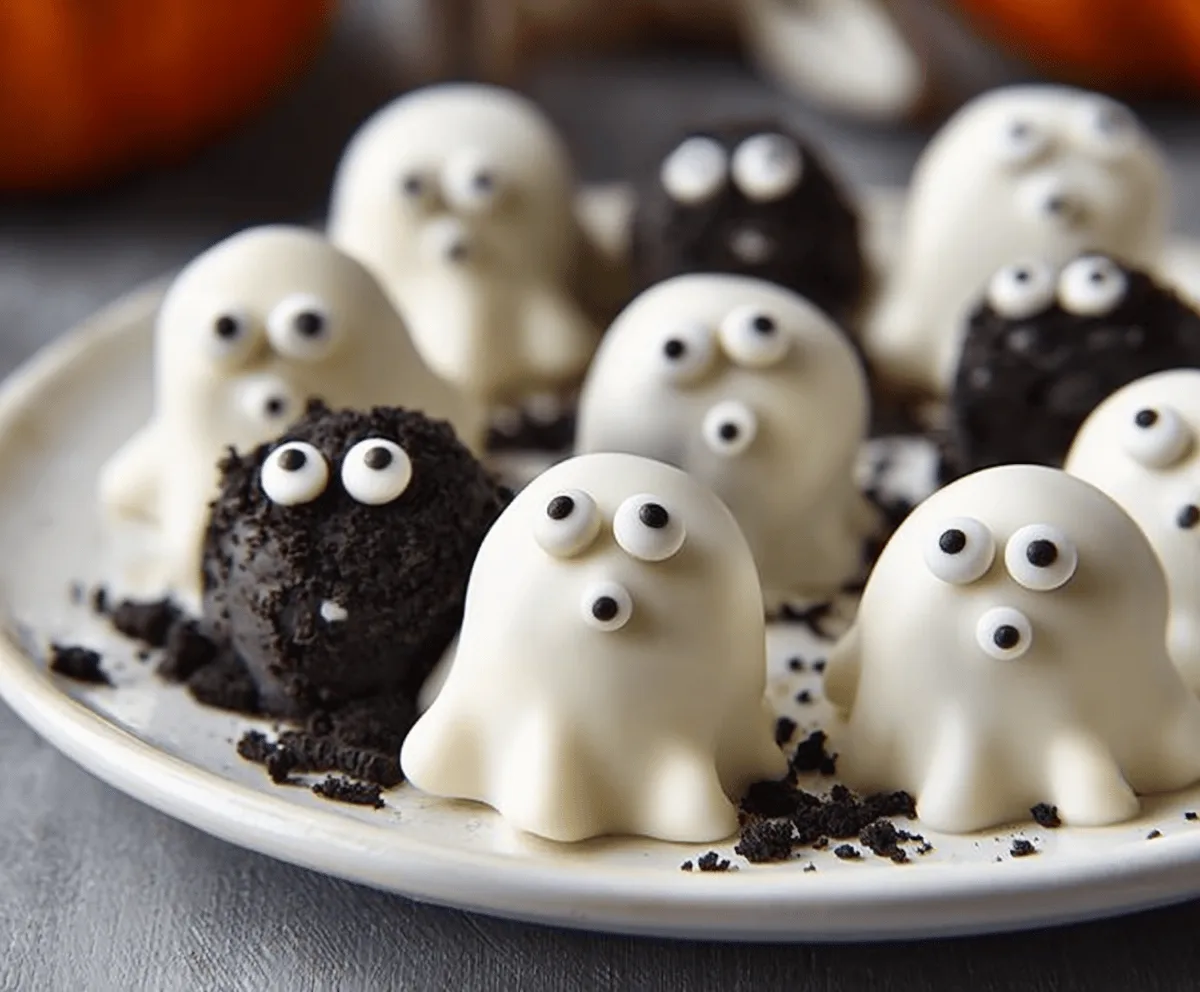
Candy Eyes: These fun decorations bring your ghosts to life. If you can’t find candy eyes, small dots of melted chocolate or icing can do the trick for eyes and mouths.
How Do You Shape and Coat the Truffles to Look Like Ghosts?
Shaping your truffles is key to getting that ghostly look. After rolling the Oreo-cream cheese mixture into balls, pinch the bottom edges gently to create little scallops—this makes them look like floating ghosts.
- Work quickly once frozen so the shapes hold.
- When dipping in white chocolate, use a fork or dipping tool to cover each ball evenly.
- Let excess chocolate drip off before placing it down to dry; this keeps the coating smooth.
- Add the candy eyes and mouth immediately after dipping because the coating sets fast.
Chilling the balls before dipping helps the chocolate set nicely without melting the truffle inside. Taking your time with these steps will make your ghost truffles both cute and tasty!
Equipment You’ll Need
- Food processor or ziplock bag with rolling pin – I use a food processor for quick, even crushing, but a ziplock bag works just as well.
- Large mixing bowl – perfect for combining the crumbs and cream cheese without making a mess.
- Parchment paper or silicone baking mat – keeps your shaped truffles from sticking and makes cleanup easy.
- Cookie scoop or teaspoon – helps divide the mixture into even, manageable portions.
- Microwave-safe bowl – for melting the white chocolate evenly and smoothly.
- Small fork or dipping tool – makes dipping the truffles in chocolate cleaner and easier.
- Edible candy eyes or small decorating tools – for creating cute ghost faces and easy decoration.
Flavor Variations & Add-Ins
- Try using peanut butter or cream cheese filling for a richer flavor—just mix it into the Oreo cream for a twist.
- Add a splash of vanilla extract or peppermint oil into the white chocolate for a flavored coating that matches your theme or taste.
- Use colored candy melts instead of white chocolate to create spooky or festive colors for your ghosts.
- For extra texture, roll some of the shaped ghosts in sprinkles, crushed Oreos, or pastel edible glitter before they set.
No-Bake Oreo Ghost Truffles
Ingredients You’ll Need:
For the Truffles:
- 1 package (36 Oreo cookies)
- 8 oz (225g) cream cheese, softened
For the Coating and Decoration:
- 16 oz (450g) white chocolate melts or white candy coating
- Edible candy eyes (small size)
- 1 package (optional) mini Oreos or reserved crushed Oreos for coating and decoration
Time Needed
This recipe takes about 15 to 20 minutes to prepare, plus 20 to 30 minutes to freeze the shaped truffles and additional time for the coating to set (about 10-15 minutes). Overall, you should set aside around 45 minutes to an hour from start to finish.
Step-by-Step Instructions:
1. Crush the Oreos:
Use a food processor to finely crush the Oreos into crumbs. If you don’t have a processor, place the cookies in a ziplock bag and crush them with a rolling pin until they’re fine crumbs.
2. Mix with Cream Cheese:
In a large bowl, combine the crushed Oreos with softened cream cheese. Mix well until the mixture forms a smooth, dough-like consistency that holds together.
3. Shape the Ghosts:
Roll the mixture into small balls about 1 inch wide. Place them on a parchment-lined baking sheet. Then, gently pinch the bottom edges of each ball to create scalloped ghost-like shapes.
4. Chill the Truffles:
Freeze the shaped Oreo balls for 20 to 30 minutes until they are firm and easier to dip.
5. Melt the White Chocolate:
While the truffles chill, melt the white chocolate melts or candy coating in a microwave-safe bowl. Heat in 30-second increments, stirring well after each, until smooth.
6. Dip and Decorate:
Carefully dip each chilled Oreo ghost into the melted white chocolate, allowing excess chocolate to drip off. Place each one back on the parchment paper. Before the coating hardens, add two candy eyes and a small mouth dot (use a drop of chocolate or icing).
7. Set and Serve:
Allow the truffles to set completely at room temperature or in the fridge until the coating is firm. Optionally, sprinkle crushed Oreos around the serving plate to create a spooky effect.
Serve your adorable and tasty No-Bake Oreo Ghost Truffles chilled, and enjoy!
Can I Use Light Cream Cheese Instead of Full-Fat?
Yes, you can use light cream cheese, but the truffles might be slightly less creamy and a bit firmer. Full-fat cream cheese gives the best texture and flavor.
How Should I Store These Oreo Ghost Truffles?
Store them in an airtight container in the refrigerator for up to 5 days. They’re best enjoyed chilled but can be brought to room temperature for a few minutes before serving.
Can I Make These Ahead of Time?
Absolutely! Prepare the truffles and freeze or refrigerate them. If frozen, thaw in the fridge for a few hours before dipping and decorating for best results.
What Can I Use If I Don’t Have Candy Eyes?
No worries! You can simply pipe small dots of melted chocolate or use mini chocolate chips for the eyes. White icing works well too for creating cute faces on the ghosts.