
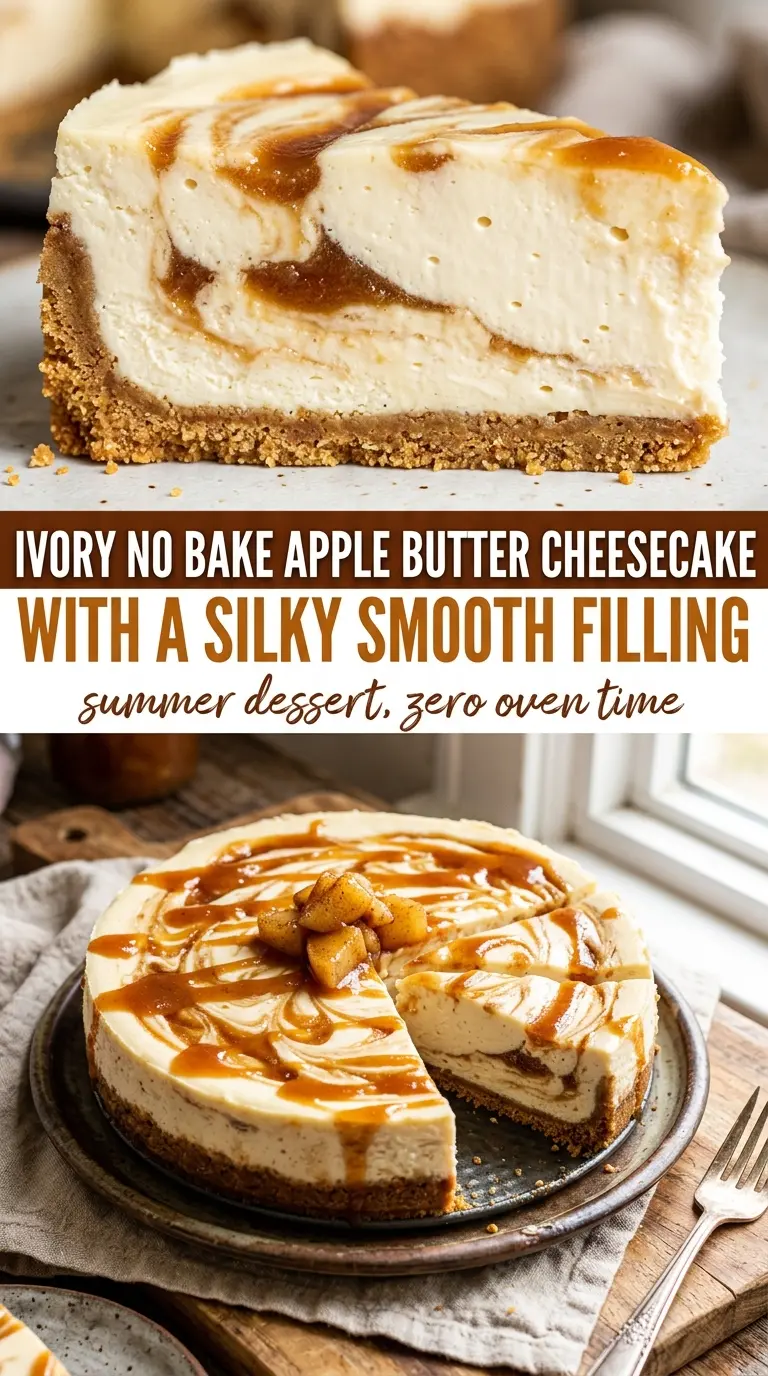
Silky cheesecake filling, a buttery graham crust, and those ribbons of spiced apple butter turn into a dessert that slices cleanly and disappears fast. The texture is the whole win here: firm enough to hold a neat wedge, but still creamy and light on the fork, with just enough apple-cinnamon depth to keep each bite interesting.
The trick is keeping the filling stable without turning it dense. Softened cream cheese beats smooth much faster than cold blocks ever will, and the whipped topping gives the cheesecake that mousse-like lift no-bake desserts need. The apple butter does more than add flavor; it brings body and a concentrated fruit spice note that tastes richer than plain applesauce and swirls beautifully without watering down the filling.
Below you’ll find the small details that matter most, from getting the crust packed tight to swirling the apple butter without muddying the layers. If you’ve ever had a no-bake cheesecake slump when sliced, this version gives you the texture and chill time that keep it standing tall.
The filling set up perfectly overnight and the apple butter swirls stayed pretty when I sliced it. My husband kept going back for “just one more” piece because it was creamy without being heavy.
Save this no-bake apple butter cheesecake for the days when you want a creamy dessert with a clean swirl and no oven heat.
The Reason This Cheesecake Sets Cleanly Instead of Going Soft at the Slice
No-bake cheesecake fails for two reasons: the filling is too loose, or the crust never gets packed tight enough to support it. This version avoids both problems by leaning on a stiff cream cheese base and a proper chill, not gelatin or anything fussy. The whipped topping adds air, but the cream cheese still carries the structure, which is why the filling can hold those swirls without puddling.
The other detail that matters is patience. If you cut into it after only a short chill, the center may still look set but will smear on the knife and slump on the plate. Overnight in the refrigerator gives the filling time to firm up all the way through, and that is what turns this from a soft pudding-style dessert into an actual sliceable cheesecake.
What Each Ingredient Is Actually Doing in This Dessert
- Graham cracker crumbs — These give you the classic cheesecake base with a little crunch and enough fine texture to press into a stable crust. If you only have whole graham crackers, crush them finely; bigger pieces make the crust break apart when you slice.
- Melted butter — This is what binds the crumbs into a crust that holds together without baking. Use the full amount; if the mixture looks sandy and won’t clump when squeezed, the crust will crumble later.
- Cream cheese — This is the backbone of the filling, so the quality and texture matter here. Let it soften all the way at room temperature so it beats smooth; cold cream cheese leaves little lumps that never disappear.
- Powdered sugar — This sweetens the filling without the graininess you’d get from granulated sugar. It also helps the mixture stay smooth and slightly thicker, which supports the no-bake set.
- Vanilla extract — A small amount rounds out the tang of the cream cheese and keeps the apple butter from tasting one-note. Pure vanilla gives the cleanest result, but the standard grocery-store version works fine here.
- Whipped topping — This lightens the filling and gives it that cloud-like texture. If you swap in homemade whipped cream, fold it in gently and serve the cheesecake a little sooner, because whipped cream doesn’t hold as long.
- Apple butter — This is the flavor anchor. It’s thicker and more concentrated than applesauce, so it swirls into the filling without watering it down and brings a spiced apple depth that tastes built for cheesecake.
Building the Filling So the Swirl Stays Pretty
Pressing the Crust Until It Holds
Mix the graham crumbs with the melted butter until every crumb looks damp, then press the mixture firmly into the bottom of the pan. A flat-bottomed measuring cup works well because it packs the crust evenly, especially at the edges. If the crust feels loose now, it will fall apart when you cut the first slice.
Beating the Base Smooth Before Anything Else
Start with the softened cream cheese, powdered sugar, and vanilla, and beat them until the mixture turns fluffy and completely smooth. Scrape the bowl once or twice so no thick streaks hide near the bottom. If the cream cheese is still cold, the filling will look grainy and the final texture will never fully recover.
Folding in Air Without Deflating It
Add the whipped topping and fold it in gently until the filling looks even and light. Overmixing here knocks out the air that gives the cheesecake its silky, mousse-like texture. You want a filling that spreads easily but still holds soft peaks when you lift the spoon.
Layering and Swirling the Apple Butter
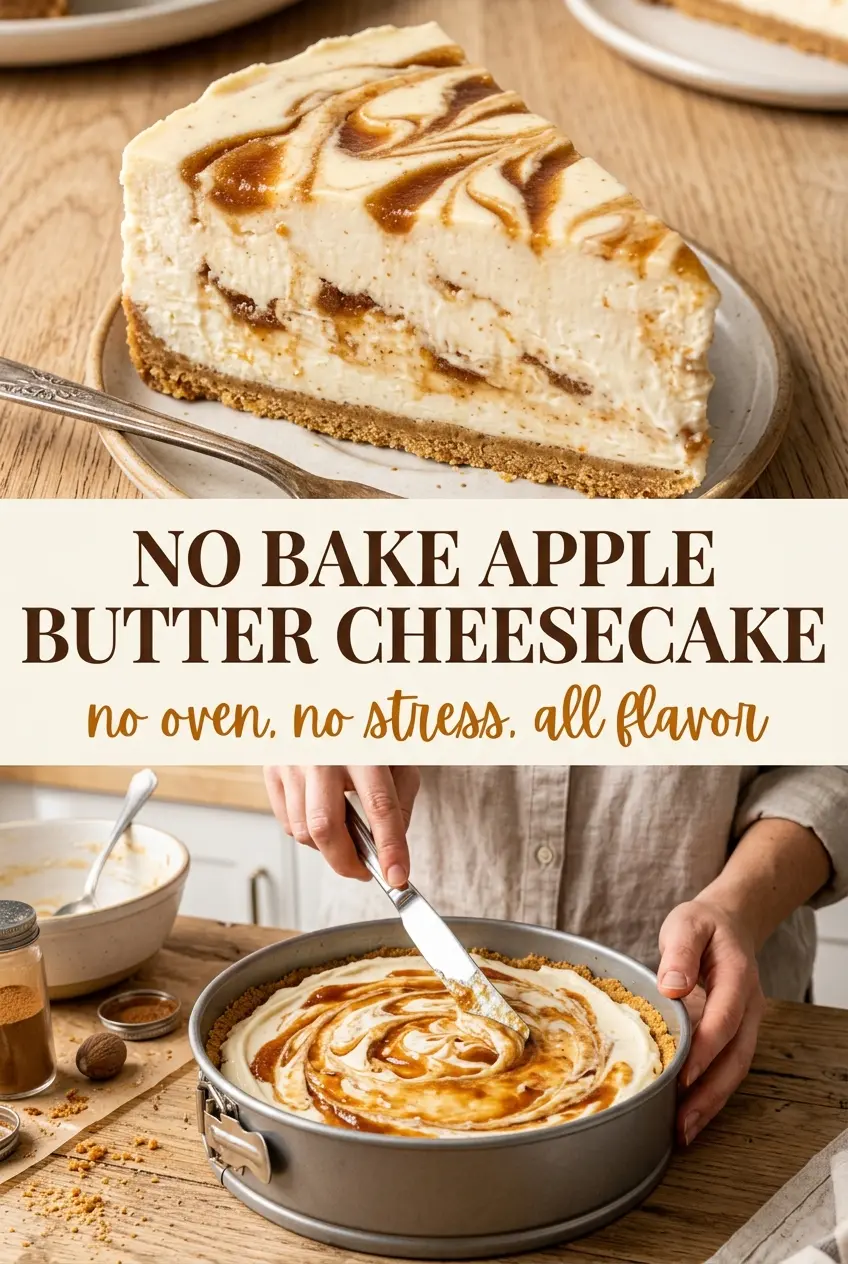
Spread half the filling over the crust, drizzle on half the apple butter, and swirl lightly with a knife or skewer. Repeat with the remaining filling and apple butter, but don’t overwork the top or the layers will blend into one muddy color. A few clean passes are enough; the goal is visible ribbons, not complete mixing.
Chilling Until the Center Sets
Refrigerate the cheesecake for at least four hours, but overnight gives the best slice. The center should feel firm when you nudge the pan, not wobbly in the middle. If you rush this step, the slices will slump even if the top looks set.
Three Practical Ways to Adapt It Without Losing the Texture
Dairy-Free Version With the Same No-Bake Structure
Use dairy-free cream cheese and a whipped topping made without dairy. The texture will still set, but the filling tends to be a little softer, so an overnight chill matters even more. Keep the apple butter amount the same so the flavor stays bold enough to stand up to the alternative base.
Gluten-Free Crust Swap
Use gluten-free graham-style crumbs or a gluten-free cookie crumb that tastes neutral and buttery. The method stays exactly the same, but some gluten-free crumbs absorb butter differently, so add the butter gradually until the mixture packs like damp sand. If the crust seems dry, it will break when you lift slices from the pan.
Turning It Into Individual Cheesecake Cups
Press the crust into jars or dessert cups, then layer the filling and apple butter the same way. The smaller portions chill faster and serve neatly for a crowd, but they lose the tall, bakery-style slice you get from a springform pan. They’re a smart choice when you want a make-ahead dessert with no cutting at the table.
Storage and Reheating
- Refrigerator: Store covered for up to 5 days. The crust softens a little over time, but the filling stays creamy and sliceable.
- Freezer: It freezes better than many no-bake desserts. Wrap the cheesecake tightly and freeze for up to 1 month; thaw in the refrigerator overnight for the best texture.
- Reheating: Don’t reheat it. This dessert is meant to be served cold, and warming it will loosen the filling and ruin the clean swirl.
Answers to the Questions Worth Asking
No Bake Apple Butter Cheesecake
Ingredients
Equipment
Method
- Mix graham cracker crumbs with melted butter until the crumbs look evenly coated, then press firmly into a springform pan to form an even layer (press with steady pressure for a tight crust).
- Chill the crust while you prepare the filling, so it firms up for easier slicing later.
- Beat cream cheese, powdered sugar, and vanilla extract together until smooth and fluffy, scraping the sides to prevent lumps (the texture should look creamy and cohesive).
- Fold whipped topping into the cream cheese mixture until fully combined and light, with no visible streaks.
- Spread half of the cream cheese mixture over the crust and level the surface so it reaches the edges (aim for an even, flat layer).
- Drizzle half of the apple butter over the top and gently swirl with a spoon just 2–3 passes for a marbled look.
- Spread the remaining cream cheese mixture on top, then drizzle with the remaining apple butter and swirl again to finish the pattern.
- Refrigerate for at least 4 hours, or overnight, until fully set and the center holds its shape when gently nudged.