
Thick, silky ice cream packed with chewy brownie pieces and deep ribbons of fudge is the kind of dessert that disappears fast because every scoop gives you a little of everything: creamy base, fudgy swirls, and those soft brownie bites that stay pleasantly chewy after freezing. The no-churn method keeps it simple, but the texture still lands like a proper churned ice cream because the whipped cream does the heavy lifting.
What makes this version work is restraint. The sweetened condensed milk sweetens and softens the base without thinning it out, and the whipped cream stays fluffy enough to give the finished ice cream some lift. Day-old brownies hold their shape better than fresh ones, and a slightly warmed fudge sauce swirls instead of clumping, which is the difference between pretty ribbons and a muddy pan of chocolate.
Below you’ll find the easiest way to layer the pan so the fudge stays distinct, plus the one small timing trick that keeps the brownie pieces from turning soggy. If you’ve had no-churn ice cream go icy or dense before, the method here is built to avoid both.
The fudge stayed in clean ribbons and the brownie chunks were still chewy after freezing overnight. I served it at a cookout and everyone kept asking where I bought it.
Save this brownie fudge swirl ice cream for the nights when you want a no-churn dessert with deep chocolate ribbons and chewy brownie bites.
The Two Swirls That Keep This Ice Cream from Tasting Flat
No-churn ice cream can go one of two ways: airy and scoopable, or sweet but one-note. The difference here is the contrast between the base and the mix-ins. The sweetened condensed milk brings body and sweetness in one ingredient, while the fudge sauce cuts through with a darker, more bitter chocolate note. That contrast keeps each bite from tasting like straight sugar.
The other thing that matters is how you handle the fudge. If it goes in cold, it drags through the base and makes gray streaks. Warm it just enough to flow from a spoon in a thick ribbon, then layer and swirl with a light hand. You want distinct swirls, not full integration.
What Each Ingredient Is Actually Doing in This Dish
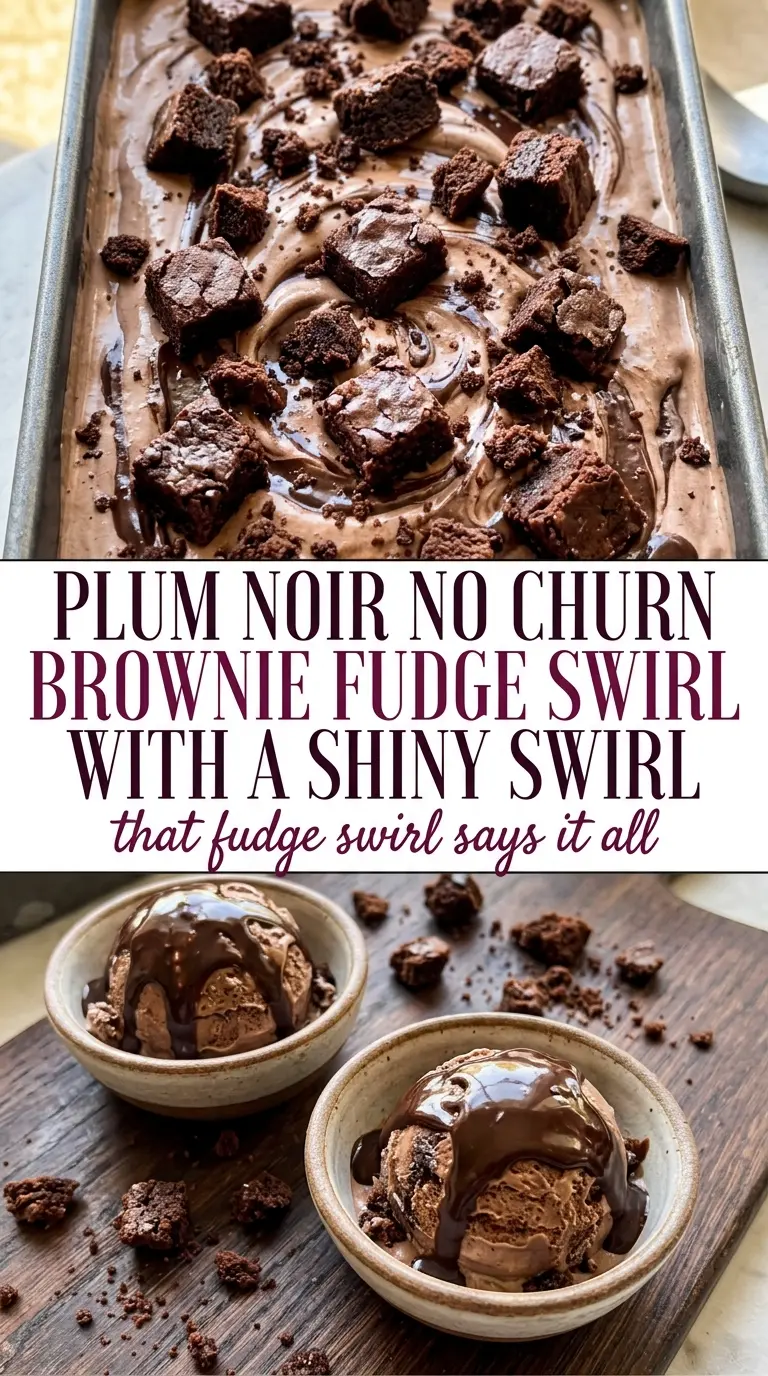
- Heavy whipping cream — Whip it to stiff peaks so the ice cream base holds air and freezes with a creamy scoop. Anything less and the finished texture turns dense.
- Sweetened condensed milk — This is what keeps the base smooth without an ice cream maker. There isn’t a true stand-in here; regular milk or cream will freeze too hard and icy.
- Vanilla extract — It rounds out the chocolate and keeps the base from tasting flat. Use a good-quality vanilla if you have it, because the flavor comes through clearly in a no-churn dessert.
- Brownie pieces — Day-old brownies are the move. Fresh brownies can get gummy when folded in, while slightly stale ones stay chewy and defined.
- Hot fudge sauce — Warm it briefly so it swirls cleanly. Thick, pourable fudge gives you those glossy ribbons that make each scoop look and taste richer.
The 15 Minutes That Matter Before It Goes to the Freezer
Whipping the Cream to the Right Point
Start with a cold bowl and cold cream, then whip until the cream holds stiff peaks that stand straight when you lift the whisk. Stop there. If you whip past that point, the base can turn grainy when you fold in the condensed milk. You want firm, billowy cream that still looks smooth on the surface.
Folding Without Deflating
Stir the sweetened condensed milk and vanilla into the whipped cream with a spatula, using broad strokes from the bottom of the bowl. The goal is a uniform base without knocking out the air you just whipped in. If you stir aggressively, the mixture loosens and freezes heavier, which is where a lot of no-churn recipes go wrong.
Layering the Pan for Clean Swirls
Spoon half the base into the loaf pan, drizzle on half the fudge, then drag a knife through it once or twice. Repeat with the rest of the base and fudge. Over-swirling blends everything into one dark color, so stop as soon as you can see streaks running through the top.
Finishing and Freezing
Scatter the reserved brownie pieces over the top so you get texture on the first scoop. Freeze the pan for at least 6 hours, and overnight is even better if you want neat slices from the pan. If it tastes soft at the edges but icy in the center, it needed more time to set all the way through.
How to Adapt This for Different Pans, Diets, and Chocolate Preferences
Dairy-Free Version
Swap in a full-fat coconut whipping cream and a dairy-free sweetened condensed milk alternative. The texture stays creamy, but the coconut note will show up a bit, especially if your brownies also happen to be dairy-free and richer on cocoa than butter flavor.
Extra-Fudgy, Less Sweet
Use a dark chocolate fudge sauce or a homemade fudge that leans bitter instead of milky. That cuts the sweetness and gives the finished ice cream a deeper chocolate finish. It works especially well if your brownies are sweet and cakey.
Gluten-Free Swap
Use a gluten-free brownie that stays fudgy after baking, not a dry cake-style version. The brownie texture matters here because dry pieces can freeze into crumbs instead of chewy chunks.
Storage and Reheating
- Refrigerator: Not ideal. This dessert softens too quickly and the texture turns loose within a short time.
- Freezer: Store covered for up to 2 weeks for the best texture. Press a piece of parchment or plastic wrap directly on the surface to help prevent ice crystals.
- Reheating: No reheating needed. Let it sit at room temperature for 5 to 10 minutes before scooping so the fudge ribbons and brownie pieces cut cleanly instead of cracking the top.
Questions I Get Asked About This Recipe
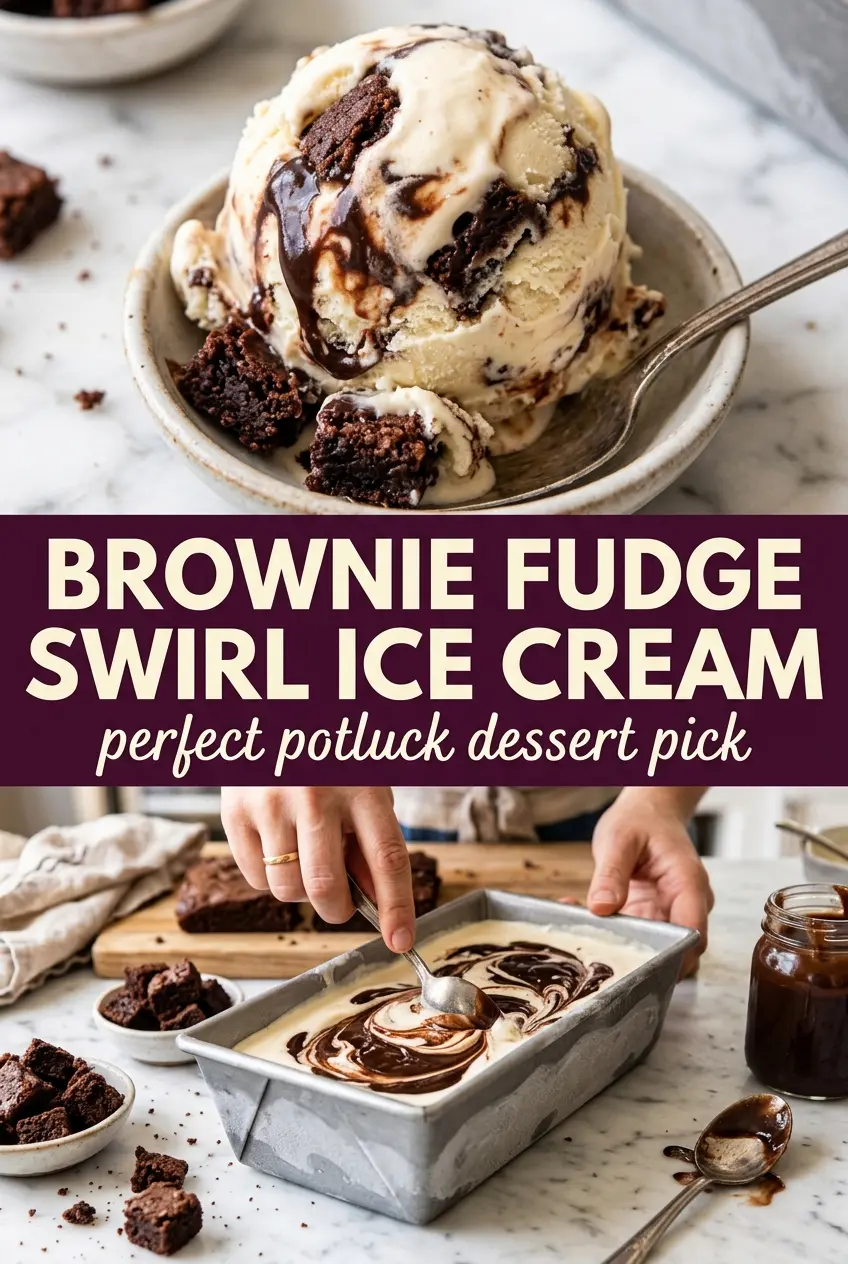
No Churn Brownie Fudge Swirl Ice Cream
Ingredients
Equipment
Method
- Whip the heavy whipping cream to stiff peaks in a large bowl until the mixture holds firm ridges when you lift the whisk. Keep mixing stopped as soon as stiff peaks form so the texture stays airy.
- Fold in the sweetened condensed milk and vanilla extract until smooth and no streaks remain. Stop folding when the mixture looks uniform to avoid deflating the whipped cream.
- Fold in the brownie pieces, reserving a few for topping. Fold gently so the brownie chunks stay suspended rather than breaking down.
- Pour half the mixture into a loaf pan and drizzle with half the hot fudge sauce, then swirl with a spoon just 2–3 passes for a marbled look. Swirl lightly so the fudge stays glossy ribbons instead of fully blending.
- Add the remaining mixture, top with the remaining hot fudge sauce, and swirl again. Aim for visible streaks across the surface for the best swirl effect.
- Scatter the reserved brownie pieces on top and freeze for at least 6 hours until firm. The surface should look set and the ice cream should slice cleanly from the loaf pan.