
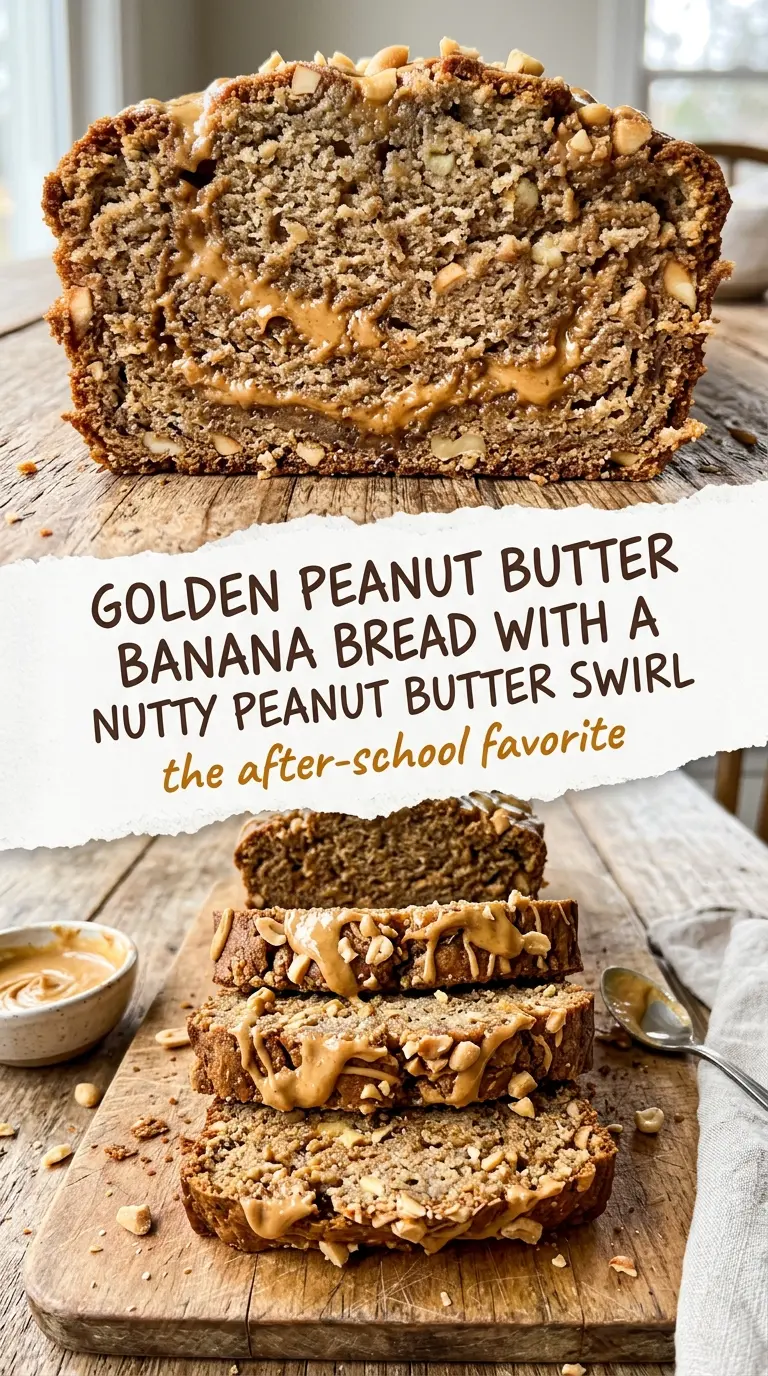
Peanut butter banana bread lands with a tender crumb, a deep banana perfume, and those thick ribbons of peanut butter that stay soft instead of disappearing into the batter. The loaf bakes up moist without turning heavy, and every slice has that classic banana bread comfort with a little more body and a little more staying power.
The trick is keeping the batter just barely mixed once the flour goes in. Overmixing turns quick bread tight and rubbery, which is the last thing you want here. A creamy peanut butter works best because it swirls cleanly and melts into the loaf without leaving dry streaks or stubborn clumps. If your peanut butter is thick straight from the jar, warming it for a few seconds makes the swirl easier and gives you those pretty pockets on top instead of a mess in the middle.
Below, I’ll walk you through the part that matters most: how to keep the peanut butter swirl visible, how to tell when the loaf is done in the center, and how to keep each slice soft for days.
The peanut butter swirl stayed visible after baking and the loaf came out so moist. I sliced it after it cooled and it held together perfectly for school lunches the next day.
Save this peanut butter banana bread for the days when you want a soft, sliceable loaf with a real peanut butter swirl in every bite.
The Reason the Swirl Stays Visible Instead of Melting Away
Peanut butter banana bread can turn into one flat beige loaf if the swirl gets lost in the batter. That usually happens when the peanut butter is mixed too aggressively into the batter from the start, or when it’s too thick to spread in clean layers. The better move is to fold the batter first, then reserve a portion of peanut butter for the top so it bakes into distinct ribbons instead of dissolving completely.
Bananas also do a lot of work here. Very ripe bananas bring moisture and sweetness, which means you don’t need a pile of extra sugar or any fancy add-ins to get a good loaf. Brown sugar keeps the crumb softer than white sugar would, and the melted butter gives the bread that rich, old-fashioned texture quick breads are known for. The balance matters: too much flour and the loaf turns dry; too much banana and it can sink in the middle.
What Each Ingredient Is Actually Doing in This Loaf
- Ripe bananas — These need to be heavily speckled or nearly black for the best flavor and moisture. They’re the backbone of the loaf, so underripe bananas will give you a bland, drier bread.
- Creamy peanut butter — Creamy peanut butter blends smoothly into the batter and gives you the cleanest swirl on top. Natural peanut butter can work, but stir it very well first or the oil separation will throw off the texture.
- Brown sugar — This adds moisture and a light caramel note that fits the peanut butter. White sugar will sweeten the loaf, but it won’t keep it as soft.
- Melted butter — Butter gives the loaf richness and helps the crumb stay tender. You can swap in neutral oil in a pinch, but the flavor will be flatter.
- Egg — The egg holds everything together and gives the loaf enough structure to slice cleanly once cooled.
- All-purpose flour — Standard all-purpose flour keeps the crumb soft but sturdy. Spoon and level it instead of scooping straight from the bag, or you’ll pack in too much and dry out the loaf.
- Baking soda — This reacts with the bananas and helps the bread rise. If it’s old or clumpy, the loaf may bake up dense.
Building the Batter Without Losing the Tender Crumb
Mashing the Bananas and Mixing the Wet Ingredients
Start with the bananas in a large bowl and mash them until mostly smooth, leaving a few small lumps if you like a little texture in the finished loaf. Stir in the peanut butter, melted butter, brown sugar, egg, and vanilla until the mixture looks thick and glossy. If the peanut butter is cold and stiff, warm it slightly first so it blends without leaving streaks.
Adding the Dry Ingredients Just Until Combined
Sprinkle in the flour, baking soda, and salt, then fold gently with a spatula. Stop as soon as the flour disappears. Overmixing builds gluten and gives you a loaf that bakes up tough instead of soft and sliceable. The batter should look thick and a little shaggy, not whipped smooth.
Swirling the Peanut Butter on Top
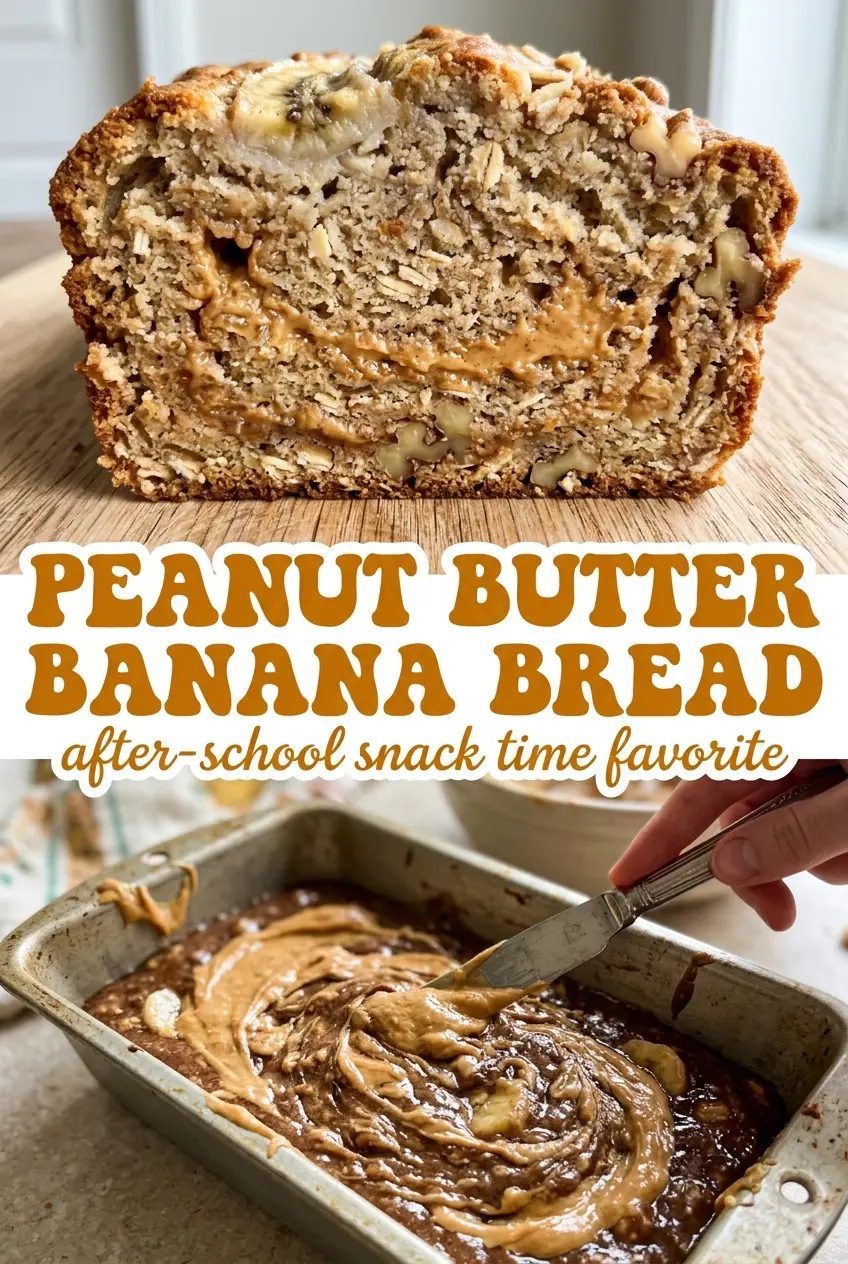
Pour most of the batter into the loaf pan, then add the remaining peanut butter in dollops across the top. Drag a knife through it once or twice in loose figure-eights. Too much swirling blends everything together, and you lose the contrast that makes this loaf special. A few deliberate passes are enough.
Baking Until the Center Is Set
Bake at 350°F until the top is deeply golden and a toothpick comes out mostly clean from the center. A few moist crumbs are perfect; wet batter means it needs more time. If the top browns before the middle is done, lay a loose piece of foil over the pan for the last part of baking. Let it cool in the pan for 10 minutes before turning it out so the loaf has time to set.
Three Ways to Adapt This Without Ruining the Texture
Dairy-Free Version
Swap the butter for melted coconut oil or a neutral oil like canola. The loaf stays moist, though you lose a little of the buttery richness. Use a peanut butter you know is dairy-free if that matters for your table.
Gluten-Free Adaptation
A 1:1 gluten-free baking blend can work here if it contains xanthan gum. The texture will be a little more delicate and slightly less springy, but the loaf still slices well once fully cooled. Don’t swap in almond flour alone; it won’t behave like a quick bread flour blend.
Extra Peanut Butter Flavor
Add a few tablespoons of chopped peanuts on top before baking for a little crunch. That gives you more texture and a stronger peanut flavor without changing the batter balance. Toasted peanuts work best if you want the flavor to come through clearly.
Storage and Reheating
- Refrigerator: Store in an airtight container for up to 5 days. The crumb firms up a little in the fridge, but the flavor holds well.
- Freezer: Freeze slices tightly wrapped for up to 3 months. Slice first if you want grab-and-go portions.
- Reheating: Warm a slice in the microwave for 10 to 15 seconds or toast it lightly. Don’t overheat it or the peanut butter can turn greasy and the bread dries out fast.
Answers to the Questions Worth Asking
Peanut Butter Banana Bread
Ingredients
Equipment
Method
- Preheat the oven to 350°F and grease a loaf pan so the batter releases cleanly after baking.
- Mash the ripe bananas and whisk in the peanut butter, melted butter, brown sugar, egg, and vanilla until smooth and glossy.
- Fold in the all-purpose flour, baking soda, and salt until just combined, with no dry flour pockets.
- Pour most of the batter into the prepared loaf pan and spread it into an even layer.
- Dollop the remaining peanut butter over the top and swirl gently with a knife for marbled streaks.
- Bake at 350°F for 55-60 minutes, until a toothpick comes out mostly clean with a few moist crumbs.
- Cool in the pan for 10 minutes before turning out onto a wire rack to prevent sogginess.