
Pumpkin cheesecake bars land in that sweet spot between a holiday dessert and an easy pan of something you can actually pull off on a weeknight. The crust stays crisp enough to hold a clean slice, and the filling bakes up creamy and dense without the drama of a full cheesecake. You get the spiced pumpkin flavor people expect, but in a bar that chills faster, cuts cleaner, and travels better than a springform version.
The trick is in the balance. Too much pumpkin and the filling goes soft; too little and you lose that warm autumn flavor. This version keeps the cream cheese front and center, so the texture stays rich and the pumpkin plays backup instead of turning the bars loose and watery. A short bake for the crust gives it a head start, and the long chill after baking is what turns these from good to neat, tidy squares that hold their shape.
Below, I’ve included the timing and texture cues that matter most, plus the one step that keeps the filling from cracking or looking loose in the middle. If you’ve ever had cheesecake bars that smeared on the knife, this batch fixes that problem.
The filling baked up smooth and the bars sliced cleanly after an overnight chill. The graham crust stayed crisp, and the pumpkin spice flavor was just right without tasting heavy.
Save these pumpkin cheesecake bars for the dessert that bakes up creamy, chills into clean slices, and skips the water bath.
The Shortcut to Creamy Bars Without a Water Bath
The biggest mistake with pumpkin cheesecake bars is treating them like a full cheesecake. You don’t need a water bath here, and forcing one usually adds more hassle than benefit. The bars are thinner, so they bake through evenly on their own as long as the filling isn’t overmixed and the pan isn’t pulled too early.
What you’re watching for is a set edge with a center that still has a slight wobble when you nudge the pan. If the whole surface is firm in the oven, it’s usually overbaked, and that’s when cracks show up after cooling. The other failure point is a filling that’s beaten too hard once the eggs go in. That traps air, and air turns into puffing, then sinking, then a rough top.
The cleanest bars come from steady heat, moderate mixing, and patience on the chill time. That last part matters more than people think. Warm bars can taste fine, but they cut like pudding. Cold bars taste like cheesecake.
What Each Ingredient Is Doing in These Pumpkin Cheesecake Bars
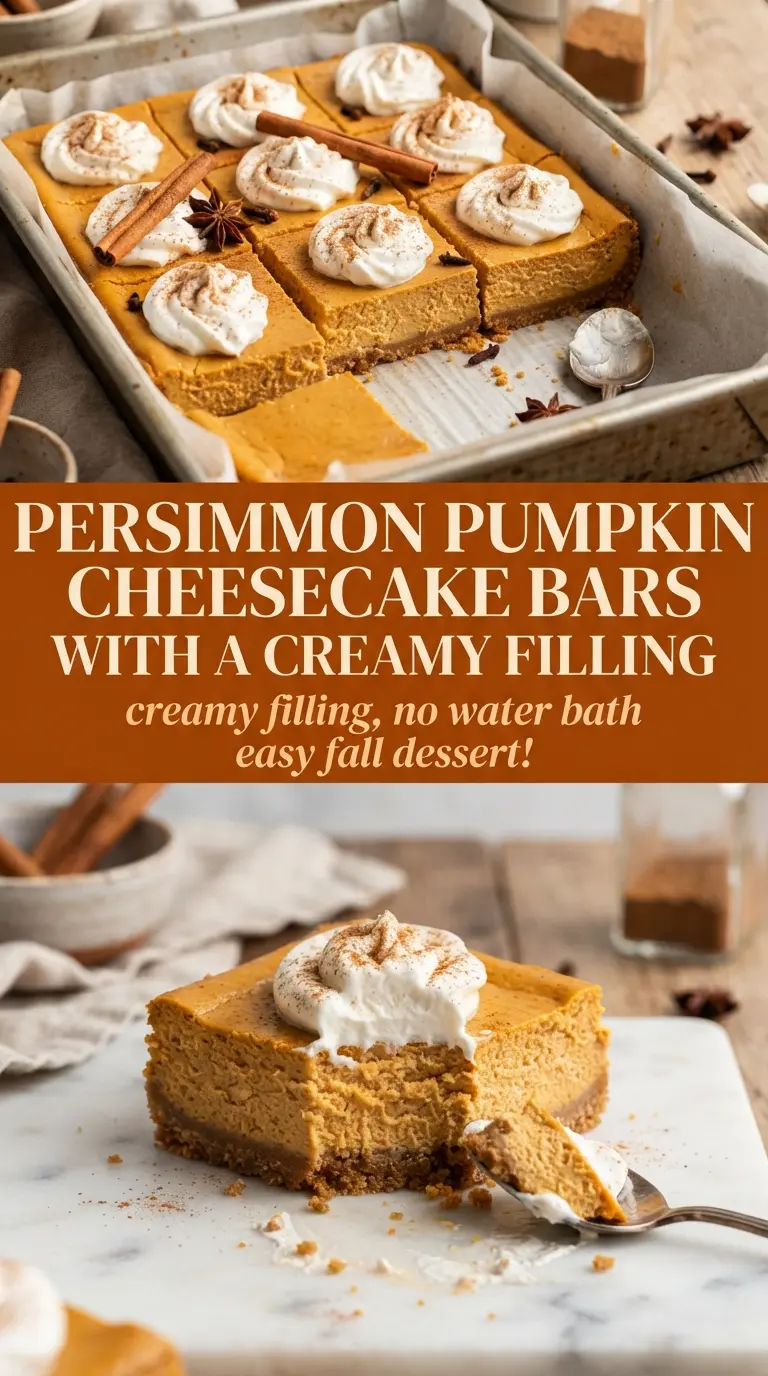
- Graham cracker crumbs — They give you a sturdy, slightly sweet base that won’t fight the creamy filling. Store-bought crumbs are fine here, but if you crush them yourself, aim for fine, even crumbs so the crust presses together without big dry pockets.
- Butter — Melted butter is the glue that holds the crust in one piece after baking. If the crust seems sandy when you press it in the pan, it needs a little more mixing; every crumb should look lightly moistened.
- Cream cheese — This is the backbone of the recipe, so use full-fat brick-style cream cheese for the best texture. Tub cream cheese is softer and can make the bars looser, which is a problem when you want clean squares.
- Pumpkin puree — Use plain pumpkin puree, not pumpkin pie filling. Pie filling already contains sugar and spices, which throws off the balance and can make the bars taste overly sweet and muddy.
- Eggs — They set the filling as it bakes. Add them last and mix just until combined; beating them hard whips in air and can cause the top to crack or the center to rise and fall.
- Pumpkin pie spice and vanilla — The spice gives the bars their warm backbone, and the vanilla rounds out the pumpkin so it tastes fuller instead of flat. If you don’t have pumpkin pie spice, use cinnamon with a little ginger, nutmeg, and clove.
- Whipped cream — It’s optional, but a small spoonful softens the tang of the cheesecake and makes each square feel finished. A plain bar stands on its own; the cream just turns it into dessert-dessert.
Building the Crust and Filling in the Right Order
Press and pre-bake the crust
Mix the graham crumbs with the melted butter until the mixture looks like wet sand that holds together when pinched. Press it firmly into the bottom of a 9×9-inch pan, especially in the corners, because loose corners crumble first when you slice. Bake it for 8 minutes so it sets before the filling goes on; that quick head start keeps the base from turning soft under the cheesecake layer.
Beat the filling without whipping it
Start with the cream cheese and sugar until smooth, scraping the bowl so there aren’t hidden lumps. Add the pumpkin, spice, and vanilla next, then the eggs last and mix just until the batter turns uniform. If you keep beating after the eggs go in, you’re building air into the batter, and that air can make the bars puff up and crack as they cool.
Bake until the center still has a slight wobble
Pour the filling over the crust and spread it to the corners. Bake until the edges are set and the center gives a gentle jiggle when you tap the pan. Don’t chase a fully firm middle in the oven; the bars keep setting as they cool, and pulling them at the right moment is what gives you a creamy, sliceable texture instead of a dry one.
Chill before slicing
Let the bars cool, then chill them for at least 4 hours, though overnight is better if you want sharp edges. A warm knife will drag the filling, so wipe the blade clean between cuts. If the bars seem soft when you first slice them, they needed more time in the fridge, not more time in the oven.
How to Adapt These Bars for Different Kitchens and Schedules
Gluten-Free Crust Swap
Use gluten-free graham-style crumbs or finely crushed gluten-free cookies in the same amount. The texture stays close to the original, though some brands are a little drier, so press the crust firmly and watch for that wet-sand feel before it goes into the pan.
Dairy-Free Version
Use dairy-free cream cheese and plant-based butter. The bars will still set, but they usually bake up a little softer and less tangy than the original, so give them the full chill time and cut them only when they’re very cold.
Extra Pumpkin Spice Flavor
Add another 1/2 teaspoon of pumpkin pie spice if you want a stronger spice finish. I wouldn’t add more pumpkin puree to push flavor, because that extra moisture softens the filling and works against the clean slice these bars are built for.
Storage and Reheating
- Refrigerator: Store covered for up to 5 days. The crust stays good, though the filling firms up a little more by day two.
- Freezer: These freeze well. Wrap individual bars tightly and freeze for up to 2 months, then thaw in the refrigerator so the texture stays creamy instead of weeping as it warms.
- Reheating: These are best served cold or just slightly cool, not reheated. If you want a softer texture, let a bar sit at room temperature for 10 to 15 minutes; microwaving turns the filling too loose and the crust soggy.
Answers to the Questions Worth Asking
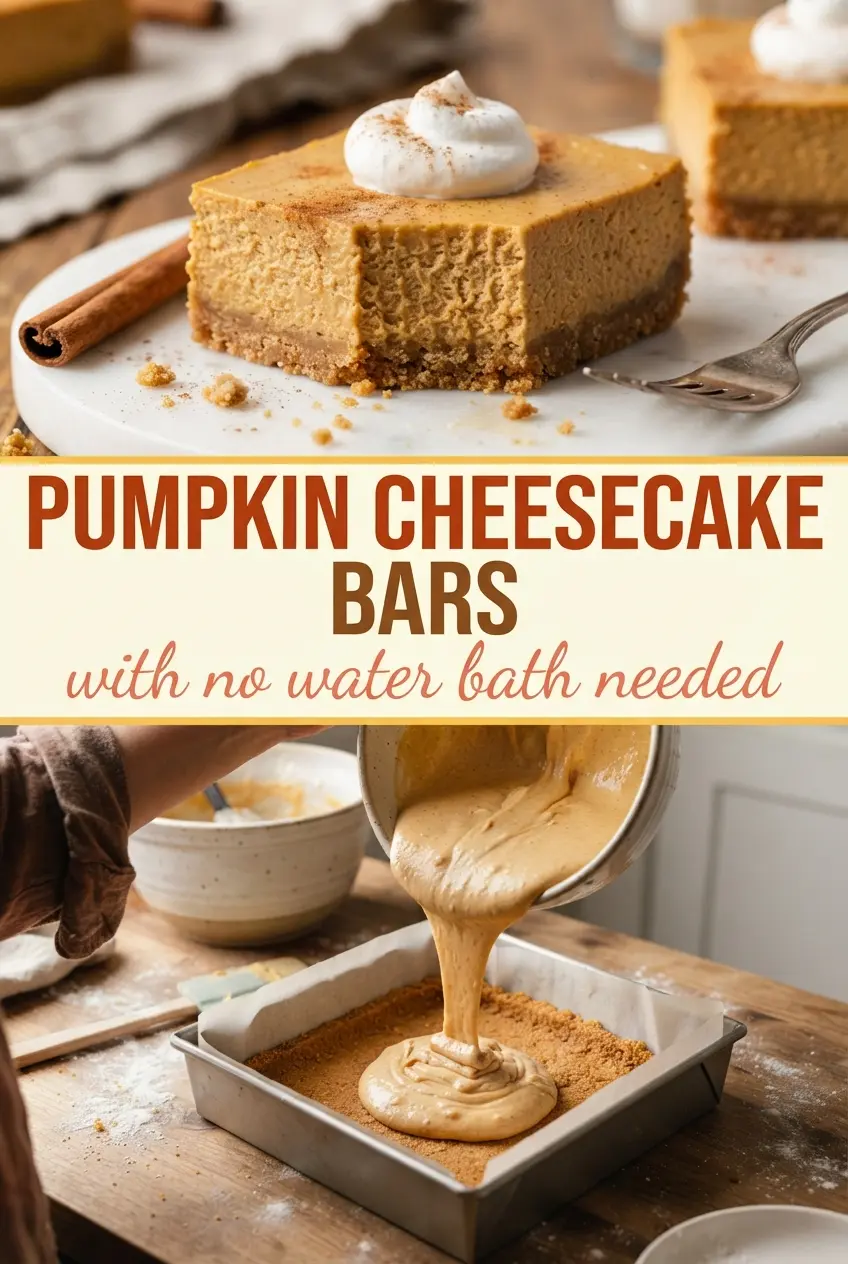
Pumpkin Cheesecake Bars
Ingredients
Equipment
Method
- Press the graham cracker crumbs and melted butter into a 9x9-inch pan and bake 8 minutes at 350°F, until set and lightly fragrant. You should see the crust hold together when pressed.
- Beat the cream cheese and sugar until smooth, then add the pumpkin puree, eggs, pumpkin pie spice, and vanilla and mix until fully combined. The batter should look thick and glossy with no cream cheese streaks.
- Pour the filling over the baked crust and spread it into an even layer. The surface should be level with a uniform color.
- Bake 35 minutes at 350°F until the center is set and the edges look firm. It should jiggle only slightly when you tap the pan.
- Chill for 4 hours before slicing and serving. The bars should feel firm throughout for clean cuts.
- Serve with whipped cream. Add a small dollop on each bar right before eating for the best texture.