
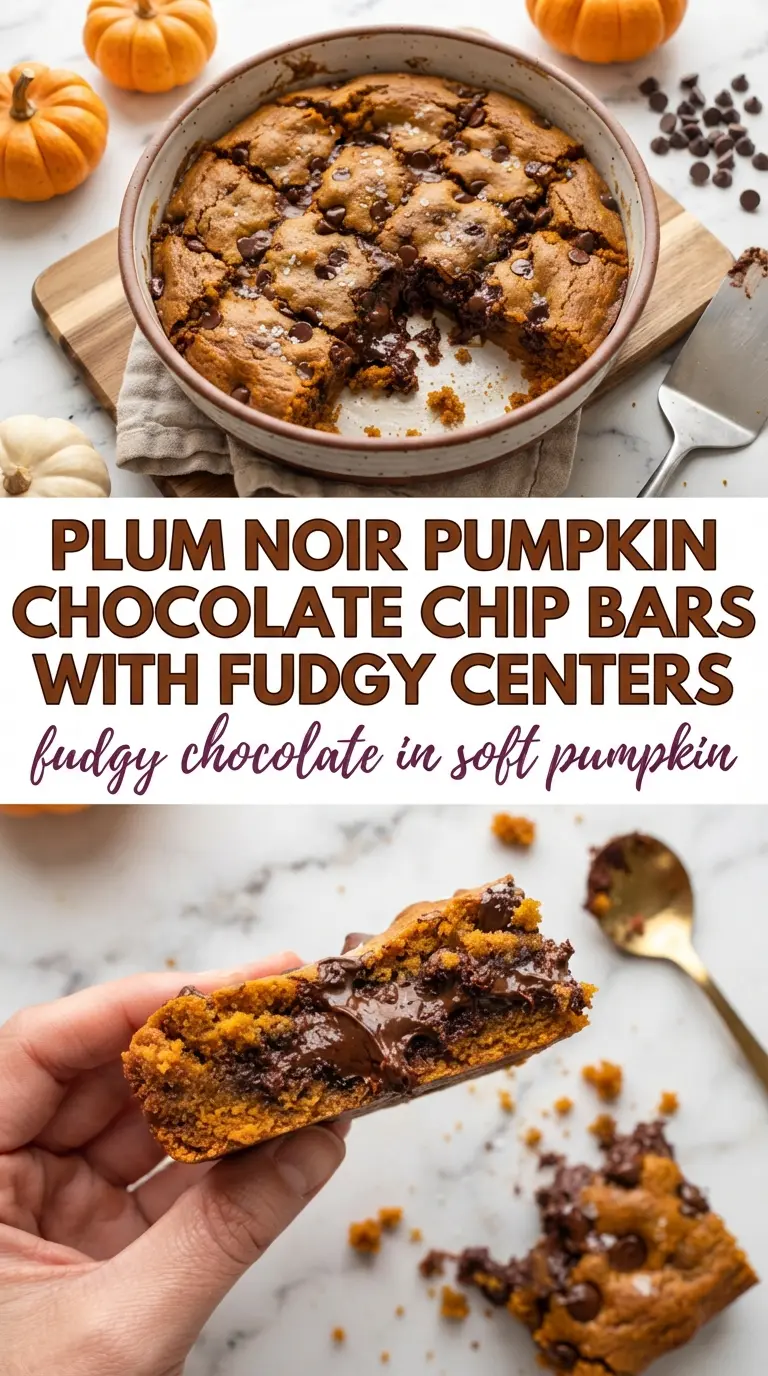
Pumpkin chocolate chip bars bake up soft, thick, and just sturdy enough to slice cleanly, with little pockets of melted chocolate in every bite. The pumpkin keeps the crumb tender for days, and the edges set with a light chew that gives these bars better texture than a typical cake-like pumpkin bake. They work as an afternoon snack, a lunchbox treat, or an easy dessert that doesn’t need frosting to feel finished.
What makes this version dependable is the way the wet ingredients come together before the flour goes in. Pumpkin puree brings moisture, but it also dulls flavor if you don’t balance it with enough sugar, cinnamon, and salt. Melted butter helps the bars stay rich without turning greasy, and folding in the chocolate chips at the end keeps them from sinking into the batter.
If you’ve ever had pumpkin bars that baked up dense in the middle or dry around the edges, the details below will help. A slightly underbaked center gives you a fudgier result, and that’s exactly what makes these worth making again.
The bars came out soft in the middle with the chocolate chips still a little melty, and they held together perfectly once cooled. I used the slightly underbaked tip and the texture was spot on.
Save these pumpkin chocolate chip bars for a soft, fudgy bake with melted chocolate in every bite.
The Reason These Bars Stay Soft Instead of Drying Out
Most pumpkin bars go dry because the batter gets overmixed after the flour goes in, or they stay in the oven until the center looks fully set. Pumpkin adds a lot of moisture, but it also needs a gentle hand. Once the flour is added, stir only until you stop seeing streaks. That keeps the crumb tender instead of tough.
The other trap is baking them until the top looks completely firm. A toothpick should come out with a few moist crumbs, not a wet batter, and the center should still look slightly soft when you pull the pan. The bars finish setting as they cool, and that little bit of carryover heat is what keeps them fudgy.
Chocolate chips help here too. They add pockets of richness that make the bars taste more like dessert and less like quick bread, but they also protect the crumb a little by interrupting the batter just enough to keep it from baking up uniformly dense.
What Each Ingredient Is Actually Doing in This Dish
- Pumpkin puree — This gives the bars their soft texture and the obvious pumpkin flavor. Use canned puree, not pumpkin pie filling, because pie filling already contains sugar and spices that throw off the balance here.
- Melted butter — Melted butter makes the bars rich and keeps them dense in a good way. It also mixes easily with the pumpkin, which means you don’t need to cream anything or bring butter to room temperature.
- Eggs — The eggs hold the batter together and help the bars set into neat squares. If you skip or reduce them, the center can turn gummy instead of moist.
- Chocolate chips — Standard semisweet chips work best because they stay distinct in the batter and balance the pumpkin’s sweetness. You can use dark chocolate if you want a less sweet bar, but milk chocolate makes the crumb taste softer and sweeter.
- Cinnamon — Cinnamon rounds out the pumpkin without making these taste like pie. If yours tastes flat, the cinnamon is usually the first place to look.
Building the Batter Without Beating the Life Out of It
Whisk the dry base first
Start with the flour, baking soda, cinnamon, and salt in one bowl so the leavening and spice are spread evenly through the batter. That matters here because pumpkin batter is thick, and if the baking soda clumps in one spot, you can end up with a bitter pocket or an uneven rise. Whisk until the mixture looks uniform and the cinnamon is no longer streaky.
Bring the wet ingredients together smoothly
In a separate bowl, whisk the pumpkin puree, sugar, melted butter, and eggs until the mixture looks glossy and fully combined. The butter should be warm, not hot, or it can scramble the eggs and leave you with little cooked bits in the batter. If the mixture looks separated for a moment, keep whisking; it comes back together once the eggs fully emulsify it.
Fold just until the flour disappears
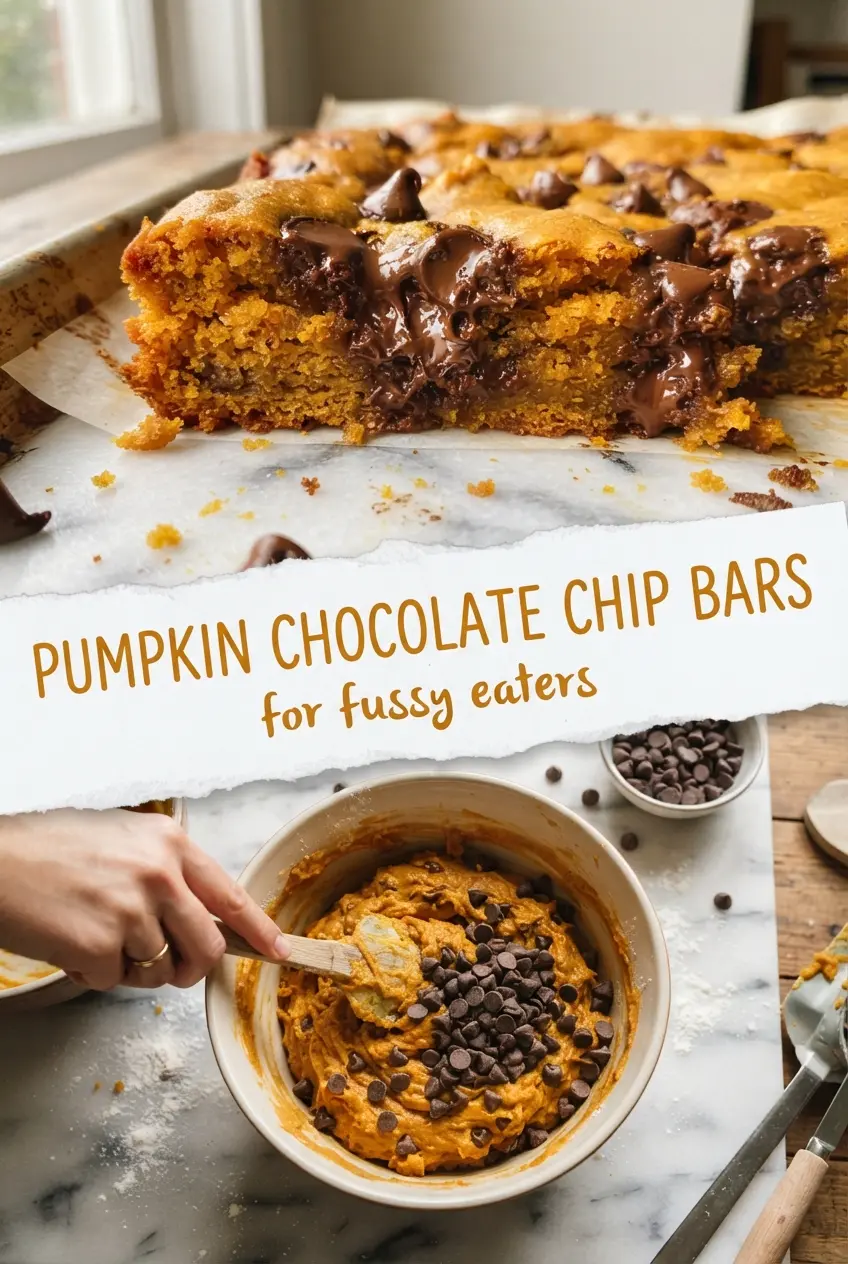
Add the dry ingredients to the wet mixture and stir only until there are no visible dry streaks. This is the point where people usually overwork the batter and end up with tougher bars. The finished batter will be thick, orange, and spoonable. Fold in the chocolate chips at the very end so they stay distributed instead of getting mashed into the bowl.
Watch the pan, not the timer alone
Spread the batter into a greased 9×13-inch pan and bake at 350°F until the edges are set and the center no longer looks wet. Around 25 minutes is the target, but ovens vary, and this style of bar turns dry fast once it goes too far. Pull it when a tester comes out with moist crumbs, then let the pan cool before slicing so the bars finish setting cleanly.
How to Adapt These Bars for Different Needs
Dairy-Free Swap That Still Keeps the Bars Tender
Use melted coconut oil or a neutral dairy-free butter in place of the butter. Coconut oil will add a faint coconut note and gives the bars a slightly firmer edge, while a dairy-free butter keeps the flavor closer to the original.
A Less Sweet Version for Dark Chocolate Fans
Use dark chocolate chips and reduce the sugar slightly if you want the pumpkin to come forward more. The bars will taste less dessert-like and a little deeper, but the texture stays the same.
Gluten-Free Version With a Better Crumb
Swap in a 1:1 gluten-free baking flour that contains xanthan gum. Almond flour alone won’t behave the same way here and will make the bars too delicate, but a good cup-for-cup blend keeps the sliceable texture.
Storage and Reheating
- Refrigerator: Store in an airtight container for up to 5 days. The bars stay moist, but the chocolate chips firm up a bit when chilled.
- Freezer: These freeze well. Wrap individual bars and freeze for up to 2 months, then thaw at room temperature so the crumb softens again.
- Reheating: Warm a bar in the microwave for 10 to 15 seconds if you want the chips melty again. Don’t overheat it or the edges will dry out before the center warms through.
Answers to the Questions Worth Asking
Pumpkin Chocolate Chip Bars
Ingredients
Equipment
Method
- Preheat the oven to 350°F, then grease a 9x13-inch pan so the bars release easily.
- Whisk all-purpose flour, baking soda, cinnamon, and salt in a bowl until evenly combined and no clumps remain.
- Whisk pumpkin puree, sugar, melted butter, and eggs until smooth and cohesive.
- Pour the wet mixture into the dry ingredients and combine until a thick batter forms with no dry streaks.
- Fold in the chocolate chips so they’re evenly distributed through the batter.
- Bake for 25 minutes at 350°F, looking for set edges with a slightly soft center.
- Cool the bars in the pan before cutting so the fudgy chocolate chips and orange crumb firm up.