
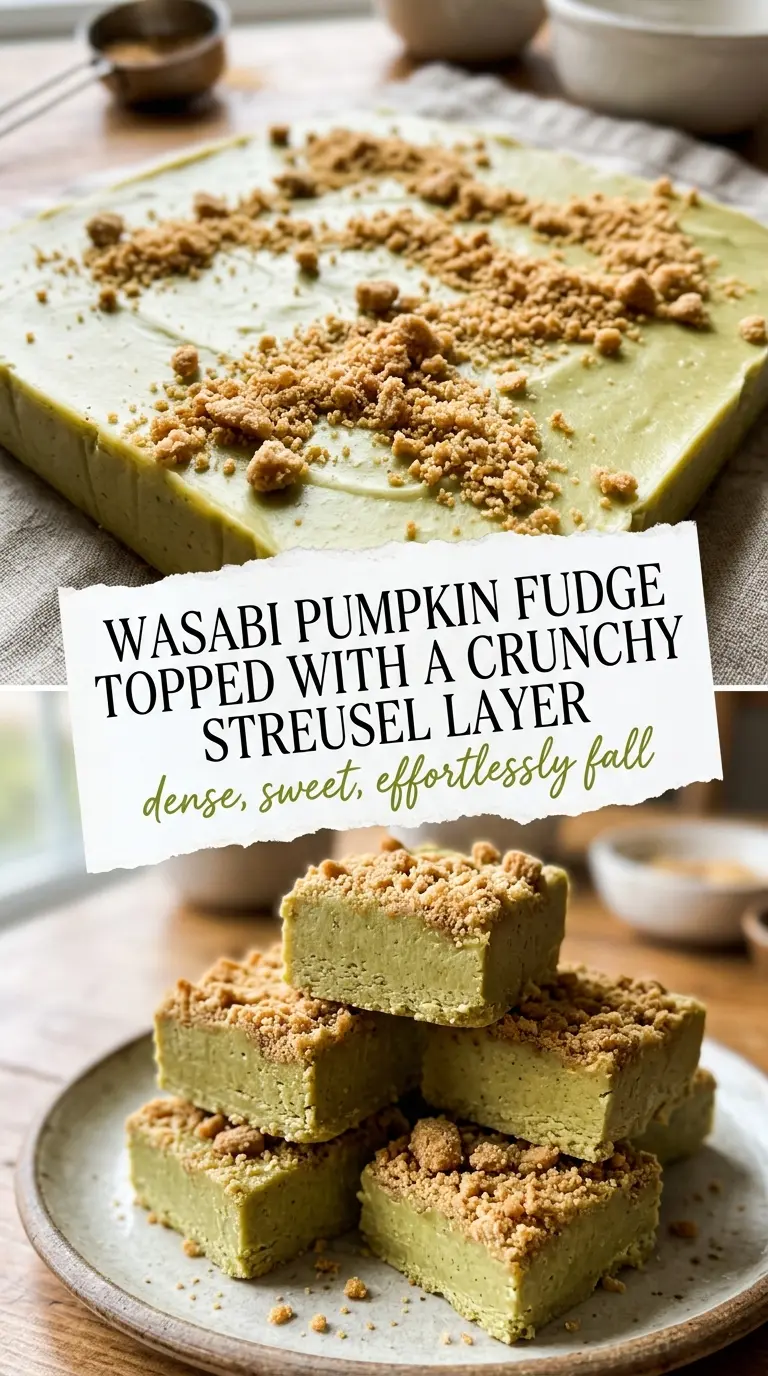
Rich, creamy pumpkin fudge sets up into dense little squares that slice cleanly and melt fast on your tongue, with just enough spice to keep the sweetness in check. The graham cracker topping gives it a buttery crunch that makes each bite feel finished instead of one-note. It’s the kind of fudge I keep coming back to because it looks polished, tastes like you put in more effort than you did, and doesn’t ask for a candy thermometer.
The texture comes from a careful balance of white chocolate and sweetened condensed milk, which gives you that soft, glossy base without the grainy edge that can happen when fudge is overheated. Pumpkin puree adds flavor and color, but it also adds moisture, so this version needs a long chill to firm up properly. The low-heat method matters here. White chocolate scorches fast, and once it does, you’ll taste it in every square.
Below, you’ll find the part that makes the topping stay crisp, the best way to cut the fudge cleanly, and a few swaps that actually work if you need to adjust the ingredients.
The pumpkin flavor came through without making it wet, and the graham cracker topping stayed crisp after a night in the fridge. I chilled it overnight like you suggested and the squares cut perfectly clean.
Pumpkin Fudge with that crunchy graham cracker topping is the kind of no-thermometer treat worth keeping on repeat.
The Low-Heat Rule That Keeps Pumpkin Fudge Smooth
Most fudge problems start the same way: the heat goes up too fast, the chocolate seizes or scorches, and the mixture turns grainy before it ever has a chance to set. White chocolate is especially touchy. It needs gentle heat and constant stirring, not a rush. That’s why this recipe works in a saucepan over low heat, with the condensed milk helping the chocolate melt into a smooth base instead of a dry, broken one.
The other thing that changes the outcome is the pumpkin. It brings moisture, which is great for flavor, but too much agitation or too much heat can make the mixture loose instead of silky. Stir only until the pumpkin and spice are fully incorporated and the surface looks glossy again. Once it’s poured into the pan, the fridge does the rest. If you cut it early, the center will still be soft and the slices won’t hold their shape.
What Each Ingredient Is Actually Doing in This Dish
- White chocolate chips — These form the base, so use a brand you trust to melt smoothly. Some store brands are waxier and can leave the fudge dull or stubbornly thick. If you need to swap, white chocolate baking bars chopped into pieces melt more cleanly than chips.
- Sweetened condensed milk — This is what gives the fudge its creamy body without a candy thermometer. Evaporated milk won’t do the same job because it doesn’t have the sugar content needed for that soft set.
- Pumpkin puree — Use plain pumpkin puree, not pumpkin pie filling. Pie filling already has sugar and spice mixed in, which throws off the balance and can make the fudge overly soft.
- Pumpkin pie spice — This carries the whole flavor. If you don’t have it, use cinnamon with a smaller pinch of ginger and nutmeg. You’ll get close, but the blend is what makes the pumpkin taste round instead of flat.
- Graham crackers and butter — The topping is more than garnish. The butter helps the crumbs toast slightly and cling to the surface, so you get a soft crunch instead of dry crumbs sliding off the top.
The 20 Minutes That Actually Matter
Building the Base
Set up your pan first and line it with parchment so you can lift the fudge out later without tearing the edges. Warm the white chocolate chips and sweetened condensed milk over low heat, stirring constantly as the chips soften. The mixture should look thick, glossy, and smooth, not oily or gritty. If you see the bottom of the pan catching or the chocolate clumping, the heat is too high and you need to pull it off the burner for a minute before continuing.
Adding the Pumpkin Without Breaking the Texture
Stir in the pumpkin puree, pumpkin pie spice, and vanilla once the chocolate mixture is smooth. It may look a little looser at first, which is normal. Keep stirring until the color evens out and the mixture turns uniform and shiny again. Don’t rush this part with extra heat. That’s how you end up with a thick edge and a slightly grainy center.
Finishing the Top and Chilling
Spread the fudge into the pan and smooth the top with a spatula so it sets evenly. Toss the crushed graham crackers with melted butter, then sprinkle them over the surface while the fudge is still soft enough for the topping to settle in. Chill it for at least 3 hours, but overnight is better if you want neat slices. If the fudge feels tacky in the center when you cut it, it needs more time in the fridge.
How to Adapt This for Different Kitchens and Different Sweetness Levels
Dairy-Free Version
Use dairy-free white chocolate chips and a plant-based sweetened condensed milk substitute designed for baking. The texture will still be rich, but it may set a little softer, so give it the full overnight chill before slicing. Keep the heat low, since vegan white chocolate can break just as easily as the regular kind.
Gluten-Free Topping
Swap the graham crackers for certified gluten-free graham-style crumbs or crushed gluten-free vanilla cookies. The goal is the same: a crisp, buttery top that contrasts with the soft fudge. Just keep the crumb layer light so it doesn’t sink into the surface.
Less Sweet, More Spice
If you like a deeper spice note, increase the pumpkin pie spice slightly and use a darker, less sweet white chocolate if you can find it. Don’t reduce the condensed milk too much or the fudge will lose its body. The sweetness is part of what helps it set into clean squares.
Storage and Reheating
- Refrigerator: Store in an airtight container for up to 1 week. The texture stays firm and creamy, though the topping softens slightly after a day or two.
- Freezer: It freezes well. Wrap the slab or individual squares tightly and freeze for up to 2 months. Thaw in the fridge so condensation doesn’t make the top sticky.
- Reheating: No reheating needed. This fudge is meant to be served chilled or cool. If it sits at room temperature too long, the edges soften before the center, which makes slicing messy.
Answers to the Questions Worth Asking

Pumpkin Fudge
Ingredients
Equipment
Method
- Line a baking dish with parchment paper so the fudge lifts out cleanly after chilling.
- Set up your stove for low heat and keep a spatula or spoon within reach for constant stirring.
- Melt white chocolate chips with sweetened condensed milk over low heat, stirring constantly, until fully smooth and glossy.
- Stir in pumpkin puree, pumpkin pie spice, and vanilla extract until smooth with no streaks.
- Pour the mixture into the prepared dish and smooth the top into an even layer.
- Toss crushed graham crackers with melted butter until the crumbs look evenly coated.
- Sprinkle the graham cracker streusel over the fudge in an even layer.
- Chill at least 3 hours until firm, then slice into squares with a sharp knife.
- For best results, chill overnight to get the firmest slices and the cleanest edges.