
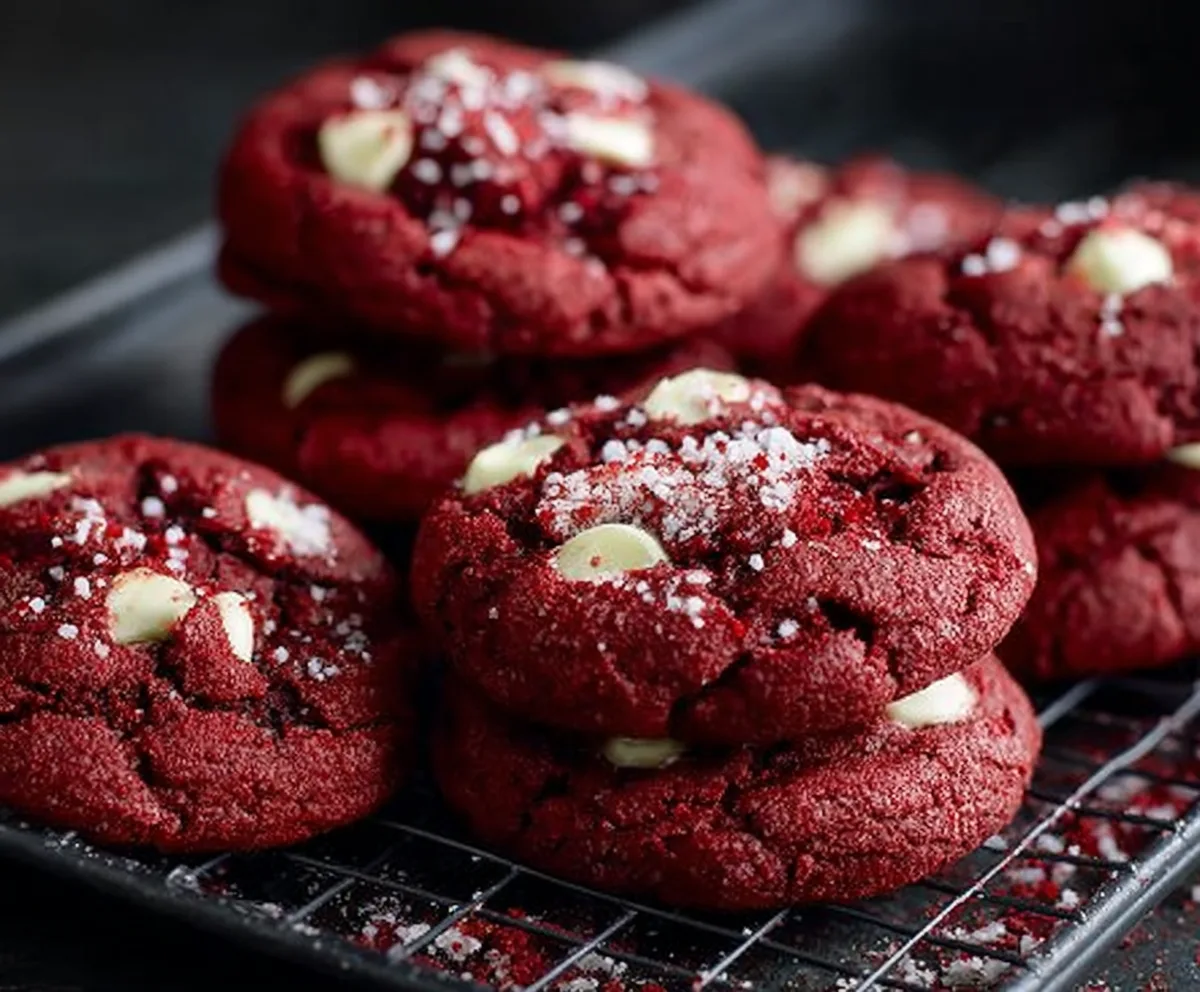
Red velvet cookies are a delightful twist on the classic cake, packed with that deep red color and a soft, chewy texture that melts in your mouth. These cookies usually have a subtle cocoa flavor and are often paired with creamy white chocolate chips or a tangy cream cheese frosting swirl to make them even more special.
I love making these cookies when I want something festive and comforting but a little different from the usual chocolate chip. They’re perfect for sharing because they look so pretty and always get compliments. One simple tip I’ve learned is to not overbake them – leaving them just a bit soft in the center makes all the difference and keeps that lovely, tender feel.
My favorite way to enjoy red velvet cookies is fresh out of the oven with a glass of cold milk or a hot cup of tea. They’re great for celebrations, but honestly, I find any day can turn special with a batch of these around. Plus, they’re a fun bake to get kids involved in, too, since the bright red dough is so eye-catching and fun to work with.
Key Ingredients & Substitutions
All-purpose flour: This gives the cookies their structure. You can swap it for gluten-free flour blends if needed, but be sure they’re suitable for baking. I like to measure flour properly—fluff it, spoon into the cup, and level it off—to avoid dense cookies.
Cocoa powder: Adds a subtle chocolate flavor that defines red velvet. Using unsweetened cocoa powder is key. If you don’t have it, Dutch-processed can work but may affect the color slightly.
Red food coloring: The signature for red velvet’s look. You can use liquid or gel food coloring; gel tends to give a more vibrant color without changing the dough’s wetness. For natural options, beet juice powder is a good substitute.
White chocolate chips: These melt nicely and complement the slight cocoa notes. If you can’t find white chocolate chips, chopped white chocolate bars work too. For a twist, you can try cream cheese chips or skip these if you prefer.
Butter and sugars: Butter adds richness, while the combination of granulated and brown sugar balances sweetness and moisture. Using room-temperature butter helps mix the dough evenly.
How Do I Make the Cookies Soft and Chewy, Not Dry or Flat?
Soft, chewy red velvet cookies come from careful mixing and baking. Here’s what helps:
- Beat the butter and sugars well to trap air, giving the cookies lift.
- Add eggs and liquids at room temperature. They mix better and help the texture.
- Mix dry and wet ingredients just until combined—overmixing can toughen cookies.
- Use baking soda to help cookies rise and spread properly.
- Scoop dough in generous portions and don’t flatten before baking. Cookies will spread on their own.
- Watch the baking time closely—10 to 12 minutes works for me. Take them out when edges are set but centers look soft. Cookies firm up as they cool.
- Allow cookies to cool on the baking sheet for a few minutes before moving them. This helps keep their shape and soft interior.
Equipment You’ll Need
- Mixing bowls – I use these to combine dry and wet ingredients easily.
- Electric hand or stand mixer – makes beating the butter and sugars faster and smoother.
- Measuring cups and spoons – helps get the ingredients just right for perfect cookies.
- Baking sheet – a flat surface for baking the cookies evenly. Lining it with parchment paper prevents sticking.
- Silicone spatula or spoon – for folding in the white chocolate chips gently.
- Cooling rack – keeps the cookies crisp on the outside and soft inside after baking.
Flavor Variations & Add-Ins
- Swap white chocolate chips for dark or milk chocolate chunks for a richer flavor.
- Mix in chopped nuts like pecans or walnuts for a crunchy bite.
- Add a teaspoon of vanilla extract or almond extract to enhance flavor depth.
- Swirl in a little cream cheese filling before baking for a cheesecake-like twist.
How to Make Red Velvet Cookies with White Chocolate Chips
Ingredients You’ll Need:
- 1 and 1/4 cups (160g) all-purpose flour
- 1 tablespoon unsweetened cocoa powder
- 1/2 teaspoon baking soda
- 1/4 teaspoon salt
- 1/2 cup (115g) unsalted butter, softened
- 1/2 cup (100g) granulated sugar
- 1/4 cup (50g) packed light brown sugar
- 1 large egg
- 1 tablespoon milk
- 1 teaspoon vanilla extract
- 1 tablespoon red food coloring
- 3/4 cup white chocolate chips, plus extra for topping
- Flaky sea salt, for sprinkling on top (optional)
How Much Time Will You Need?
This recipe takes about 15 minutes to prepare, plus 10-12 minutes to bake. Allow a few extra minutes for cooling before enjoying your delicious cookies!
Step-by-Step Instructions:
1. Prep Your Oven and Dry Ingredients:
Preheat the oven to 350°F (175°C) and line a baking sheet with parchment paper. In a medium bowl, whisk together the flour, cocoa powder, baking soda, and salt. Set aside for now.
2. Cream Butter and Sugars:
In a large bowl, beat the softened butter, granulated sugar, and brown sugar together until the mixture is light and fluffy, about 2 to 3 minutes.
3. Add Wet Ingredients:
To the butter mixture, add the egg, milk, vanilla extract, and red food coloring. Beat everything together until completely combined and smooth.
4. Combine Dry and Wet Mixtures:
Slowly add the dry ingredients to the wet ingredients, mixing just until everything is incorporated. Avoid overmixing to keep your cookies tender.
5. Add White Chocolate Chips:
Gently fold in the white chocolate chips using a spatula, saving a few to press on top of the cookies before baking.
6. Shape and Bake:
Scoop heaping tablespoons of dough onto the prepared baking sheet, spacing them about 2 inches apart. Press a few extra white chocolate chips on top of each cookie and sprinkle lightly with flaky sea salt, if you like.
Bake for 10 to 12 minutes. You’ll want the edges set but the centers still soft for that perfect chewy texture.
7. Cool and Enjoy:
Let the cookies cool on the baking sheet for about 5 minutes so they firm up a bit. Then transfer them to a wire rack to cool completely. Now, enjoy your freshly baked red velvet cookies with a glass of milk or your favorite tea!
Can I Use Frozen Butter for These Cookies?
It’s best to use softened butter at room temperature for this recipe. Using cold or frozen butter can prevent the sugars from creaming properly, which affects the cookie texture. If your butter is frozen, let it sit out for about 30-60 minutes to soften before starting.
Can I Make the Dough Ahead of Time?
Yes! You can prepare the dough and refrigerate it in an airtight container for up to 48 hours. Chilling the dough can actually enhance the flavor and help the cookies keep their shape when baked. Just allow the dough to sit at room temperature for 10-15 minutes before scooping and baking.
How Should I Store Leftover Cookies?
Store leftover cookies in an airtight container at room temperature for up to 4 days. To keep them soft, you can add a slice of bread to the container — it helps maintain moisture. For longer storage, freeze the cookies in a sealed bag for up to 3 months and thaw at room temperature before enjoying.
Can I Substitute the White Chocolate Chips?
Absolutely! Feel free to swap white chocolate chips for semi-sweet or milk chocolate chips if you prefer a richer chocolate flavor. You could also try mini chocolate chips or even chopped nuts for added texture and taste.