
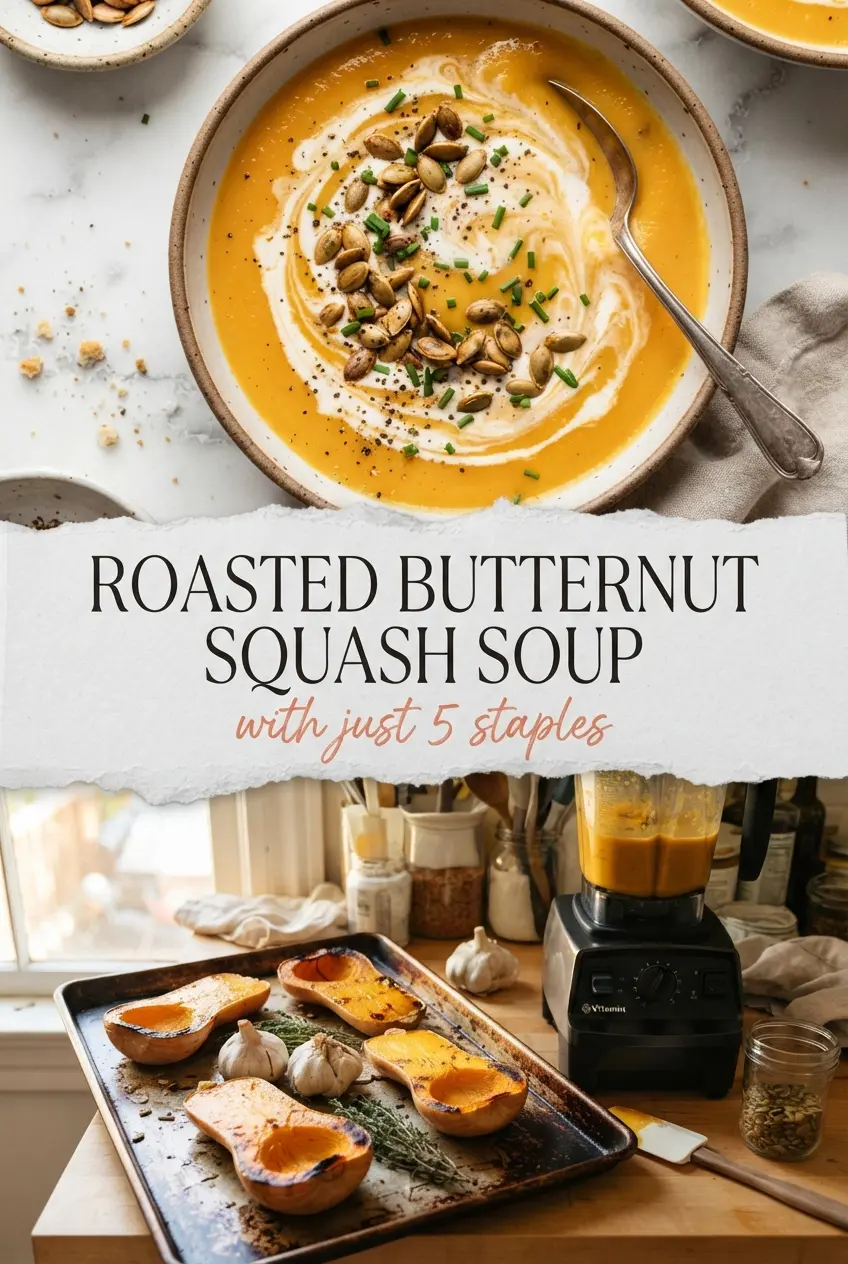
Roasted butternut squash soup turns velvety and deep-flavored when the squash gets enough time in the oven to caramelize instead of just soften. That roasted edge is what gives the soup its sweet, nutty backbone, and it makes every spoonful taste fuller than a quick stovetop version ever can.
The trick is to roast the squash until the cut sides pick up dark gold color and the onion turns sweet at the edges. That extra browning is doing most of the work here. The broth loosens everything just enough to blend smoothly, and the cream goes in at the end so the soup stays silky instead of tasting flat or heavy.
Below you’ll find the roasting cue that matters most, plus the small blending and seasoning details that keep this soup bright, smooth, and balanced.
I roasted the squash until the edges were deep golden like you suggested, and that made all the difference. The soup blended out silky smooth and tasted like it had been simmering all day.
Save this roasted butternut squash soup for the nights when you want a silky, golden soup with deep caramelized flavor.
The Difference Between Roasted Soup and Boiled Squash
Boiled squash gives you volume. Roasted squash gives you flavor. That difference matters here because butternut squash can taste one-note if it never gets any browning, and the oven solves that by concentrating the sugars and pulling a little toastiness into the flesh. The onion does the same thing, softening into something sweet and mellow instead of sharp.
If your soup has ever come out thin or bland, the problem usually wasn’t the cream. It was the base. When the squash is roasted until the edges caramelize, the finished soup tastes rounder even before you add broth. That means you can keep the ingredient list short and still end up with something that tastes finished.
What Each Ingredient Is Actually Doing in This Bowl

- Butternut squash — This is the whole soup. Look for a squash with firm skin and a heavy feel for its size. If yours is small, use two; the important part is getting enough flesh to make the soup naturally thick.
- Olive oil — This helps the squash brown instead of dry out. A good everyday olive oil is fine here because it’s doing heat work, not acting as a finishing oil.
- Yellow onion — The onion softens the sweetness of the squash and gives the soup a deeper base. Quartering it lets the edges roast and brown, which is better than chopping it small and letting it steam.
- Vegetable broth — Use a broth you’d actually sip from the spoon. A weak broth makes the whole soup taste flat. If you only have chicken broth, it works the same way and will give you a slightly richer result.
- Cream — This goes in at the end for a smooth finish. You can swap in half-and-half for a lighter bowl, but don’t add the dairy early or it can dull the roasted flavor and make the soup feel heavier than it needs to.
Roasting, Blending, and Finishing Without Losing the Silkiness
Let the Oven Do the Heavy Lifting
Roast the squash and onion at 400°F until the cut sides are dark golden and the flesh gives easily when pierced. Pale squash means pale soup, so don’t pull it early just because it feels tender. You want some caramelized edges and a little concentration in the flesh. If the onion starts to char hard before the squash is done, tuck it closer to the squash so it stays protected.
Scoop First, Then Build the Pot
Once the squash is cool enough to handle, scoop the flesh into a pot and add the roasted onion. You’re not chasing perfect shape here; the soft roasted pieces will break down as soon as the broth goes in. Add the broth and simmer for about 10 minutes so everything becomes fully tender and the flavors settle together. If the mixture looks too thick before blending, that’s normal. The blender will smooth it out.
Blend Until It Looks Like Velvet
Blend the soup until it’s completely smooth, not just mostly smooth. If you see strings or graininess, keep going. An immersion blender works, but a regular blender usually gives the silkiest texture. Work in batches if needed and vent the lid carefully so steam doesn’t build up. The soup should look glossy and pour in a thick ribbon.
Finish With Cream Off the Heat
Stir in the cream after blending and season with salt and pepper to taste. If the soup tastes muted, it usually needs more salt, not more cream. Keep the heat low at this stage so the dairy stays clean and the flavor stays bright. The finished soup should taste sweet, roasted, and balanced, with no sharp raw onion edge left behind.
Three Ways to Adjust This Soup Without Breaking It
Dairy-Free Version
Swap the cream for full-fat coconut milk or a plain unsweetened oat cream. Coconut milk gives the soup a slightly sweeter finish, while oat cream stays closer to the original flavor. Stir it in at the end just like the cream so the texture stays smooth.
Lighter Bowl, Same Roasted Flavor
Use half-and-half instead of cream, or leave the dairy out entirely and blend in an extra splash of broth. You’ll lose a little richness, but the roasted squash still carries the soup. This works best when the squash is well browned, because the flavor has to stand on its own.
Make It Bigger for a Crowd
Double everything and roast the squash on two sheet pans so it still browns instead of steaming. Crowding the pan is the fastest way to lose flavor. If you do scale it up, taste again at the end; bigger batches almost always need a little more salt to wake up the squash.
Storage and Reheating
- Refrigerator: Keeps well for 4 days in a sealed container. The texture may thicken a little as it sits.
- Freezer: Freezes well for up to 3 months. Leave a little room at the top of the container and thaw it in the fridge before reheating.
- Reheating: Warm it gently on the stove over low heat, stirring often. High heat can make the cream separate or dull the flavor, so don’t rush it.
Answers to the Questions Worth Asking
Roasted Butternut Squash Soup
Ingredients
Equipment
Method
- Heat oven to 400°F and roast the butternut squash and yellow onion with olive oil for 45 minutes, until the squash is dark golden. Spread in a single layer so the edges caramelize.
- Scoop the butternut squash flesh into a Dutch oven along with the roasted onion. Scrape up any caramelized bits clinging to the skin and tray.
- Add vegetable broth and simmer for 10 minutes. Keep the heat at a gentle simmer so flavors meld without boiling hard.
- Blend until silky. Blend in batches if needed and stop when the soup is fully smooth.
- Stir in cream and season with salt and pepper to taste. Warm just until the soup is hot and creamy, then serve.