
Buttery oat crumble, tender cinnamon apples, and a ribbon of salted caramel make these bars the kind of dessert people hover over before they’ve even cooled. The crust bakes up sturdy enough to slice, but it still has that crisp, nubby texture that gives way to soft fruit and a gooey middle. The salt on top keeps the sweetness in check, so every bite tastes balanced instead of candy-like.
The trick is using cold butter and working it into the oats and flour just until the mixture looks sandy with a few larger clumps. That gives you both structure and craggy topping. The apples also need a little lemon juice, not just for brightness but to keep the filling tasting fresh after baking. And the bars need a full cool-down before slicing. Cut them early and the caramel will run everywhere.
Below, I’ll walk through the small details that keep the crumble from turning dry and the caramel layer from disappearing into the apples. There’s also a simple swap guide and the storage notes I wish more bars recipes included.
The oat topping baked up crisp instead of soggy, and the caramel stayed right where it should after cooling. I sliced them into clean little squares for a bake sale and they disappeared first.
Love the gooey caramel-and-apple center? Save these bars to Pinterest for the days when you want a crisp crumble dessert that slices cleanly.
The Reason These Bars Stay Crisp Instead of Turning Soggy
The biggest mistake with apple bars is piling wet filling onto a base that can’t handle it. This version avoids that by keeping the crust and topping in the same crumb mixture, then pressing only part of it into the pan. That gives the bottom a chance to set into a firm layer while the top stays craggy and golden instead of soft and cakey.
Another thing that matters here is the apple cut. Dice them small enough to cook through in the bake time, but not so small that they collapse into applesauce. You want tender pieces that still hold their shape. The caramel goes on before the topping, which sounds obvious, but it matters: it melts into the fruit and clings to the apples instead of sitting on top in one sticky layer.
- Cold butter — This is what gives the bars their texture. Warm butter blends in too far and you lose those crisp, sandy pockets that bake into a proper crumble.
- Rolled oats — They add chew and structure. Quick oats will work in a pinch, but the topping gets finer and less rustic.
- Good caramel sauce — Use one that tastes deep and buttery, not just sugary. A thin, overly sweet sauce can disappear into the apples; a thicker caramel stays noticeable after baking.
- Flaky sea salt — Don’t skip it. It sharpens the caramel and keeps the bars from tasting flat.
Building the Layers So the Bars Slice Cleanly
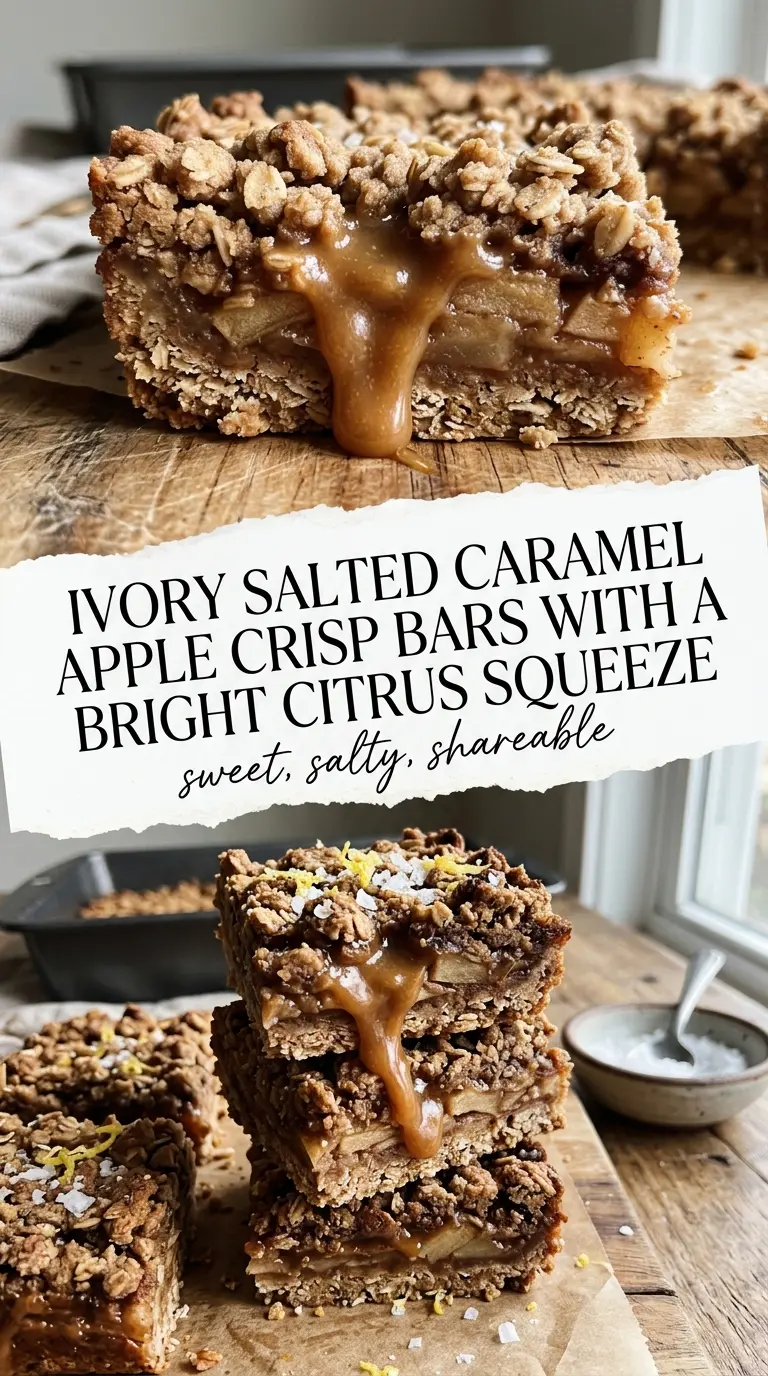
The oats, flour, brown sugar, and butter should look like damp sand with some pea-sized bits left in the mix. That uneven texture is what turns into a crisp top, so don’t overwork it into paste. When you press the base into the pan, use firm, even pressure, especially at the corners, or the bars will break apart when you cut them.
The apples only need a light toss with lemon juice and cinnamon before they go down. Too much liquid in the bowl just makes the filling weep. Spread them in an even layer, drizzle the caramel over the top in ribbons, and finish with the remaining crumble. Once baked, the surface should look deeply golden with caramel bubbling through the cracks. If the topping is pale, it needs a few more minutes; if the edges darken too fast, the pan was too close to the oven wall.
What to Change When You Want a Different Version
Make Them Gluten-Free
Swap the all-purpose flour for a good 1:1 gluten-free baking blend. The bars will still hold together well because the oats and butter do a lot of the structural work, though the crumb may be a touch more delicate when warm. Let them cool all the way before cutting.
Use Pears Instead of Apples
Firm pears work if you want a softer, more floral filling. Use fruit that’s ripe but not mushy, and cut it a little larger than the apples so it doesn’t collapse into the caramel. The flavor is gentler, so the flaky salt becomes even more important.
Go Dairy-Free
Use a plant-based butter that bakes well and a dairy-free caramel sauce. The bars will still crisp up, but the flavor will be a little less rich, so choose a caramel with a deep toasted note rather than a thin syrupy one.
Add Nuts for More Crunch
A handful of chopped pecans or walnuts mixed into the topping adds extra crunch and a toasty edge that plays nicely with the caramel. Keep the pieces fairly small so the bars still cut neatly.
Storage and Reheating
- Refrigerator: Store in an airtight container for up to 5 days. The topping softens a little in the fridge, but the flavor gets even better by day two.
- Freezer: These freeze well. Wrap individual bars tightly and freeze for up to 2 months, then thaw in the fridge so the caramel doesn’t get sticky all at once.
- Reheating: Warm a bar in a low oven for a few minutes if you want the topping to crisp back up. The mistake is blasting them in the microwave, which turns the crumble soft and makes the caramel run.
Answers to the Questions Worth Asking
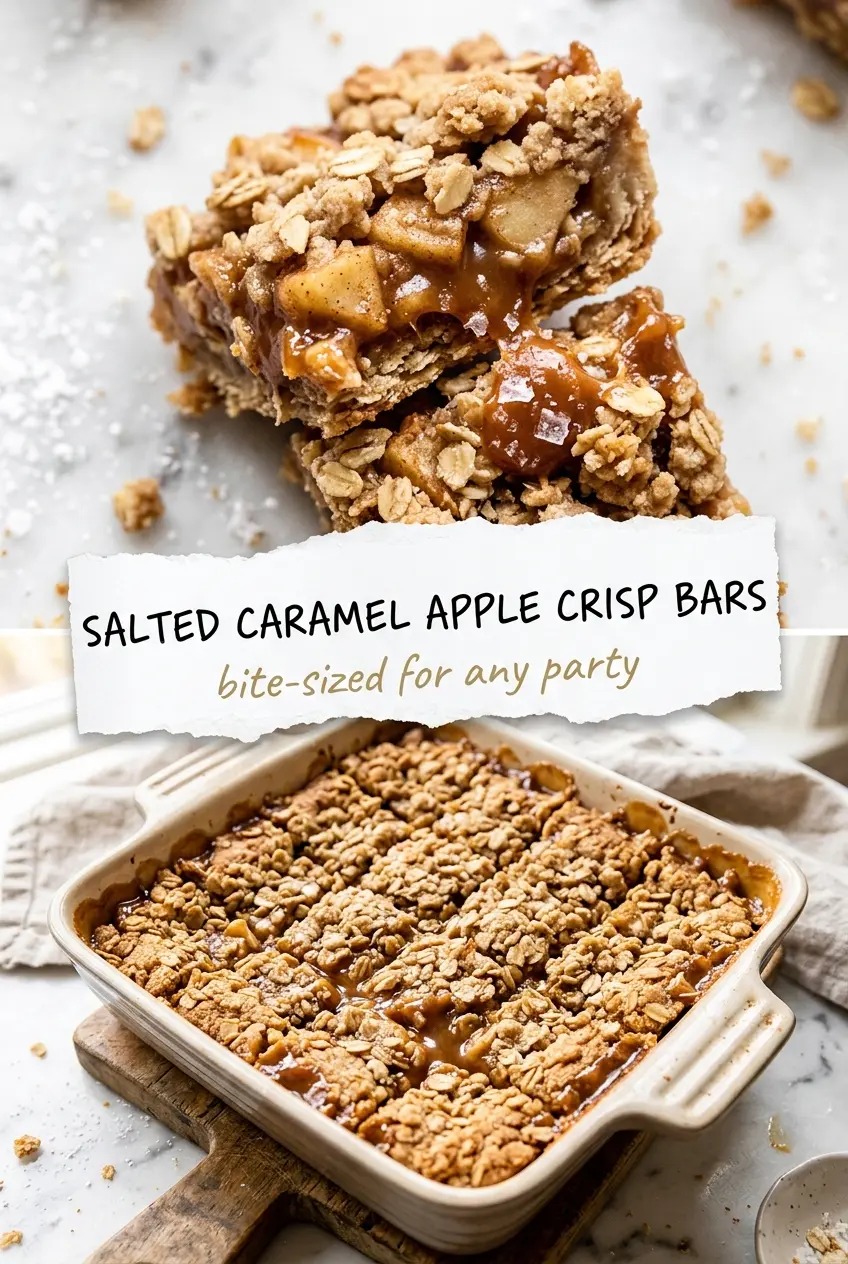
Salted Caramel Apple Crisp Bars
Ingredients
Equipment
Method
- Preheat oven to 350°F and grease a baking dish with a light coating of fat for easy release.
- Mix rolled oats, all-purpose flour, brown sugar, and cold butter, cubed until crumbly with no dry flour patches.
- Press two-thirds of the crumb mixture into the bottom of the dish to form an even crust.
- Toss apples, peeled and diced with lemon juice and cinnamon, then spread over the crust in a single layer.
- Drizzle caramel sauce evenly over the apples so it reaches the edges.
- Sprinkle the remaining oat mixture over the top and finish with flaky sea salt for topping.
- Bake at 350°F for 40-45 minutes until the top is golden brown and the filling is visibly bubbly.
- Cool completely before slicing into bars so the caramel and apples set for clean, shareable squares.