
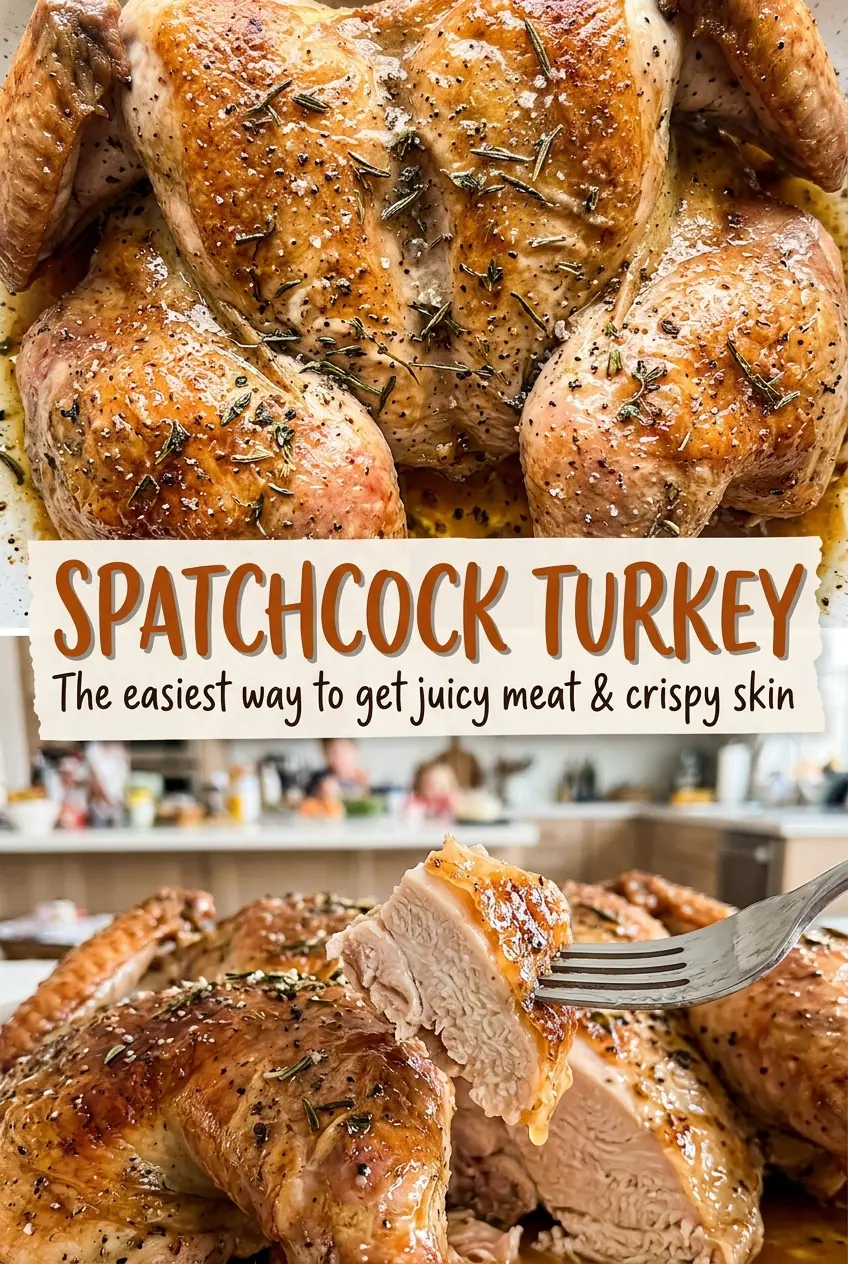
A whole turkey can brown beautifully on top while the meat near the legs is still catching up. Spatchcocking solves that uneven shape by removing the backbone and pressing the bird flat, so the breast and thighs sit in a more even layer. I use this method for Spatchcock Turkey when I want golden skin and a clear temperature check without wrestling a tall bird in and out of the oven.
Softened butter with garlic and fresh herbs goes under the skin as well as over it, so the breast meat gets seasoning where it counts instead of relying on the surface alone. The overnight salt rest gives that seasoning time to work in, while the uncovered chill dries the skin before roasting. The result is a broad, fragrant turkey with crisp skin and juicy slices ready for the carving board.
Kitchen Note
After the uncovered rest in the refrigerator, the skin should feel dry rather than damp. That dry surface is what lets it brown instead of turning soft in the oven.
Save this Spatchcock Turkey for crisp skin, evenly cooked meat, and a garlic-herb butter that seasons every slice.
Why Flattening the Turkey Changes How It Roasts
A whole bird is thickest at the breast and tucked into a compact shape, while the legs sit close to the body. That makes heat travel through different parts at different speeds. Removing the backbone and pressing the breastbone down opens the turkey into a flatter shape, bringing the legs and breast closer to the same level in the oven.
The difference is more than a shorter-looking bird. With the turkey spread out on a rack, hot air can move around more of its surface, and you can check the thickest parts without reaching past a high breast or a crowded cavity. The breast still needs careful attention, since it can dry out if you keep roasting after it reaches its target temperature. Start checking at the beginning of the suggested roasting window rather than assuming the full time is needed.
Flattening also makes seasoning easier to distribute. You can reach the skin over both the breast and thighs, and the seasoned butter has room to coat the bird rather than pooling in the cavity. Use sturdy shears for the backbone; a flimsy pair makes the first part of the job harder than it needs to be.
What the Butter, Salt, and Fresh Herbs Each Bring
- Turkey — Choose a fully thawed bird in the stated size range. A plain, unseasoned turkey gives you control over the salt; injected or pre-brined birds may already contain plenty.
- Kosher salt — Its larger grains are easy to spread beneath the skin and across the surface. Avoid swapping in table salt by the same volume, since the finer crystals can make the turkey taste too salty.
- Unsalted butter — Softened butter mixes smoothly with the garlic and herbs and stays in place under the skin better than a thin liquid. The brand isn’t important; unsalted butter lets the measured kosher salt do its job.
- Fresh garlic, thyme, and rosemary — Freshly minced garlic and chopped herbs give the butter a bright, savory aroma. Ordinary fresh bunches from the grocery store work well; choose herbs with green leaves rather than limp or browned ones.
- Black pepper and olive oil — Ground pepper seasons the butter without competing with the herbs. A basic olive oil is fine for brushing the skin; save the expensive bottle for a use where its flavor stands out more.
The Order That Gets a Spatchcocked Turkey Ready for the Oven
Remove the Backbone and Flatten the Bird
Take the neck and giblets out of the cavity, then set the turkey breast-side down and cut along both sides of the backbone with sturdy kitchen shears. Remove the backbone, turn the turkey breast-side up, and press firmly on the breastbone until the bird lies flat. If the center keeps springing upward, press again with steady force rather than trying to roast it in a rounded shape.
Salt Beneath the Skin and Chill Uncovered
Pat the turkey dry, then gently loosen the skin over the breast and thighs. Rub the kosher salt underneath the skin and all over the outside so the seasoning reaches more than the surface. Set the turkey skin-side up on a rack in a rimmed baking sheet and refrigerate it uncovered for 8 to 24 hours.
Mix the Garlic-Herb Butter
Heat the oven to 425°F while you mix the softened butter with the minced garlic, fresh thyme, fresh rosemary, and ground black pepper. Stir until the herbs and garlic are spread evenly through the butter, with no large clumps left behind. If the butter is cold and firm, it will be harder to spread beneath the skin, so let it soften before mixing.
Coat the Turkey and Roast
Spread the seasoned butter beneath the skin and over the turkey, then brush the skin with olive oil. Roast the bird on its rack, checking at 75 minutes and continuing as needed. Insert an instant-read thermometer into the thickest part of the breast and the innermost thigh without touching bone; both spots should read 165°F before the turkey comes out.
Rest Before Carving
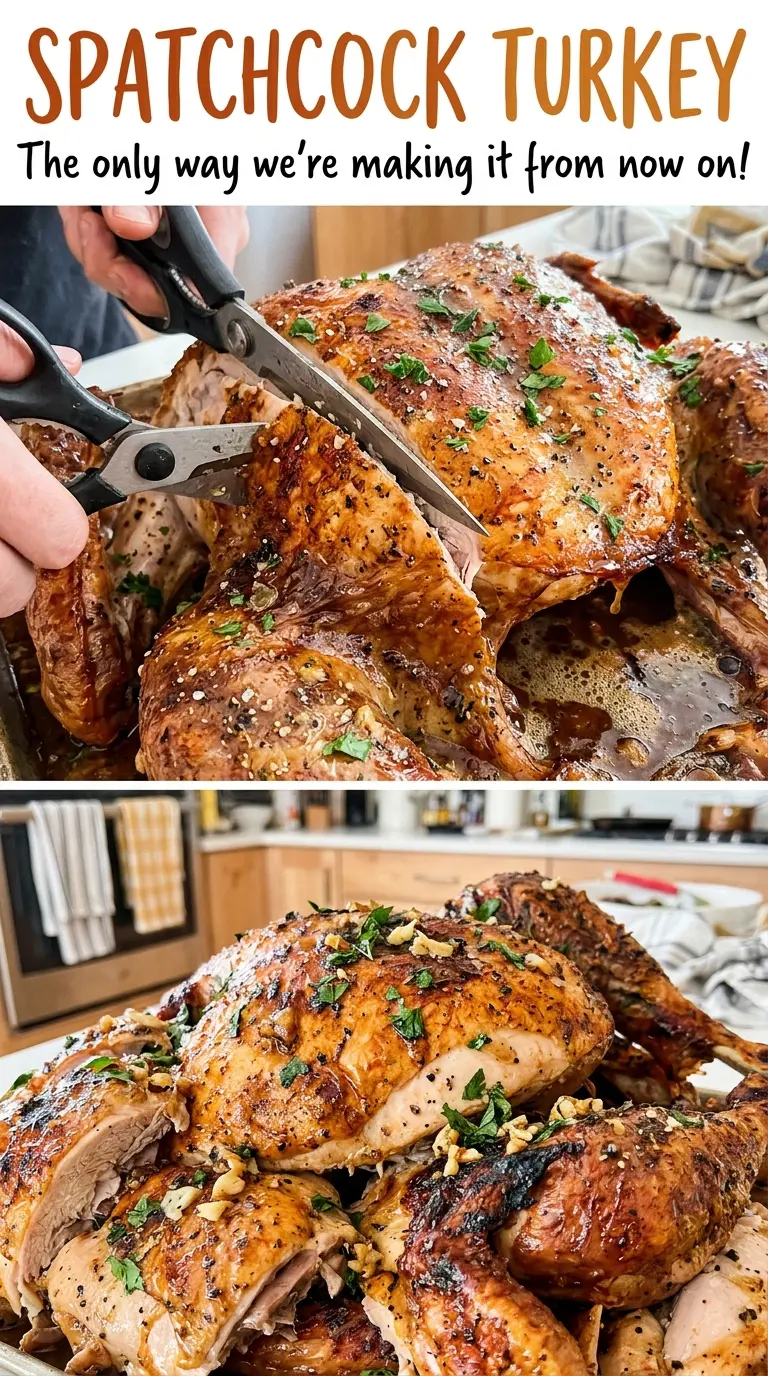
Transfer the turkey from the oven and let it rest for 20 minutes before carving. This pause gives the hot juices time to settle, so they’re less likely to run out as soon as you cut into the breast. Carve the bird once the rest is complete, and keep the pieces arranged skin-side up if you want the browned surface to stay visible.
Two Simple Ways to Change the Herb Butter
Make It Dairy-Free Without Adding Another Ingredient
Leave out the butter and keep the garlic and herbs under the loosened skin. Brush the outside with the olive oil as usual. The result is less rich, and the herbs won’t bind into a paste, but the turkey still gets their savory flavor.
Let Thyme Lead the Flavor
Leave out the rosemary and use the thyme on its own in the butter. The flavor will be softer and more woodsy, without rosemary’s strong, piney edge; the butter is still easy to spread beneath the skin.
Storage and Reheating
- Refrigerator: Refrigerate carved leftovers within 2 hours and use them within 3 to 4 days. The skin softens once chilled.
- Freezer: Freeze carved portions in airtight packaging for 2 to 6 months for best quality. Thaw in the refrigerator before reheating.
- Reheating: Arrange slices in an oven-safe dish, cover, and warm until steaming hot throughout. Leaving the dish uncovered as it heats dries out the breast meat.
Questions That Come Up While Spatchcocking a Turkey
Spatchcock Turkey
Ingredients
Equipment
Method
- Remove the neck and giblets from the turkey cavity.
- Using sturdy kitchen shears, cut along both sides of the backbone to remove it.
- Turn the turkey breast-side up and press firmly on the breastbone to flatten the bird.
- Pat the turkey dry and loosen the skin over the breast and thighs.
- Rub the salt under the skin and all over the turkey.
- Set the turkey skin-side up on a rack in a rimmed baking sheet and refrigerate uncovered for 8 to 24 hours.
- Heat the oven to 425°F.
- In a small bowl, mix the butter, garlic, thyme, rosemary, and pepper.
- Spread the seasoned butter under the skin and over the turkey.
- Brush the skin with the olive oil.
- Roast the turkey for 75 to 100 minutes, checking starting at 75 minutes, until an instant-read thermometer reads 165°F in the thickest part of the breast and the innermost thigh without touching bone.
- Rest the turkey for 20 minutes before carving.