
Glossy teriyaki chicken over fluffy rice is the kind of meal prep that actually gets eaten on day four. The sauce clings to the chicken instead of pooling in the bottom of the container, the broccoli stays bright and a little crisp, and the snap peas keep enough snap to stop the whole bowl from feeling soft or tired. That balance is what makes these bowls worth repeating.
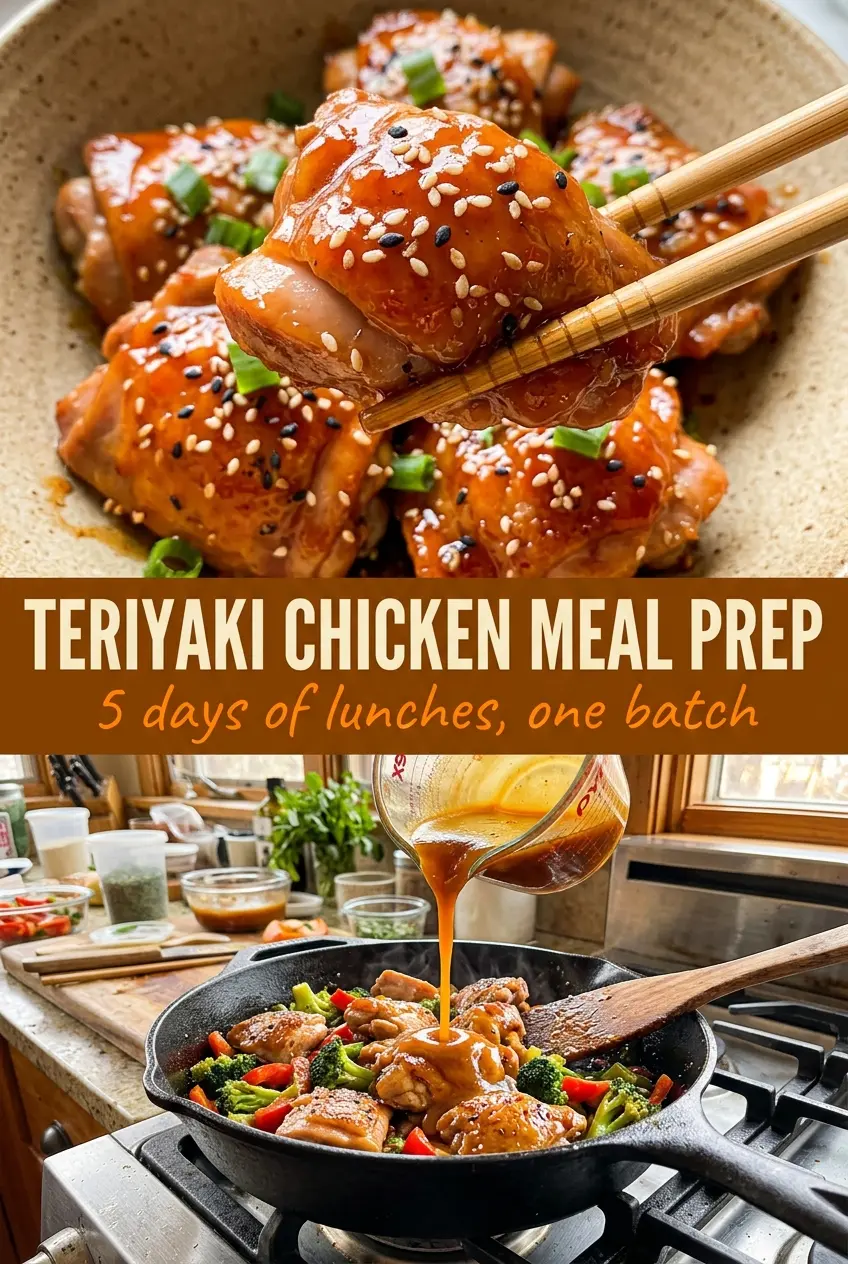
The trick is building the sauce in the pan after the chicken is cooked, not before. You want the heat to reduce the soy sauce, honey, brown sugar, and vinegar into something concentrated, then the cornstarch slurry finishes the job and turns it glossy without turning gluey. A little sesame oil and fresh ginger go a long way here, so the sauce tastes layered instead of flat-sweet.
Below, I’ll show you how to keep the sauce thick but not sticky, how to portion the bowls so the rice doesn’t get soggy, and a few smart swaps if you need to stretch this into a dairy-free or higher-protein routine.
The sauce thickened up perfectly and coated every piece of chicken, and the broccoli stayed crisp even after reheating. I used it for lunches all week and never got bored of it.
Save these teriyaki chicken meal prep bowls for a week of sticky chicken, crisp vegetables, and lunches that reheat without falling apart.
The Reason the Sauce Stays Glossy Instead of Turning Thin and Watery
The biggest mistake in teriyaki meal prep is treating the sauce like a marinade and expecting it to behave like a glaze later. When the chicken cooks first, the pan picks up a little fond, and that gives the sauce depth before the sweeteners and soy sauce reduce. If you add the slurry too early, you get a starchy coating that never tastes cooked down.
The other thing that matters here is heat control. A rolling boil can make the sauce seize or get sticky in all the wrong places, while a steady simmer gives the cornstarch time to thicken evenly. You’re looking for sauce that coats the back of a spoon and leaves a clean line when you drag a finger through it.
What Each Ingredient Is Actually Doing in This Dish
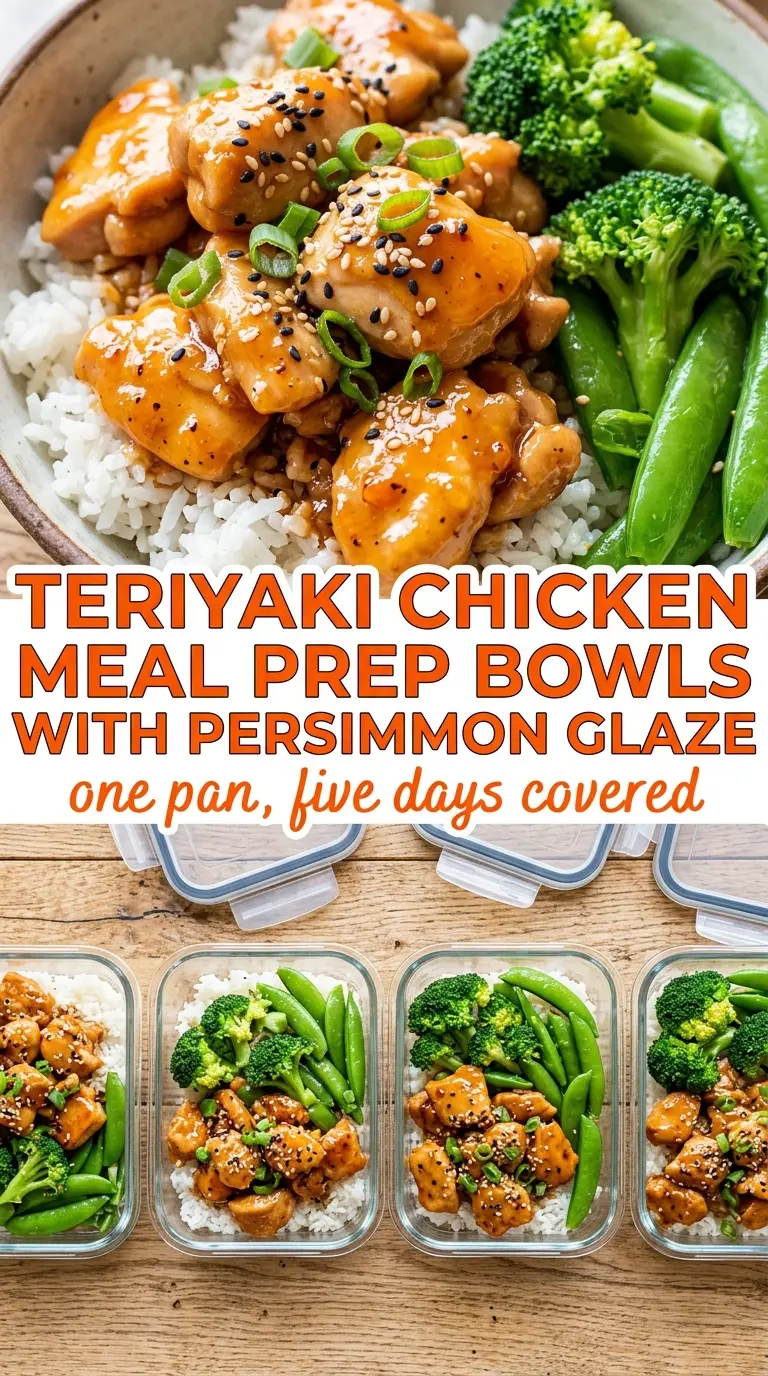
- Chicken breast — Cubing it keeps the cooking time short and gives you more surface area for the sauce to cling to. Thigh meat works too, but it needs a couple extra minutes and gives a richer, slightly fattier bowl.
- Soy sauce — This is the backbone of the glaze, so use a brand you like the taste of. Low-sodium works well if you want a little more control over the salt level; the rest of the ingredients still give you plenty of punch.
- Honey and brown sugar — They do different jobs. Honey brings shine and a round finish, while brown sugar adds a deeper molasses note that keeps the sauce from tasting one-dimensional.
- Rice vinegar and sesame oil — The vinegar sharpens the sweetness, and the sesame oil gives the sauce that toasty finish you’d miss if you skipped it. Use toasted sesame oil here, not plain.
- Cornstarch slurry — Mix it with cold water before it goes into the pan. If it hits the skillet dry or clumped, you’ll get little gummy pockets instead of a smooth glaze.
Building the Bowls So the Rice Stays Good All Week
Whisk the sauce before the chicken hits the pan
Combine the soy sauce, water, honey, brown sugar, rice vinegar, sesame oil, ginger, and garlic in a bowl first. That keeps the seasoning even and prevents one spoonful from tasting sharp while another tastes flat-sweet. If the honey is stiff, warm the measuring spoon under hot water for a few seconds so it blends cleanly.
Cook the chicken until it loses its raw sheen
Use a large skillet and give the chicken enough space to brown in spots. You want the pieces opaque all the way through, with some edges picking up color before the sauce goes in. If the pan is crowded, the chicken steams instead of searing, and the finished bowl tastes softer and less savory.
Reduce, then thicken
Pour in the sauce and let it bubble for a minute or two so the flavors concentrate. Stir in the cornstarch slurry and keep it moving until the sauce turns shiny and lightly thickened. If it goes from thin to paste-like, the heat was too high; pull it down to a gentle simmer and loosen it with a splash of water.
Portion with dry and wet ingredients separated
Spoon the rice into the bottom of each container, then add the chicken and vegetables on top or side by side. Let the chicken cool for a few minutes before packing so steam doesn’t soften the rice. Keep the sesame seeds and green onions for the top right before eating if you want the freshest texture.
Make It Gluten-Free
Swap the soy sauce for tamari or a certified gluten-free soy sauce. The flavor stays close, but tamari usually tastes a little rounder and less sharp. Keep the rest of the recipe the same.
Use Chicken Thighs for a Richer Bowl
Boneless, skinless thighs hold up well in meal prep and stay juicier after reheating. They need a little more time in the skillet, but they give you a deeper, more savory result that works especially well if you like a heavier bowl.
Turn It Into a Lower-Carb Lunch
Replace the rice with cauliflower rice or shredded cabbage. Cauliflower rice soaks up the sauce without much flavor of its own, while cabbage gives you more crunch and stays less watery in the fridge.
Storage and Reheating
- Refrigerator: Store for up to 4 days. The vegetables will soften a little by day three, but the bowls still hold up well.
- Freezer: The chicken and rice freeze well, but the broccoli and snap peas lose their best texture. Freeze the sauced chicken and rice in portions, then add fresh vegetables after reheating if you can.
- Reheating: Microwave covered in 60- to 90-second bursts until hot, stirring once in the middle. A splash of water helps loosen the rice, but don’t drown the bowl or the sauce will thin out.
Answers to the Questions Worth Asking
Teriyaki Chicken Meal Prep Bowls
Ingredients
Equipment
Method
- Whisk together the soy sauce, water, honey, brown sugar, rice vinegar, sesame oil, ginger, and garlic until the sugar dissolves and the sauce looks smooth.
- Heat a large skillet over medium-high heat, then add the cubed chicken breast and cook for 5 to 7 minutes until no longer pink and lightly browned at the edges.
- Pour the teriyaki sauce over the chicken and simmer for 3 to 5 minutes, stirring occasionally, until the sauce looks slightly reduced and starts to cling.
- Stir in the cornstarch slurry and simmer for 30 to 60 seconds until the sauce turns glossy and thick enough to coat the chicken.
- Steam the broccoli until tender-crisp and bright green, about 3 to 4 minutes, so it stays firm for meal prep.
- Steam the snap peas until tender-crisp, about 2 to 3 minutes, then drain so the meal bowls don’t get watery.
- Divide the cooked rice, chicken with sauce, steamed broccoli, and snap peas evenly into four meal prep containers.
- Top each container with sesame seeds and green onions, then refrigerate for up to 4 days.