
Waffle iron pizza pockets hit that sweet spot between fun and practical: crisp ridges on the outside, molten cheese and sauce inside, and a sealed pocket that keeps everything from sliding out onto the counter. The waffle iron does more than add novelty. It presses the dough thin enough to cook through quickly while still giving you those crunchy, browned edges that make each bite better than the last.
The trick is keeping the filling modest and the seal tight. Too much sauce turns the center gummy and pushes the pockets apart before the dough has time to set. A small border around the edge and a firm pinch on the seam give the waffle iron something sturdy to work with, and cooking spray keeps the crust from welding itself to the plates.
Below you’ll find the exact timing that gets the dough golden without drying it out, plus a few smart swaps if you want to change up the filling. If you’ve got leftover pizza dough and a craving for something fast with a little crunch, this one earns its keep.
The pockets sealed up beautifully and the waffle iron gave them these crisp little ridges without squishing all the cheese out. I used a little less marinara than I would for regular pizza and they came out perfect in 7 minutes.
Waffle Iron Pizza Pockets with crispy edges, gooey mozzarella, and a fast 8-minute finish
The Reason These Pockets Crisp Instead of Going Soggy
The biggest mistake with waffle iron pizza pockets is treating them like open-faced mini pizzas. Once the sauce hits the dough, the filling starts working against you. The dough needs enough structure to trap the cheese and pepperoni, but not so much filling that steam builds up faster than the crust can set. That’s why the border matters and why the pockets need to be sealed firmly before they go anywhere near the iron.
The other piece people miss is heat. A fully preheated waffle iron gives the dough an instant head start, which is what creates those crisp ridges instead of pale, damp pockets. If the iron is only warm, the dough sits there absorbing moisture from the filling and you lose the crunch before it has a chance to form.
What Each Ingredient Is Actually Doing in This Dish
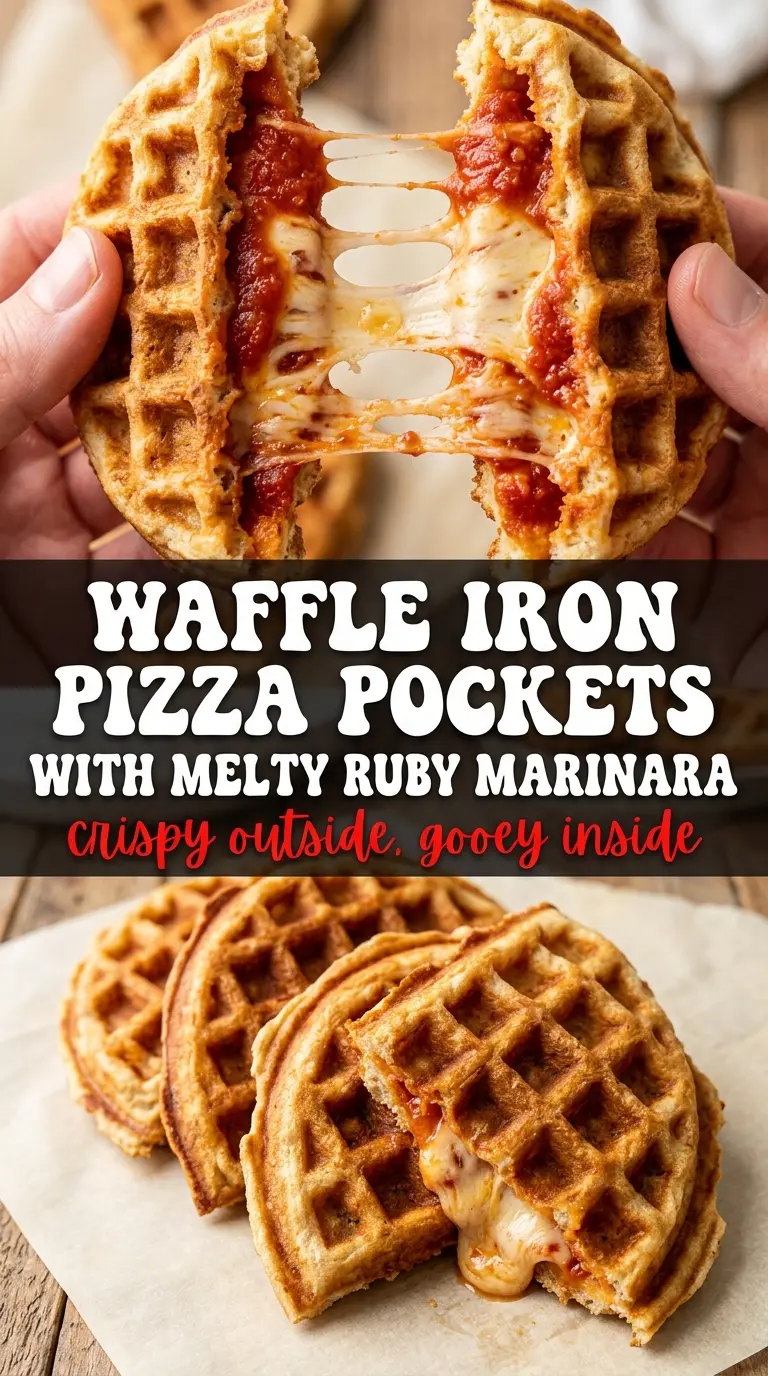
- Pizza dough — Room-temperature dough stretches without snapping back. Cold dough resists the fold and tears at the seam, which is where leaking starts.
- Mozzarella — Low-moisture shredded mozzarella melts smoothly and gives you those stretchy pulls. Fresh mozzarella holds too much water for this recipe and makes the center soft.
- Marinara — Use a thicker sauce, not a thin one. If yours is loose, simmer it for a few minutes first so it clings to the dough instead of soaking in.
- Mini pepperoni — They distribute more evenly than full slices and stay put inside the pocket. If you use chopped regular pepperoni, keep the pieces small so the seal stays tight.
Building the Pocket So the Filling Stays Put
Shape the dough with a border in mind
Divide the dough into four equal pieces and press each one into a flat round before you add anything inside. You want enough surface area to fold over comfortably, but the center shouldn’t be paper-thin or it will burst as soon as the cheese starts melting. Leave a clean border around the edge so you have room to pinch a real seal.
Layer the filling lightly
Spoon a modest amount of marinara into the center, then add mozzarella and mini pepperoni on top. If the sauce spreads all the way to the edge, the dough won’t adhere properly and the pocket will open in the iron. The filling should look generous, not piled high.
Press, spray, and cook until deeply golden
Fold the dough over, pinch the edges firmly, then spray the waffle iron before the pocket goes in. Close the lid and let it cook for 6 to 8 minutes until the outside is a deep golden color and the ridges feel crisp when you lift it. If steam is still pouring out aggressively when you open the lid, give it another minute; pulling it too early leaves the center underdone and sticky.
Three Ways to Make These Pizza Pockets Work for Different Nights
Dairy-Free Version
Use a meltable dairy-free mozzarella and keep the sauce thick. Some plant-based cheeses release more moisture than dairy cheese, so a lighter hand with the filling matters even more here. The crust still crisps up well as long as the waffle iron is hot before the pocket goes in.
Vegetarian Fill-In
Skip the pepperoni and add finely chopped sautéed mushrooms, bell peppers, or olives. Cook the vegetables first so they don’t dump extra water into the pocket while it cooks. The result is a little softer inside, but the same crisp shell and cheesy pull stay intact.
Hawaiian Twist
Swap the pepperoni for diced ham and a few well-drained pineapple bits. Drain the pineapple on paper towels first or the extra juice will soften the dough around the seam. You get the sweet-salty balance people expect from Hawaiian pizza, but in a crisp handheld form.
Storage and Reheating
- Refrigerator: Store leftovers in an airtight container for up to 3 days. The crust softens a bit as it sits, but it still reheats well.
- Freezer: Freeze the cooked pockets wrapped individually. Reheat from frozen in a toaster oven or air fryer for the best texture; the waffle iron itself is not needed a second time.
- Reheating: Warm in a 375°F oven or air fryer until the outside crisps back up and the center is hot. The common mistake is microwaving them, which makes the dough chewy and the cheese separate instead of melting cleanly.
Answers to the Questions Worth Asking
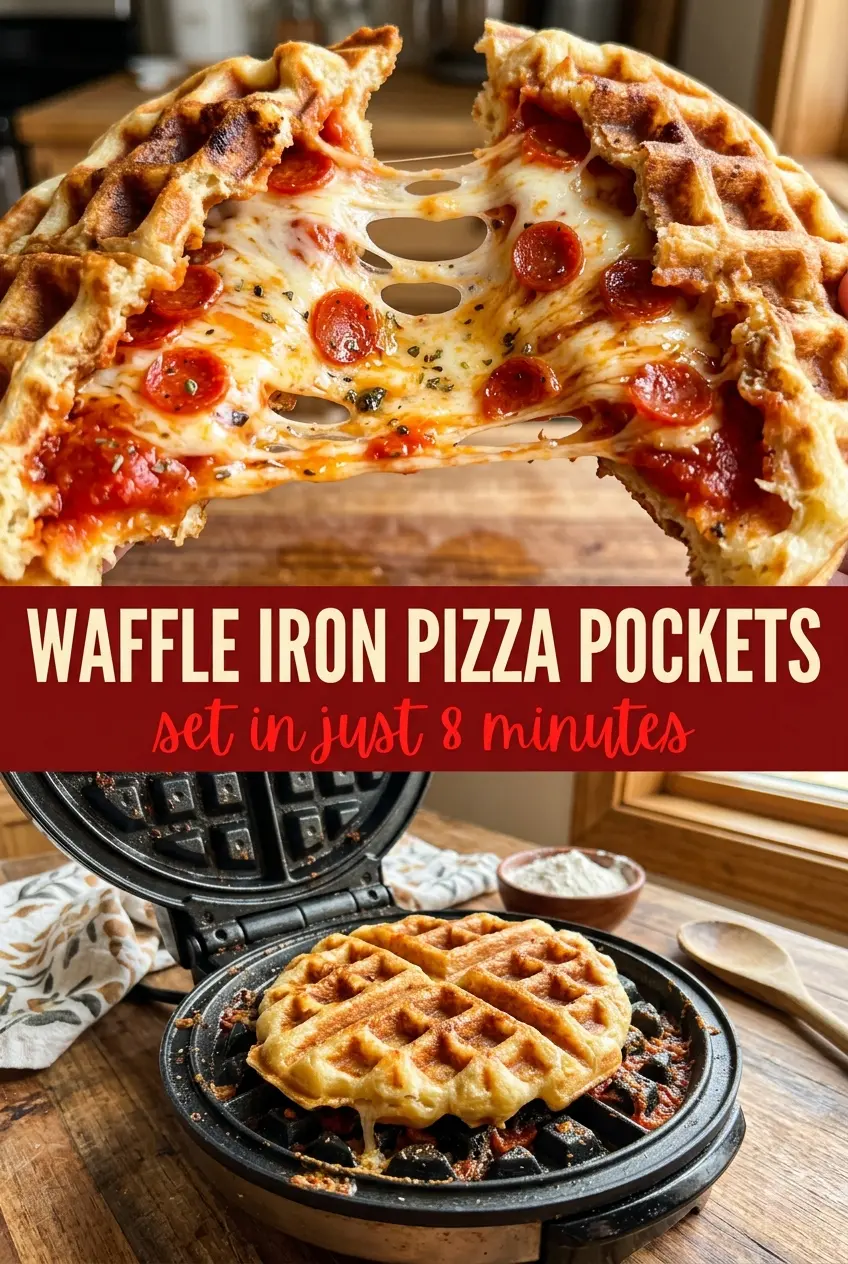
Waffle Iron Pizza Pockets
Ingredients
Equipment
Method
- Divide the pizza dough into 4 equal pieces and press each into a flat round.
- Top each round with mozzarella, a spoonful of marinara, and mini pepperoni, leaving a border around the edge.
- Fold the dough over into a pocket and pinch the edges firmly to seal.
- Spray the waffle iron with cooking spray and preheat until hot.
- Place a pocket on the waffle iron, close the lid, and cook for 6 to 8 minutes until deeply golden and crisp.
- Let cool slightly before serving with warm marinara for dipping.