
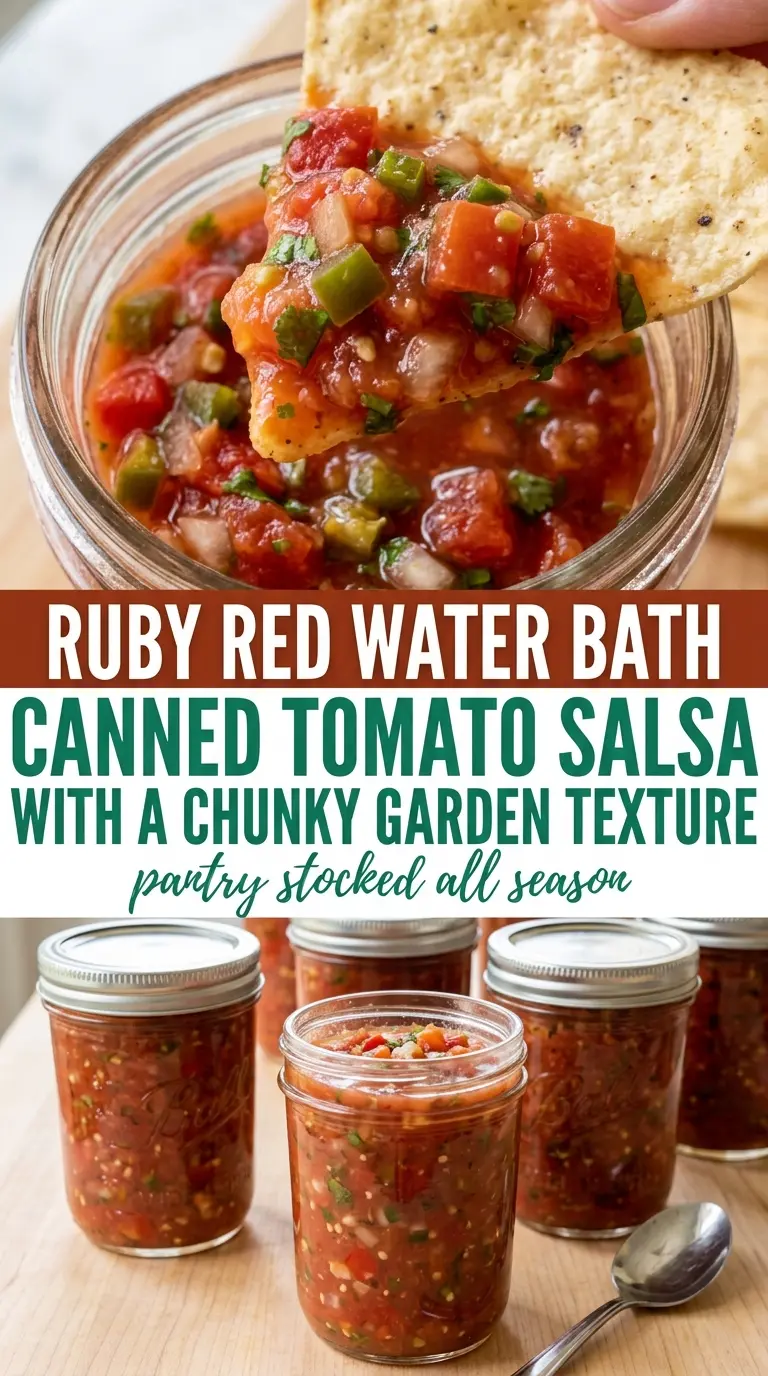
Chunky tomato salsa keeps its fresh, garden-grown bite even after canning when the balance of acidity, heat, and simmer time is handled correctly. The tomatoes soften just enough to meld with onion, jalapeño, garlic, and cumin, but they don’t dissolve into sauce, which is what makes this version worth putting up for the pantry. You still get a spoonable salsa with texture, not a thin, cooked-down jar of tomatoes.
The part that matters most here is the vinegar. It isn’t there just for tang; it helps bring the salsa into a safe range for water bath canning, and it keeps the flavor bright after processing. A short simmer takes the raw edge off the onion and garlic and gives the liquid a chance to concentrate a little, but the goal is still a chunky salsa with visible pieces in every jar.
Below you’ll find the timing that keeps the texture from turning mushy, plus the one detail that matters when you’re filling jars: leaving the right headspace so the lids seal properly. If you’ve canned salsa before and ended up with watery jars, this version gives you a cleaner result without losing the fresh tomato character.
The salsa stayed chunky after the water bath and the jars sealed on the first try. I love that the vinegar gives it a bright bite without tasting sour, and the cumin makes it taste like actual salsa instead of plain stewed tomatoes.
Water bath canned tomato salsa with a chunky texture and bright pantry-ready flavor
The Difference Between Chunky Salsa and Canned Tomato Sauce
Water bath canned salsa only works well when the vegetables stay distinct and the acid stays steady. The common mistake is cooking it down until it behaves like sauce, which can leave you with a texture that feels flat and a jar that doesn’t taste like salsa anymore. Here, the simmer is just long enough to soften the onions and pull the flavors together without erasing the tomato pieces.
Another trap is dumping in watery tomatoes and expecting the pot to fix itself. Diced tomatoes release a lot of liquid, so the vinegar has to be there from the start and the simmer has to happen uncovered. That gives steam a place to escape and keeps the finished salsa from separating into liquid on top and solids below.
What Each Ingredient Is Actually Doing in This Dish
- Tomatoes — Peeling and dicing them by hand gives you a cleaner texture than leaving skins on. If the tomatoes are very juicy, drain off a little liquid after chopping, but don’t press them dry or the salsa turns dense.
- Vinegar — This is the safety piece and the bright edge in the flavor. Use bottled vinegar with standard acidity; don’t swap in fresh citrus here unless the recipe is specifically tested for it.
- Jalapeños — Seeding them cuts the heat and keeps the salsa balanced. If you want more fire, leave some seeds in one pepper instead of adding extra peppers and risking a thin, bitter edge.
- Cilantro — Stir it in at the end so it stays fresh and green. Cooking it from the beginning dulls the flavor and turns the color muddy.
How to Keep the Salsa Chunky All the Way Into the Jar
Building the Pot
Start with all the vegetables, vinegar, salt, and cumin in one large pot. The goal is an even mix before the heat goes on, because once the tomatoes start releasing liquid, it gets harder to judge whether the seasoning is balanced. Bring it to a boil first, then drop it to a steady simmer so the pot stays active but not splashing.
Cooking Off Just Enough Liquid
Let the salsa simmer uncovered for 15 to 20 minutes until it looks slightly thickened and the tomatoes have softened at the edges. You’re looking for a spoon that leaves a brief trail through the pot, not a paste. If you cook it until it looks thick in the pan, it usually ends up too jammy after processing.
Finishing and Jarring Hot
Stir in the cilantro right before ladling so the flavor stays clean. Fill sterilized jars while the salsa is still hot, and leave 1/2 inch headspace so the vacuum seal has room to form. Wipe the rims carefully; even a thin smear of salsa can keep a lid from sealing, which is a frustrating failure after all that work.
Processing and Cooling
Process the sealed jars in a boiling water bath for 15 minutes, then let them cool undisturbed until the lids stop popping and settle in fully. Don’t retighten bands after processing. Once the jars are cool, check the centers of the lids; they should stay down when pressed, not flex back.
What to Change When You Want a Different Heat Level or Diet
Mild Salsa for Sensitive Heat Tolerance
Use only one jalapeño and remove every seed and bit of white membrane. You’ll still get that fresh pepper flavor, but the salsa stays gentle enough for people who don’t want much burn.
Smokier Salsa With a Deeper Finish
Add one small roasted pepper or a pinch of smoked paprika to the pot. That gives the jars a rounder, warmer taste without changing the canning method, though the salsa will lean less bright and more earthy.
Lower-Sodium Version
Cut the salt back slightly if you need to, but don’t remove it entirely. Salt doesn’t just season the salsa; it helps the tomato flavor read clearly after canning, so leaving it out makes the whole jar taste flatter.
Storage and Reheating
- Refrigerator: Opened jars keep for about 1 to 2 weeks in the fridge. The salsa may loosen a little as it chills, which is normal.
- Freezer: This version is better preserved by canning than freezing. Freezing changes the tomato texture and makes the salsa watery when thawed.
- Reheating: If you want it warm for a cooked dish, heat it gently on the stove over low heat. High heat can make the tomatoes break down too far and wash out the fresh flavor.
Questions I Get Asked About This Recipe
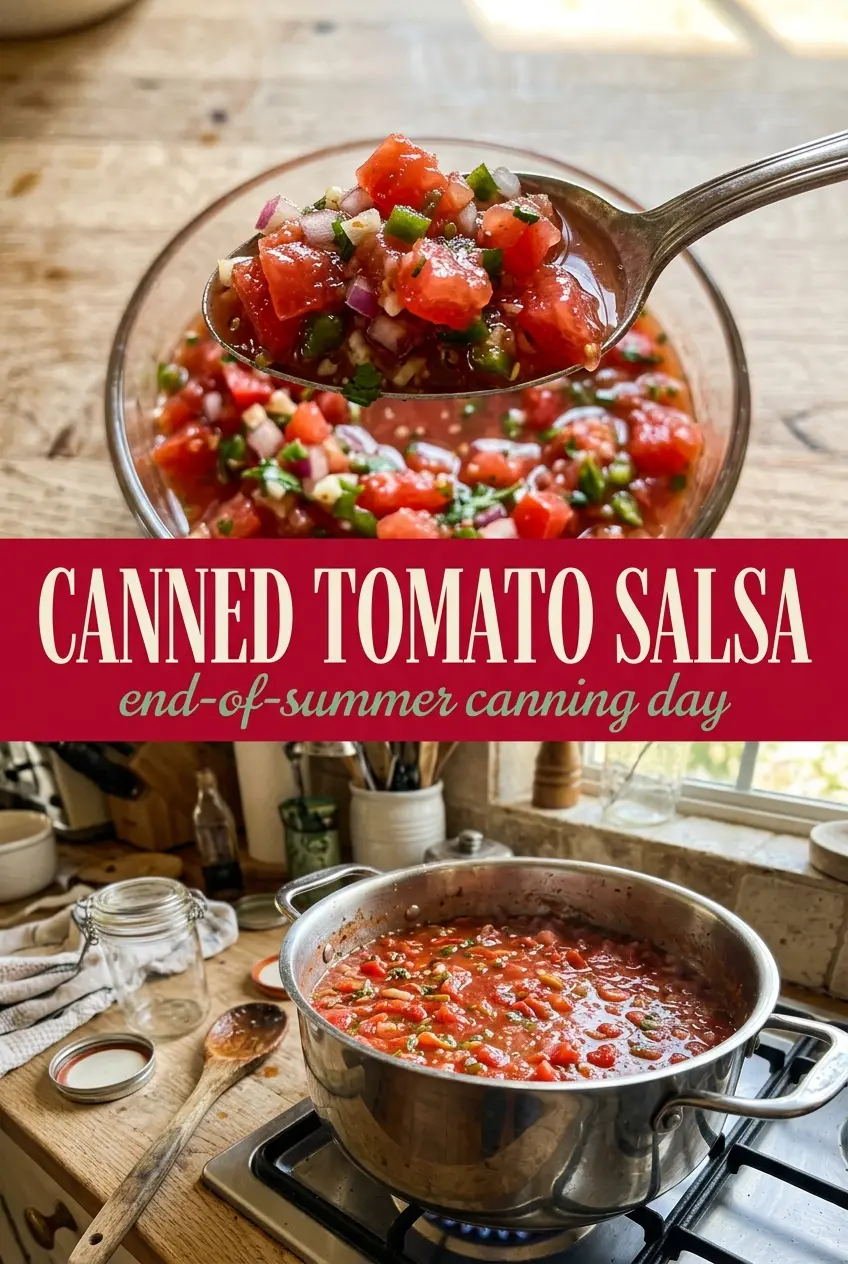
Water Bath Canned Tomato Salsa
Ingredients
Equipment
Method
- Sterilize canning jars and lids in boiling water to ensure safe canning; keep them hot until you’re ready to fill.
- In a large Dutch oven, combine tomatoes, onions, jalapenos, garlic, vinegar, salt, and cumin.
- Bring the mixture to a boil over high heat, then reduce to a steady simmer at 100°C and cook for 15 to 20 minutes until slightly thickened, stirring occasionally so the salsa stays chunky.
- Stir in the fresh cilantro right before jarring, then simmer at 100°C for 1 minute to warm it through without dulling its color.
- Ladle the hot salsa into sterilized jars, leaving 1/2 inch headspace, then wipe rims clean and seal with lids.
- Process jars in a boiling water bath at 100°C for 15 minutes, keeping the water at a full rolling boil for the entire time.
- Let jars cool completely, then check that lids have sealed properly by pressing the center of each lid—it shouldn’t flex.