
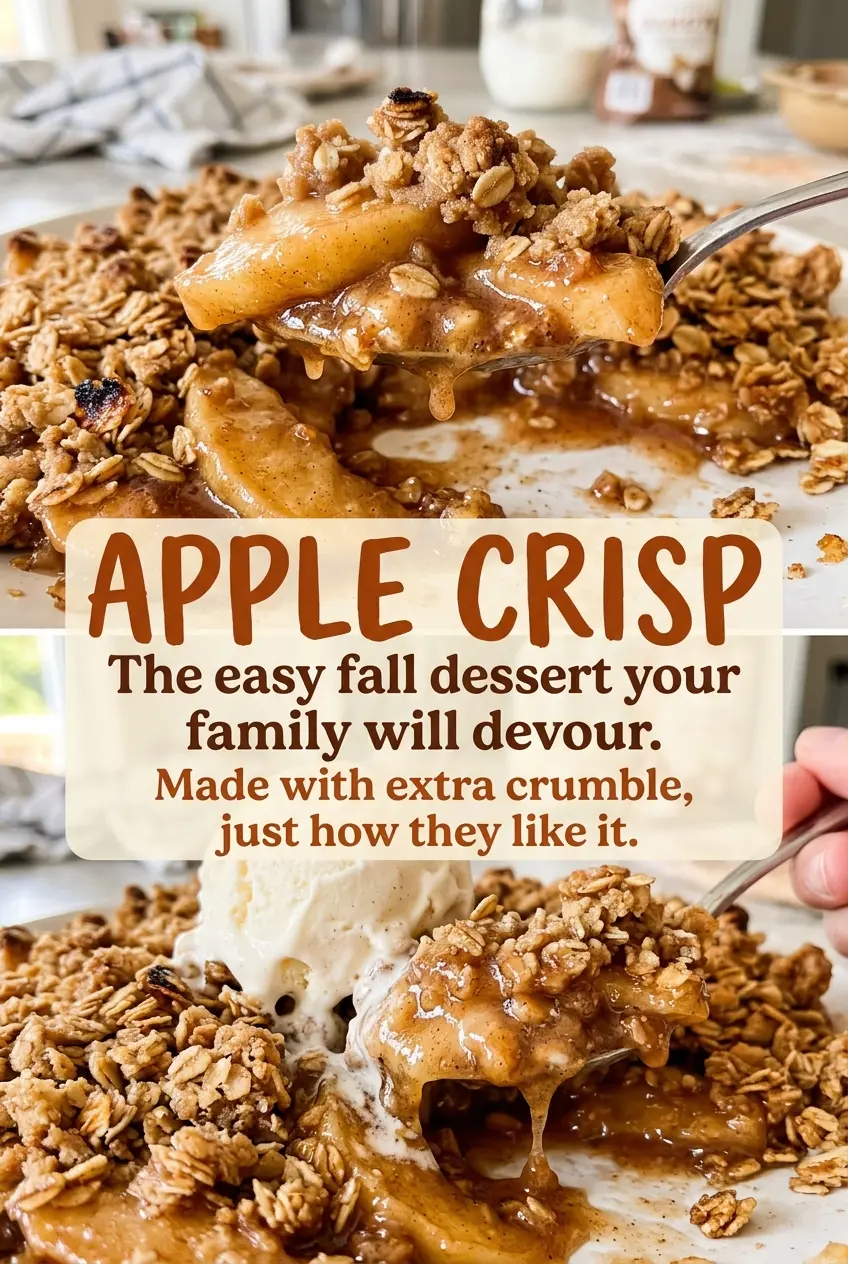
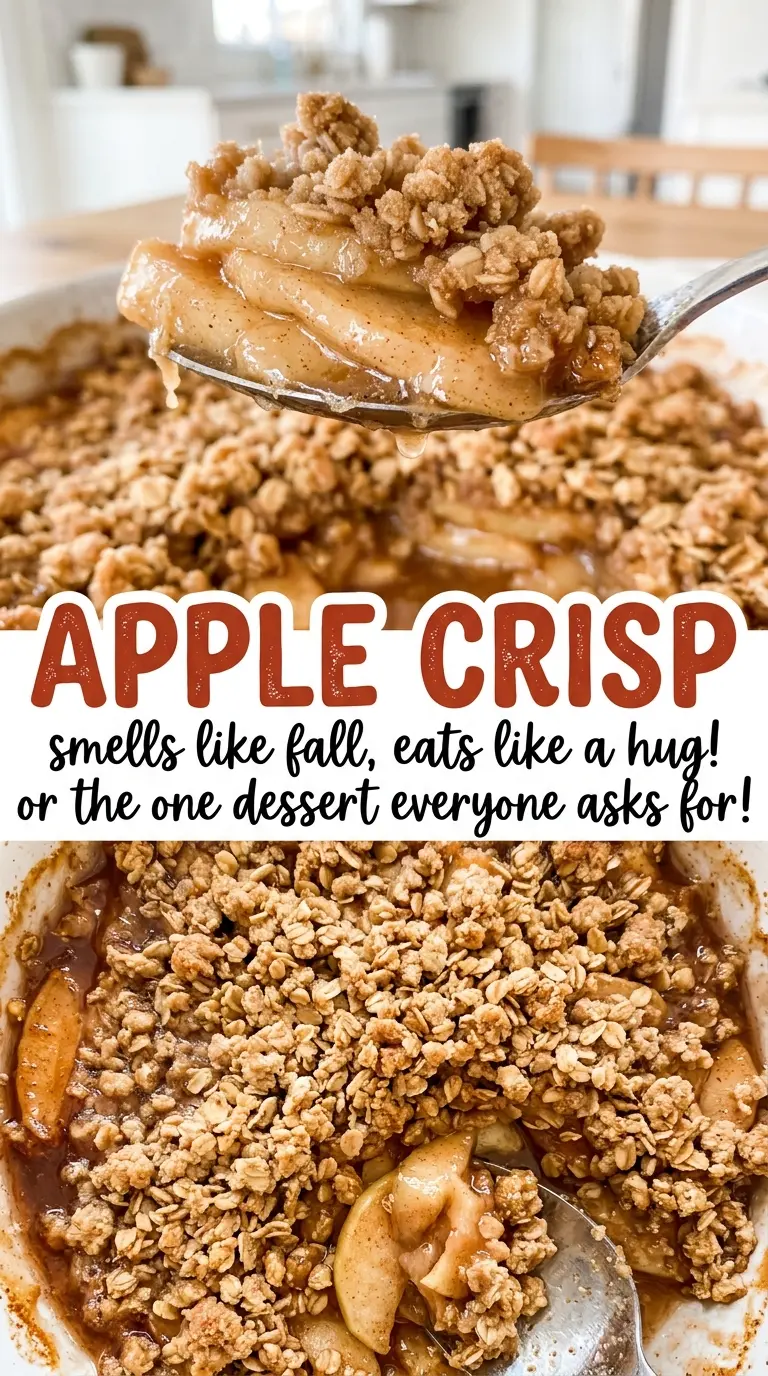
When the apple juices start bubbling around the edge of the dish, the topping may already look ready—but the fruit underneath still needs a little patience. I’ve found that giving the apples time to soften while the oat topping turns golden is what makes this apple crisp feel like one finished dessert, not fruit with crumbs scattered over it.
The filling gets tossed right in a 9×13-inch baking dish, so there’s no extra pan to wash. A little flour in the apples helps their juices thicken as they bake, while cold butter gives the topping its coarse, clumpy texture. After a short rest, the apples are tender under a crisp, brown-sugar-and-oat topping.
Kitchen Note
Don’t serve the crisp straight from the oven. The bubbling juices are loose at first, and a 15 to 20 minute rest gives them time to settle around the apples so each scoop is easier to serve.
Save this apple crisp for its tender cinnamon apples and golden oat topping—the kind of dessert that’s just as good warm as it is the next day.
Why the Apples Need Flour Before They Go Into the Oven
Apples release liquid as they bake, and sugar draws out more of that juice. Without something to help it thicken, the fruit can be tender while the bottom of the dish stays watery. The small amount of flour tossed with the filling gives those juices body as the crisp bakes; it doesn’t make the apples pasty or turn the filling into a heavy sauce.
Slice the apples evenly, about 1/4 inch thick, so they soften at roughly the same pace. Very thin slices can collapse before the topping is browned, while thick pieces may still feel firm when the edges are bubbling. The bubbling around the sides is useful evidence that the filling is hot, but the topping also needs to be golden before you pull the dish from the oven. Letting both cues guide you is more reliable than judging by the surface alone.
What the Apples, Flour, and Oats Each Bring to This Crisp
- Apples — Firm apples that hold their shape are a good choice here; a mix of tart and sweet varieties gives the filling more contrast without changing the method. The particular variety matters more than whether you buy premium fruit. Peel, core, and slice them evenly so the pieces bake at a similar rate.
- Lemon juice — It brightens the sweet filling and helps keep the cut apples from browning while you prepare the topping. Bottled lemon juice works fine; fresh juice is a nice option when you already have a lemon on hand. Toss it with the apples soon after slicing.
- All-purpose flour — Flour helps thicken the apple juices and gives the oat topping enough structure to clump around the butter. A basic store-brand flour is fine. For a gluten-free version, use a cup-for-cup gluten-free baking blend in both places where flour is used.
- Old-fashioned rolled oats — These give the topping its distinct, chewy-crisp texture and keep it from feeling like a plain flour crumble. A standard store-brand rolled oat is all you need; quick oats make a finer, more compact topping.
- Light brown sugar — Its moisture helps the topping form clusters, and its mild molasses note suits the cinnamon. Dark brown sugar can stand in if that’s what you have; expect a deeper caramel flavor. Pack the sugar when measuring it for the recipe.
- Unsalted butter — Butter carries the topping’s richness and binds the dry ingredients into crumbs. No specialty butter is needed, but it should be cold and cut into small cubes so it blends into the flour and oats instead of disappearing into a paste.
Building the Filling and Crumble Before the Oven
Coat the Apple Slices Evenly
Heat the oven to 375°F. Put the peeled, cored, 1/4-inch apple slices in a 9×13-inch baking dish and toss them with the lemon juice, granulated sugar, flour, cinnamon, and salt. Turn the slices until the flour and spices are distributed rather than sitting in a pocket at the bottom. Spread the apples into an even layer so the topping can cover the fruit consistently.
Cut the Butter Into the Oat Mixture
Stir the oats, flour, brown sugar, cinnamon, and salt together in a medium bowl before adding the cold butter. Use a pastry cutter or your fingers to work the butter through the dry ingredients. Stop when the mixture looks like coarse, clumpy crumbs and no dry flour remains; smooth, greasy crumbs mean the butter has warmed too much. Keep the crumbs uneven rather than pressing them into one solid mass.
Bake Until the Top Is Golden
Scatter the topping evenly over the apples, leaving no large bare patches. Bake for 45 to 55 minutes, watching for a golden-brown surface and apple juices bubbling around the edges. If the top is still pale and the filling hasn’t bubbled, it needs more time in the oven. Rest the finished crisp for 15 to 20 minutes before serving.
Three Changes That Give Apple Crisp a Different Character
Use a Mix of Tart and Sweet Apples
Choose a blend of firm tart apples and naturally sweeter firm apples instead of relying on one variety. The tart pieces keep the filling from tasting flat, while the sweeter ones make the cinnamon fruit taste rounder; keep the slices the same thickness so they bake evenly.
Make It Gluten-Free
Replace the all-purpose flour in both the filling and topping with a cup-for-cup gluten-free baking blend, and use certified gluten-free rolled oats. The fruit stays tender and the topping still clumps, though the crumble may be a little more delicate than one made with wheat flour.
Trade Light Brown Sugar for Dark
Use dark brown sugar in place of the light brown sugar in the topping. It brings a stronger molasses taste and a deeper color, so the crisp reads more like caramelized oats than a gently sweet crumble.
Storage and Reheating
- Refrigerator: Cover and refrigerate leftovers within 2 hours; they’ll keep for 3 to 4 days. The topping softens as it sits against the fruit.
- Freezer: The baked crisp freezes well. Cool it, wrap it tightly or transfer portions to an airtight container, and freeze for up to 3 months; thaw in the refrigerator before reheating.
- Reheating: Warm it uncovered in a 375°F oven until heated through and the topping firms back up. A covered dish traps steam and makes the topping softer, not crisper.
Questions That Come Up Before You Bake Apple Crisp
Apple Crisp
Ingredients
Equipment
Method
- Preheat the oven to 375°F.
- In a 9x13-inch baking dish, toss the apples with the lemon juice, granulated sugar, flour, cinnamon, and salt.
- In a medium bowl, stir together the oats, flour, brown sugar, cinnamon, and salt.
- Cut in the cold butter with a pastry cutter or your fingers until the mixture forms coarse, clumpy crumbs with no dry flour remaining.
- Scatter the topping evenly over the apples and bake for 45 to 55 minutes, until the topping is golden brown and the apple juices are bubbling around the edges.
- Let the crisp rest for 15 to 20 minutes before serving.