
Beef taco skillet brings all the best parts of taco night into one pan: savory browned beef, sweet corn, tender beans, and a blanket of melted cheese that settles over the top like a lid. The edges pick up just enough caramelization to give every scoop a little crunch, and the lime at the end keeps the whole skillet from tasting heavy. It lands somewhere between fast weeknight dinner and comfort food you can eat with a spoon.
The trick is in how the beef gets cooked. Let it brown properly before you stir in the seasoning, because that crust on the meat is what gives the dish depth. Bell pepper goes in early so it softens in the drippings, while the black beans and corn only need enough time to heat through and soak up the spice. If you add the cheese before the skillet has finished bubbling, it melts into a smooth top instead of turning greasy and separate.
Below, you’ll find the small details that keep this skillet from turning watery, plus a few smart variations for changing up the fillings without losing the taco-night feel.
The beef browned up beautifully and the cheese melted into that perfect stretchy layer on top. I used it for taco bowls and my kids ate the peppers without complaining, which never happens.
This beef taco skillet keeps taco night low-carb, fast, and packed with that melty cheese top everyone goes after first.
The Secret to Keeping the Skillet from Turning Watery
The fastest way to ruin a taco skillet is to rush the filling and crowd too much moisture into the pan. Ground beef releases fat, bell peppers give off liquid, and beans carry their own moisture, so the skillet needs enough heat to evaporate all of that before the cheese goes on. If the mixture looks soupy, it won’t cling to the spoon or hold a good topping layer.
Let the beef brown in a large skillet first, then give the peppers a few minutes to soften in the fat. Once the seasoning, corn, and beans go in, keep the pan at a steady simmer until the liquid reduces and the mixture looks thick and glossy. You want the filling to mound slightly when you stir it, not spread like a broth.
What Each Ingredient Is Actually Doing in This Dish
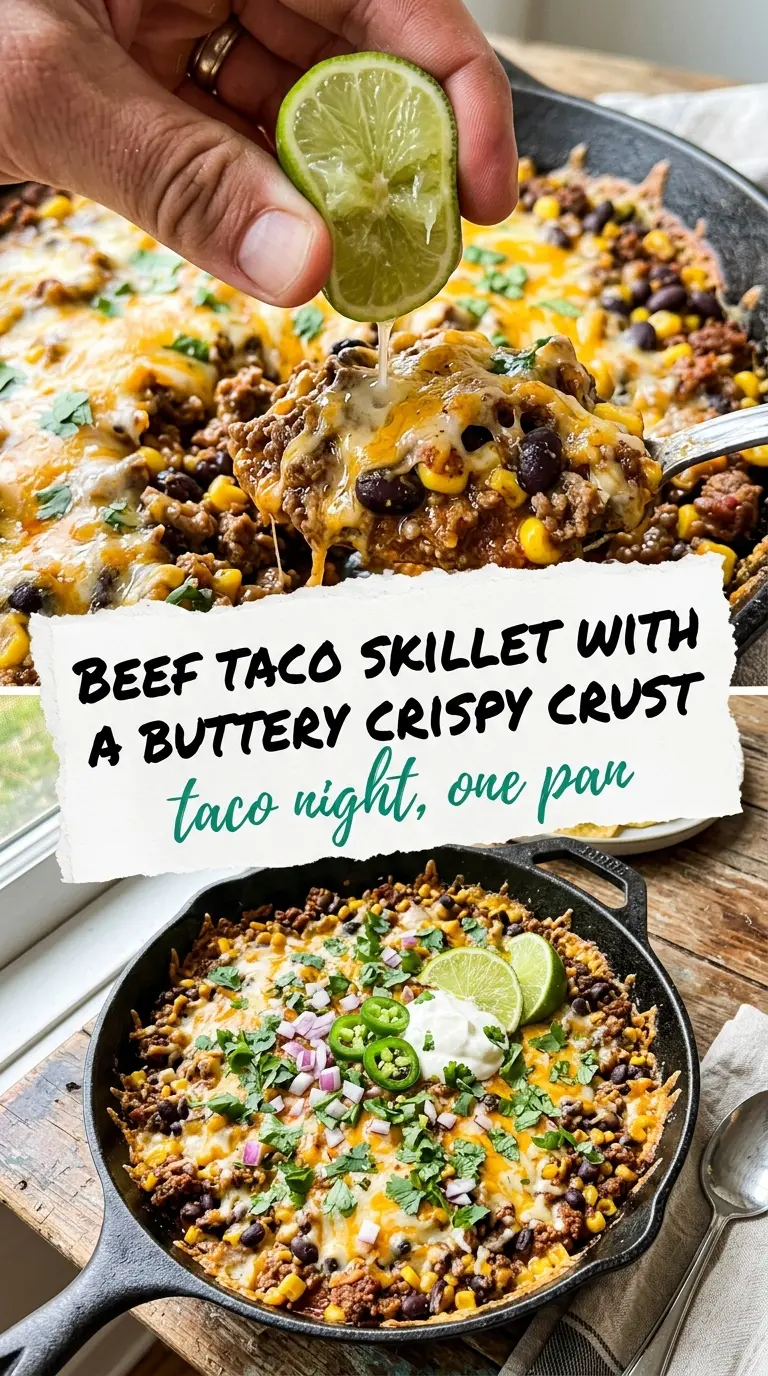
- Ground beef — This is the backbone of the skillet, and the fat it releases helps the peppers and seasoning bloom. An 85/15 blend gives you flavor without turning greasy. If you use leaner beef, add a small splash of oil at the start so the pan doesn’t dry out before the meat browns.
- Bell pepper — The pepper softens into the beef and adds a little sweetness that balances the seasoning. Dice it small if you want it to disappear into the skillet more cleanly. Larger pieces stay firmer and give you more bite.
- Gluten-free taco seasoning — This is where the smoky, cumin-heavy taco flavor comes from, and certified gluten-free seasoning matters if you’re keeping the whole dish safe for gluten-free diets. If your packet is salt-heavy, hold back a pinch until the end and taste first. A homemade blend works too as long as it includes cumin, chili powder, garlic, and oregano.
- Corn and black beans — These stretch the skillet into a fuller meal and add texture that keeps every bite interesting. Canned beans are fine, but drain them well so they don’t water down the pan. Frozen corn goes straight in from the freezer.
- Shredded cheese — The cheese is the finishing layer, not an afterthought, so use one that melts smoothly. A Monterey Jack or cheddar blend gives you the best pull. Pre-shredded cheese works, though it won’t melt quite as cleanly because of the anti-caking coating.
- Lime and cilantro — These don’t just garnish the skillet; they wake it up. The lime cuts through the richness, and cilantro adds a fresh finish that keeps the dish from tasting flat. If you hate cilantro, use sliced green onions instead.
Building the Filling So Every Bite Stays Thick and Savory
Brown the Beef First
Put the ground beef into a large skillet over medium-high heat and let it sit long enough to develop real color before you stir much. If you keep breaking it up too early, it steams instead of browns. The goal is browned crumbles with a few deep golden bits at the bottom of the pan, because that’s where the flavor lives.
Soften the Pepper in the Fat
Once the beef is cooked through, stir in the diced bell pepper and let it cook for a few minutes until it softens at the edges. It should lose its raw crunch but still hold some shape. If the skillet is dry at this point, the pepper can stick; add a teaspoon of oil or a spoonful of beef drippings back in before continuing.
Simmer Until the Mixture Clings
Stir in the seasoning, corn, and black beans, then let everything simmer until the liquid reduces and the mixture looks thick enough to scoop cleanly. This is the stage that keeps the final dish from spreading across the plate like soup. If it still looks loose after 8 to 10 minutes, keep cooking a little longer rather than adding more seasoning.
Let the Cheese Melt Under a Lid
Scatter the cheese over the top, cover the skillet, and pull it off the heat once the cheese turns glossy and fully melted. The lid traps steam and melts the top without scorching the bottom. If you leave it on the burner too long, the cheese can slide into the filling instead of sitting on top in one cohesive layer.
How to Adapt This for Bigger, Smaller, or Different-Diet Taco Nights
Make it dairy-free
Skip the cheese and finish with avocado, dairy-free sour cream, or a squeeze of lime for richness. The skillet still tastes complete because the beef, seasoning, and beans carry the main flavor. If you want a melted top, use a dairy-free shredded cheese that melts well, but expect a softer and less stretchy finish.
Swap the beef for ground turkey
Ground turkey works if you want a lighter skillet, but it needs a little help because it doesn’t bring as much fat or browning as beef. Add a tablespoon of oil at the start and season generously. The result is leaner and a little milder, which works well if you’re loading up on toppings.
Turn it into a vegetarian skillet
Replace the beef with an extra can of black beans or a mix of black beans and crumbled plant-based protein. You’ll lose some of the browned meat flavor, so let the peppers cook a little longer and add a splash of oil to carry the seasoning. A little smoked paprika helps replace the savory depth you’d normally get from beef.
Stretch it for a crowd
Double everything and use the widest skillet you own so the filling still reduces instead of steaming. If the pan is too cramped, the beef and vegetables release more liquid than they can evaporate, and the texture gets soft. Serve it with tortillas, rice, or chips and let people build their own plates.
Storage and Reheating
- Refrigerator: Store leftovers in an airtight container for up to 4 days. The filling thickens as it chills, so it may look a little denser the next day.
- Freezer: It freezes well without the cheese topping. Cool it completely, pack it in freezer-safe containers, and freeze for up to 3 months. Add fresh cheese after reheating for the best texture.
- Reheating: Reheat gently in a skillet over medium-low heat with a splash of water if needed. The biggest mistake is blasting it in the microwave until the cheese turns oily and the beef dries out.
Answers to the Questions Worth Asking
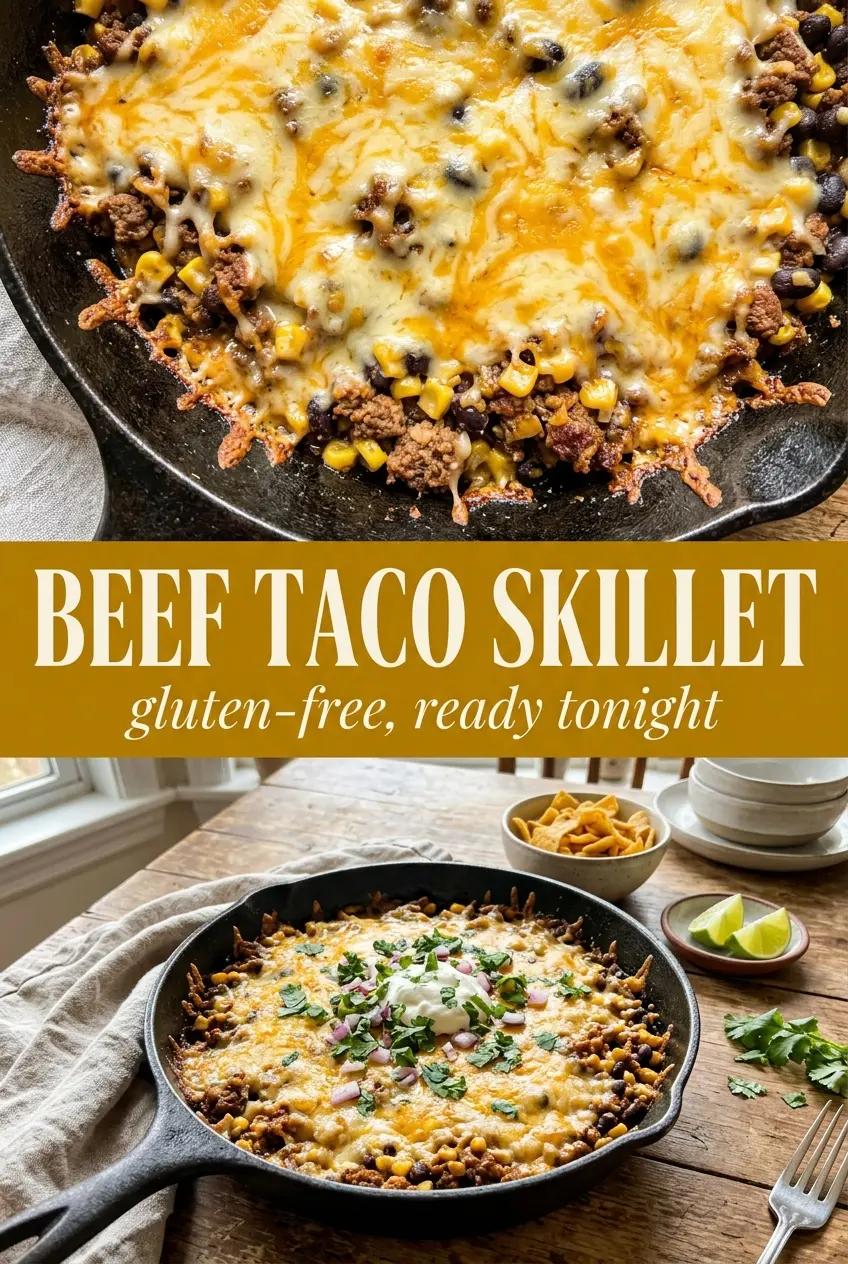
Beef Taco Skillet
Ingredients
Equipment
Method
- Heat a large cast iron skillet over medium-high heat, then add the ground beef and bell pepper. Cook, stirring occasionally, until the beef is browned and the pepper begins to soften, about 6-8 minutes (visual cue: browned beef with some fond at the bottom).
- Stir in the gluten-free taco seasoning, corn kernels, and black beans. Mix until evenly coated and the pan is bubbling at the edges, about 1-2 minutes (visual cue: glossy seasoning clinging to the beef).
- Simmer the skillet on medium heat for 8-10 minutes, stirring once or twice. Cook until everything is heated through and thickened slightly (visual cue: bubbling mixture that reduces and clings to the spoon).
- Sprinkle the shredded cheese evenly over the top and cover the skillet. Cook until the cheese melts, 2-3 minutes (visual cue: fully melted, bubbling cheese layer).
- Squeeze the fresh lime juice over the skillet evenly. Let it sit uncovered for 1 minute so the lime flavor disperses (visual cue: a fresh, glossy sheen over the top).
- Garnish with fresh cilantro and serve warm. (Visual cue: bright green flecks on the cheese and meat mixture).