
Campfire chili mac lands in that sweet spot between stick-to-your-ribs dinner and one-pot convenience. The beef gets savory and browned, the macaroni cooks right in the sauce, and the cheddar melts into the top so every spoonful comes out thick, smoky, and a little messy in the best way. It feeds a crowd without asking for much more than a Dutch oven, a spoon, and enough heat to keep things moving.
What makes this version work is the order. The beef and onion build the base first, so the pot starts with real flavor instead of just tomato and broth. The dry macaroni goes in after the simmer starts, which lets it soak up the chili-spiced liquid instead of getting boiled separately and drained. That means the starch stays in the pot and helps the sauce turn silky and hearty at the same time.
The part worth watching is the heat. Campfire cooking swings fast, and pasta on the bottom can go from tender to stuck if the pot runs too hot. A little stirring and a splash of extra broth keep everything moving. Below, I’ve included the ingredient swaps that still hold up outdoors and the common camping-cook mistakes that are easy to avoid once you know what to look for.
The macaroni held its shape and the sauce thickened up perfectly in the Dutch oven. I added a splash more broth at the end like suggested, and it stayed creamy instead of getting dry while we sat around the fire.
Campfire Chili Mac stays hearty, cheesy, and one-pot easy — save it for your next Dutch oven dinner around the fire.
The Trick to Keeping Campfire Pasta from Turning Mushy
The biggest mistake with one-pot pasta over a fire is boiling it too hard. A rolling boil breaks the macaroni down faster than you expect, and once it starts getting soft, it can move from tender to swollen and heavy in minutes. A steady simmer is enough. The noodles should be moving gently, not tumbling like they’re in a stockpot on the stove.
The other thing that matters is stirring with purpose. Pasta settles on the bottom of a Dutch oven, where the heat is strongest, and that’s where it likes to stick. Give it a scrape every few minutes, especially after the macaroni goes in. If the mixture starts looking tight before the pasta is done, add a small splash of broth instead of cranking up the heat. Extra liquid buys the noodles time to finish without burning the bottom.
What Each Ingredient Is Actually Doing in This Dish

- Ground beef — Use 80/20 if you can. It brings enough fat to carry the onion and spice flavor, and that little bit of fat helps the sauce taste fuller. If you use lean beef, expect a slightly less rich pot and keep a close eye on sticking.
- Onion — Diced onion melts into the beef and gives the base sweetness that tomato alone can’t deliver. Yellow or white both work. If you’ve only got onion powder, it will season the dish, but it won’t give you the same savory backbone.
- Beef broth — This does more than add liquid. It seasons the pasta as it cooks and helps the sauce taste built, not flat. If you’re using low-sodium broth, taste before serving and add salt at the end.
- Diced tomatoes — The juice from the cans forms the tomato body of the sauce, while the chunks give you something to bite into. Fire-roasted tomatoes work well if you want a little extra smoky depth. Crushed tomatoes will make the finished dish smoother and thicker.
- Cheddar cheese — Shred it yourself if you can. Pre-shredded cheese melts less cleanly because of the coating on it, and that can leave the top grainy instead of glossy. Sharp cheddar gives the strongest finish, which matters because the pasta and broth are already doing a lot of the heavy lifting.
Building the Pot in the Right Order
Browning the Beef and Onion
Start with the beef and onion in a hot Dutch oven over the coals and break the meat up as it cooks. You want the beef browned, not gray, because those caramelized bits are where a lot of the flavor comes from. If there’s a puddle of grease, spoon off the excess before the tomatoes go in so the finished pot doesn’t taste heavy.
Seasoning the Tomato Base
Stir in the tomatoes, broth, chili powder, cumin, salt, and pepper once the beef is cooked through. The liquid should look loose at this stage; it tightens later when the pasta releases starch. If the broth tastes flat now, it will taste flat later, so season this part with a little confidence.
Cooking the Macaroni in the Sauce
Add the dry macaroni straight into the simmering pot and cover it. Stir every few minutes so the pasta doesn’t settle and glue itself to the bottom. The moment to watch for is when the sauce looks thick but still slides around the spoon; that’s when the pasta is cooking in the right zone. If it gets too tight too soon, a splash of broth or water keeps the texture on track.
Melting the Cheese on Top
When the macaroni is tender, take the pot off the hottest part of the fire and scatter the cheddar over the top. Cover it again and let the residual heat melt the cheese instead of blasting it. That slower melt keeps the top creamy and avoids the greasy separation that happens when cheese sits over direct high heat.
How to Adapt This for the Campfire, the Cooler, or a Different Crowd
Make It Dairy-Free
Skip the cheddar or use a melting-style dairy-free shred, then add a little extra salt at the end to wake the sauce back up. The texture will still be hearty and saucy, but you lose the creamy finish that cheddar gives the top.
Make It More Filling for a Bigger Group
Add an extra half pound of beef and another cup of broth if you’re feeding more mouths around the fire. The pot stays balanced, but the pasta will need a few more minutes and a little more stirring so it doesn’t seize up.
Use What You Have in the Pantry
Rotel or fire-roasted tomatoes can replace the plain diced tomatoes if you want more depth or a little heat. Just watch the salt, since seasoned tomatoes can push the dish over the edge faster than regular ones.
Stretch It With Beans
A drained can of kidney or black beans works if you want to stretch the pot without adding more meat. The beans bring extra body and make the dish feel more like chili, but they also soak up seasoning, so the final salt check matters.
Storage and Reheating
- Refrigerator: Keeps well for 3 to 4 days. The pasta absorbs more sauce as it sits, so expect it to thicken.
- Freezer: It freezes, but the macaroni softens after thawing. Freeze in airtight portions if you want it for a later camping meal, then add a splash of broth when reheating.
- Reheating: Warm it gently on the stove or over low camp heat with a little broth or water stirred in. High heat makes the pasta go mushy and can scorch the bottom before the center is hot.
Questions I Get Asked About This Dish
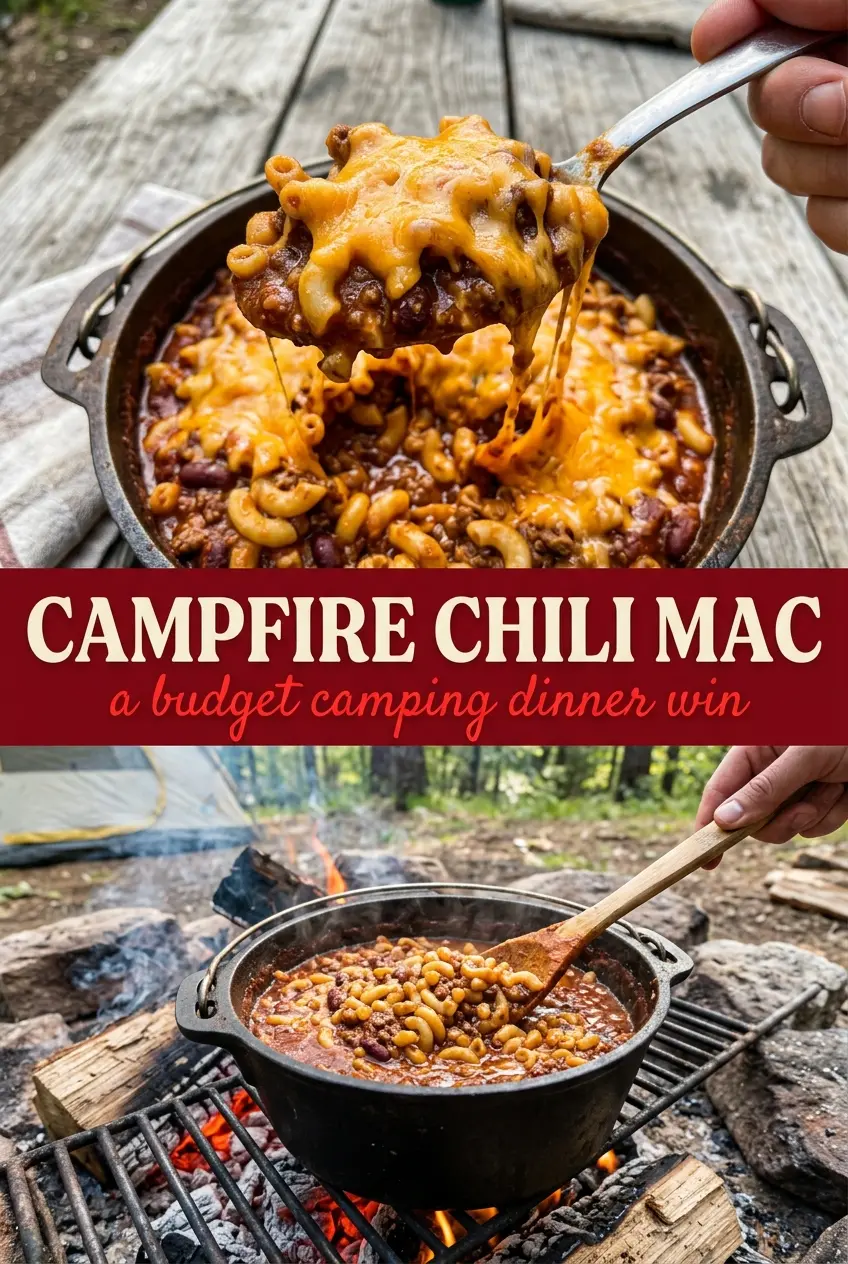
Campfire Chili Mac
Ingredients
Equipment
Method
- Heat the Dutch oven over campfire coals and brown the ground beef with the diced onion, stirring occasionally, until the beef is no longer pink.
- Continue cooking until the onion is translucent and the beef has some browned bits, then scrape up any flavorful stuck pieces from the bottom.
- Stir in the diced tomatoes, beef broth, chili powder, cumin, salt, and pepper until everything is evenly combined and no dry spice remains.
- Bring the mixture to a simmer over the coals, maintaining a steady bubbling surface.
- Stir in the elbow macaroni and cook covered, keeping the simmer active, stirring occasionally to prevent sticking.
- Cook for 12-15 minutes, until the pasta is tender and the sauce clings lightly to the macaroni.
- Sprinkle the shredded cheddar cheese over the top, cover again, and let stand for a few minutes until fully melted.
- Remove from the coals and serve hot after the cheese has melted into a lightly creamy layer.