
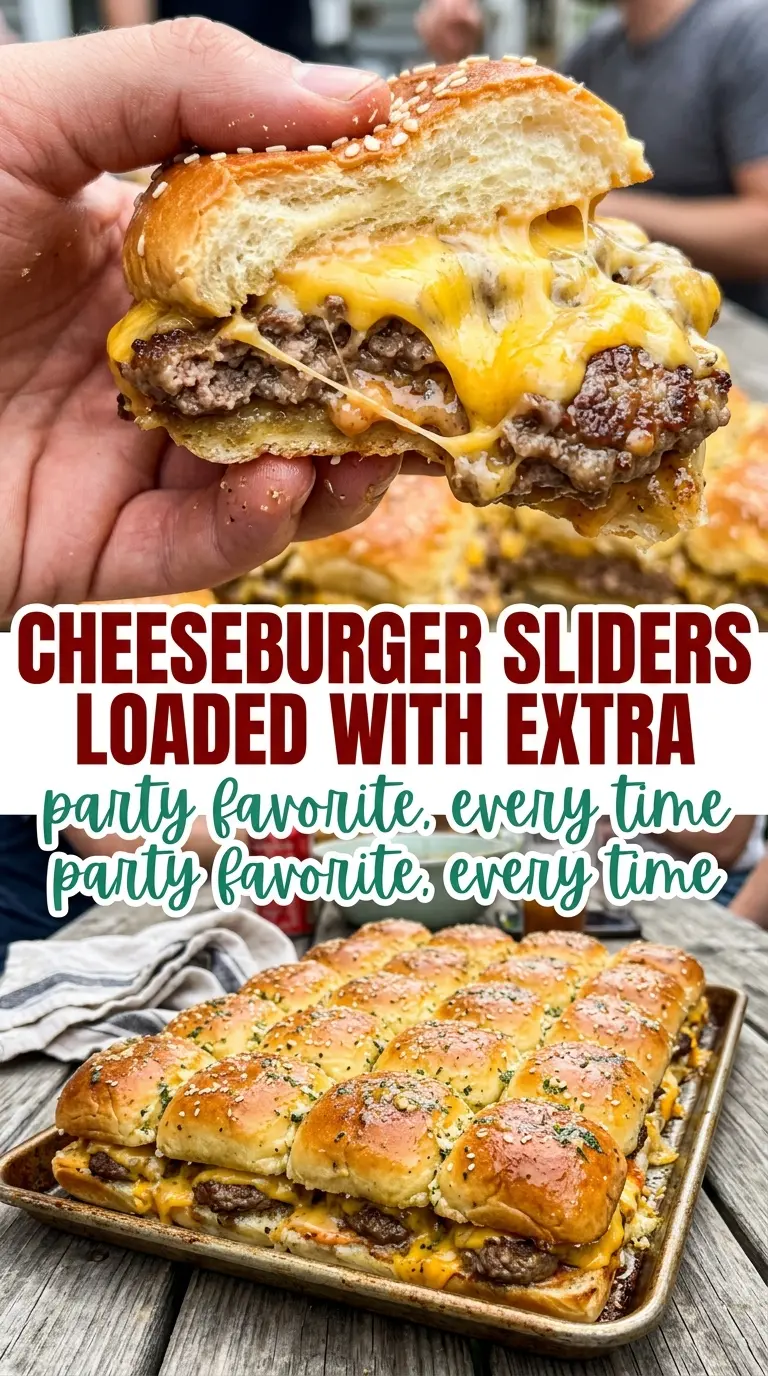
These cheeseburger sliders come out with the kind of pull-apart, buttery edges that disappear fast from a party tray. The beef stays savory and juicy, the cheddar melts into every layer, and the tops bake into a glossy golden crust that tastes like the best part of a diner burger pressed into a crowd-friendly pan.
What makes this version work is the balance between a thin, well-browned beef layer and the garlic butter brushed over the buns before baking. That butter does more than add flavor; it helps the tops crisp without drying out the bread underneath. The pickles cut through the richness, so each bite still tastes bright instead of heavy.
Below, you’ll find the small details that keep these sliders from turning soggy, plus a few easy variations for feeding a mixed crowd. If you’ve ever had sliders fall apart or lose their texture in the oven, the method here solves that.
The beef stayed juicy and the buns got that crisp, buttery top without going soggy underneath. I made a full pan for game night and they were gone in ten minutes.
These garlic-butter cheeseburger sliders bake up golden, cheesy, and perfect for feeding a crowd fast.
The Part Most People Get Wrong: Keeping Slider Buns from Going Soft
Sliders fail when the bread and the filling are treated like separate jobs. If the beef goes in too wet, or the buns sit too long before baking, the bottom layer starts to steam instead of toast. The fix is simple: keep the beef seasoned and browned, then assemble and bake right away so the sliders finish in the oven as one cohesive sandwich instead of a soggy stack.
That short bake does two things at once. It melts the cheese into the beef and it gives the tops enough heat to turn the garlic butter into a glossy crust. You’re not trying to cook the slider from raw in the oven. You’re finishing an already-cooked filling and letting the bread take on just enough heat to crisp.
What Each Ingredient Is Actually Doing in These Cheeseburger Sliders
- Ground beef — Use a beef that has some fat, not extra-lean meat. That fat keeps the sliders juicy and gives you enough browned flavor in the pan. If you only have lean beef, add a little extra attention to seasoning and don’t overcook it.
- Slider buns — Soft, sturdy buns hold up best here. Fluffy rolls can collapse if they’re too delicate, so split them cleanly and assemble them right before baking. If your buns are on the sweet side, the pickles and cheddar help balance that out.
- Cheddar cheese — Sharp cheddar brings the bite that keeps the sliders tasting like cheeseburgers, not just beef sandwiches. Pre-sliced cheese melts evenly, but shredded works if that’s what you have. Keep the layer even so the cheese melts into the seams instead of clumping.
- Butter, garlic, and poppy seeds — This is the finishing layer that makes the tops worth eating on their own. Garlic powder would work in a pinch, but fresh minced garlic gives a more noticeable bite. Brush it on after the sandwiches are assembled so it soaks into the buns and bakes into a crisp, savory top.
- Pickles — They’re not garnish here. They cut through the richness and keep each bite from tasting flat. Dill pickles work best because their sharpness stands up to the beef and cheese.
How to Build the Sliders So They Bake Up Hot, Not Soggy
Brown the Beef First
Season the beef before it hits the skillet, then press it into a thin, even layer so it cooks quickly and develops browned bits instead of steaming. You want cooked beef that still has some texture, not a soft crumbled filling swimming in juices. If there’s a lot of grease in the pan, drain it off before assembling or the bottoms of the buns will get heavy.
Stack the Filling in a Tight Layer
Lay the bun bottoms in the baking dish and add the beef in an even layer so every slider gets the same amount. The cheese should cover as much of the meat as possible, because it acts like a seal while it melts. Tuck the pickles under the top buns or just above the cheese so they warm through without making the bread slippery.
Brush on the Garlic Butter Right Before Baking
Mix the melted butter with garlic and poppy seeds, then brush it generously over the top buns. The butter should sit on the surface and soak in as the sliders bake, which gives you that golden top crust. If you brush too early, the buns absorb the butter before baking and lose the crisp finish.
Bake Until the Tops Are Deep Golden
Put the pan in a 350°F oven and bake until the cheese is fully melted and the tops are lightly crisped, usually 12 to 15 minutes. The buns should feel set when you press them gently, and the edges should look toasted, not pale. Pull them as soon as the tops color; if they stay in too long, the bread dries out before the cheese gets any better.
How to Adapt These Cheeseburger Sliders for Different Tables
Dairy-Free Slider Version
Use a dairy-free cheddar-style slice and plant-based butter. You’ll still get the melted top and the savory garlic finish, though the cheese may soften more than it stretches. Keep the bake time the same and watch for the bun tops turning golden.
Lower-Carb Option
Serve the beef, cheese, and pickles over lettuce cups or inside low-carb slider buns. The flavor stays the same, but you lose the soft, buttery top that makes the baked version special. If you use lettuce, keep the beef and cheese warm and add the pickles at the end so the greens stay crisp.
Make-Ahead for a Crowd
Cook the beef and slice the buns ahead of time, then assemble and bake just before serving. If the whole pan sits assembled too long, the bottom buns start to absorb juices and lose their edge. The garlic butter can be mixed early and held at room temperature until you’re ready to brush it on.
Swap the Cheddar
American cheese melts even silkier than cheddar and gives you that classic diner-style stretch. Pepper jack adds heat, but it changes the profile enough that the pickles become even more important. Avoid hard cheeses that don’t melt cleanly unless you’re pairing them with another softer cheese.
Storage and Reheating
- Refrigerator: Store leftovers in an airtight container for up to 3 days. The buns will soften a bit, but the flavor holds up well.
- Freezer: They freeze best before baking. Wrap individual sliders tightly and freeze for up to 2 months, then thaw in the fridge before baking. Fully baked sliders can be frozen, but the buns lose more texture.
- Reheating: Reheat covered in a 325°F oven until warmed through, then uncover for the last few minutes so the tops can crisp again. The common mistake is using the microwave, which makes the buns rubbery and pushes the cheese out of the sandwich.
Answers to the Questions Worth Asking
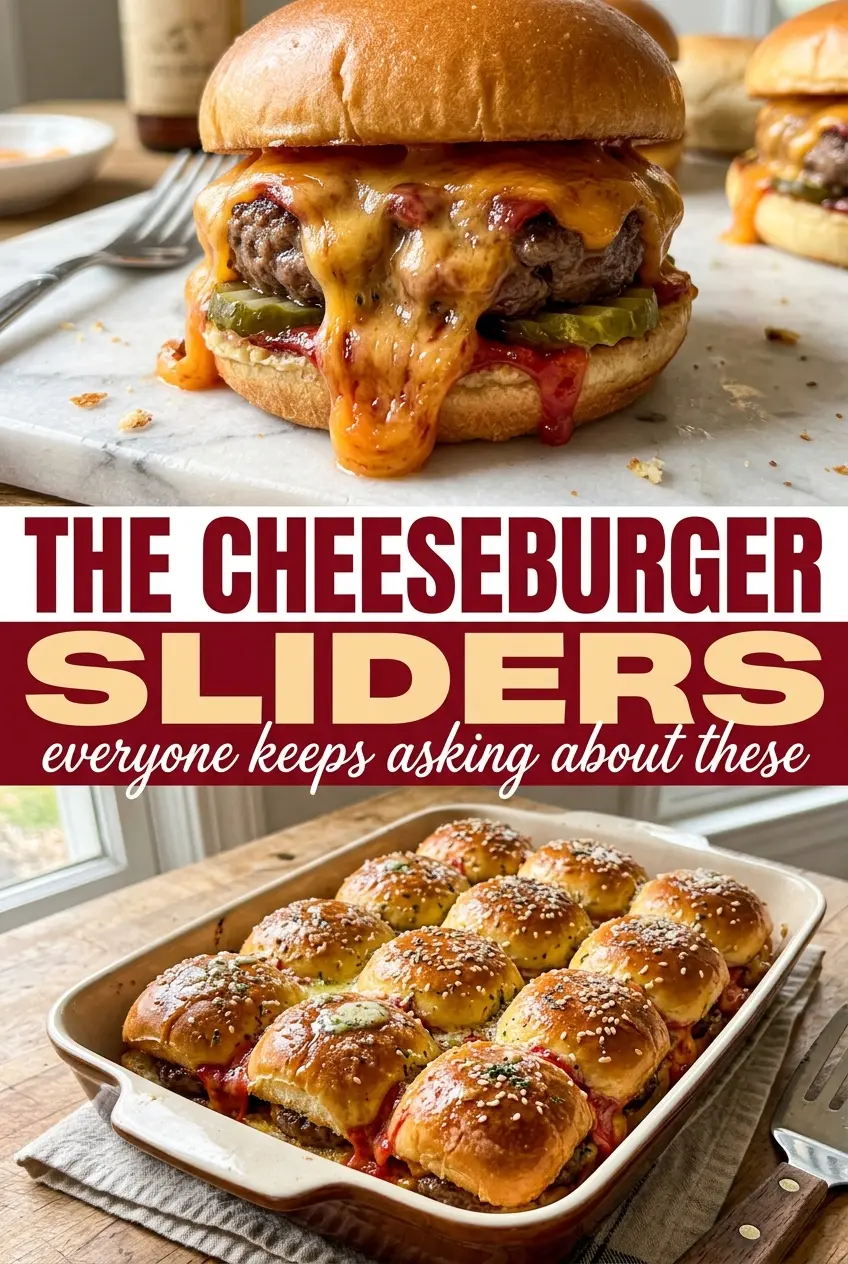
Cheeseburger Sliders
Ingredients
Equipment
Method
- Preheat the oven to 350°F and set out a baking dish for assembly.
- Season the ground beef with salt and pepper, then press it into a thin even layer and cut into slider-sized portions; cook in a skillet until browned.
- Slice the slider buns in half and place the bottoms in a baking dish.
- Layer the beef patties and cheddar over the bottoms, then add pickles and top buns.
- Whisk the melted butter with the garlic and poppy seeds, then brush over the tops.
- Bake 12-15 minutes at 350°F until the cheese is melted and the tops are golden.