
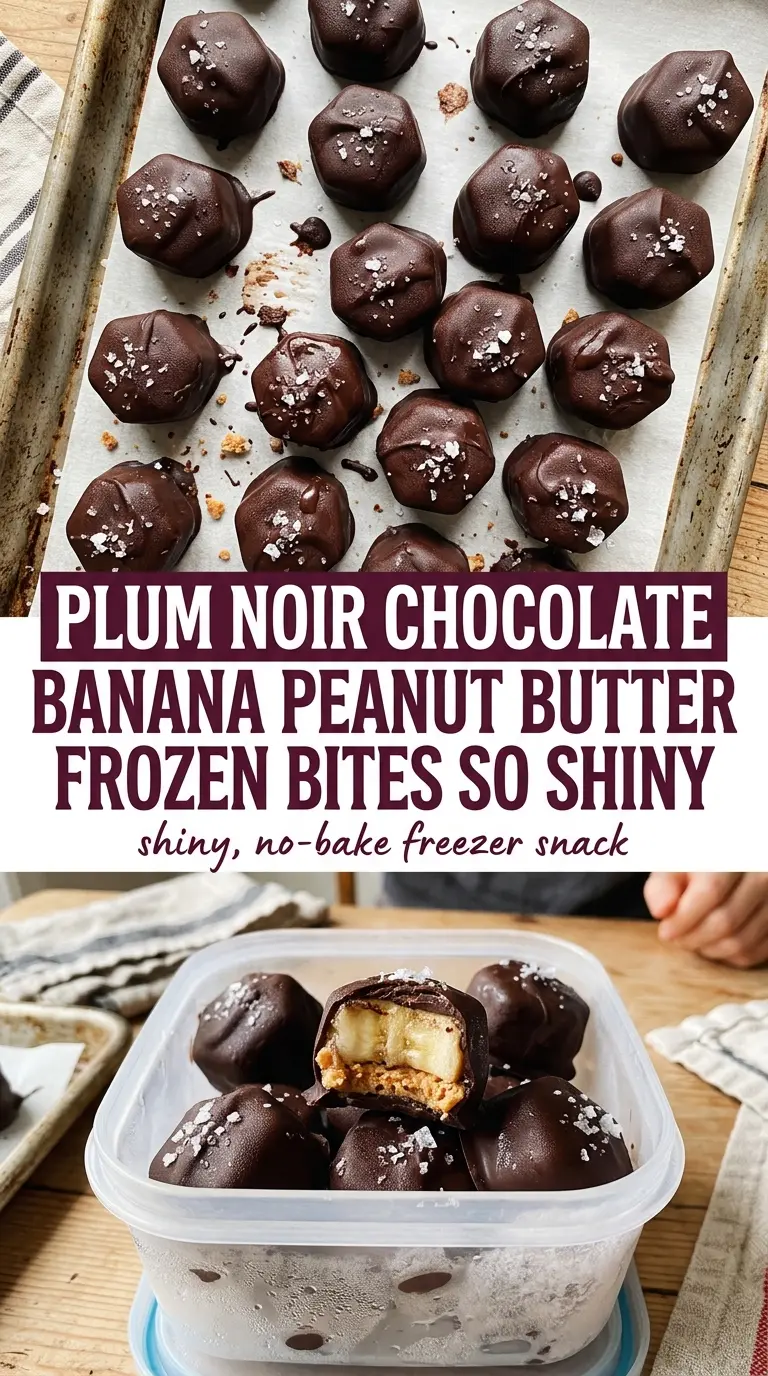
Chocolate Banana Peanut Butter Frozen Bites hit that sweet spot between snack and dessert: creamy in the middle, snappy on the outside, and cold enough to feel like a treat straight from the freezer. The bananas soften just enough against the peanut butter so every bite tastes like a frozen version of a peanut butter cup with a little more fruit and a lot less fuss.
The key is freezing the banana sandwiches before they ever see the chocolate. That step keeps the peanut butter from squeezing out when you dip them and helps the chocolate set fast instead of sliding right off. A little coconut oil loosens the melted chocolate so it coats in a thin, glossy shell instead of clumping into a thick layer.
Below, I’ll walk through the small details that keep these neat, crunchy, and easy to store, plus a couple of swaps if you want to change up the nut butter or make them dairy-free with what you already have.
The bananas stayed in place after freezing, and the chocolate hardened into a clean shell instead of pooling underneath. My kids grabbed them from the freezer all week and they tasted like a homemade frozen candy bite.
Chocolate Banana Peanut Butter Frozen Bites are the freezer snack to keep on hand when you want creamy centers, a crisp chocolate shell, and zero oven time.
The Freeze-First Trick That Keeps These Bites Neat
The most common problem with banana bites is simple: the bananas warm up while you’re assembling them, and the filling starts sliding before the chocolate ever sets. Freezing the sandwiches first changes everything. The banana rounds firm up just enough to hold the peanut butter in place, and the cold center helps the melted chocolate seize on contact.
That’s also why the chocolate layer stays clean instead of turning into a messy pool. If you dip soft banana sandwiches, the coating takes longer to set and you end up dragging bits of filling through the chocolate. A short freeze before dipping, then another freeze after coating, gives you a neat shell with a creamy center.
What Each Ingredient Is Actually Doing in This Snack
- Bananas — Use ripe bananas with yellow skins and a few brown speckles. That gives you the best sweetness and a softer bite without turning mushy. If they’re underripe, the flavor comes across flat and the texture feels starchy.
- Peanut butter — Creamy peanut butter spreads cleanly and holds the sandwich together. Natural peanut butter works, but if it’s very runny, stir it well first so the filling doesn’t ooze out. Crunchy peanut butter adds texture, but it can make the sandwiches harder to press closed.
- Chocolate chips — Chips are fine here because they melt smoothly in short bursts. A good chocolate bar also works and often gives you a shinier finish, especially if the chips are on the cheaper side. Use whatever chocolate you’d actually snack on, because the coating is a big part of the final taste.
- Coconut oil — This thins the melted chocolate so it coats evenly instead of going on thick and heavy. You can skip it, but the shell will be harder to dip and more likely to crack unevenly. Start with the amount listed and add a little more only if the chocolate still feels too stiff.
- Sea salt — A small pinch on top sharpens the chocolate and makes the peanut butter taste fuller. It’s optional, but it works especially well if your chocolate is on the sweet side.
Building the Sandwiches and Coating Them Before They Melt
Assemble the Banana Rounds
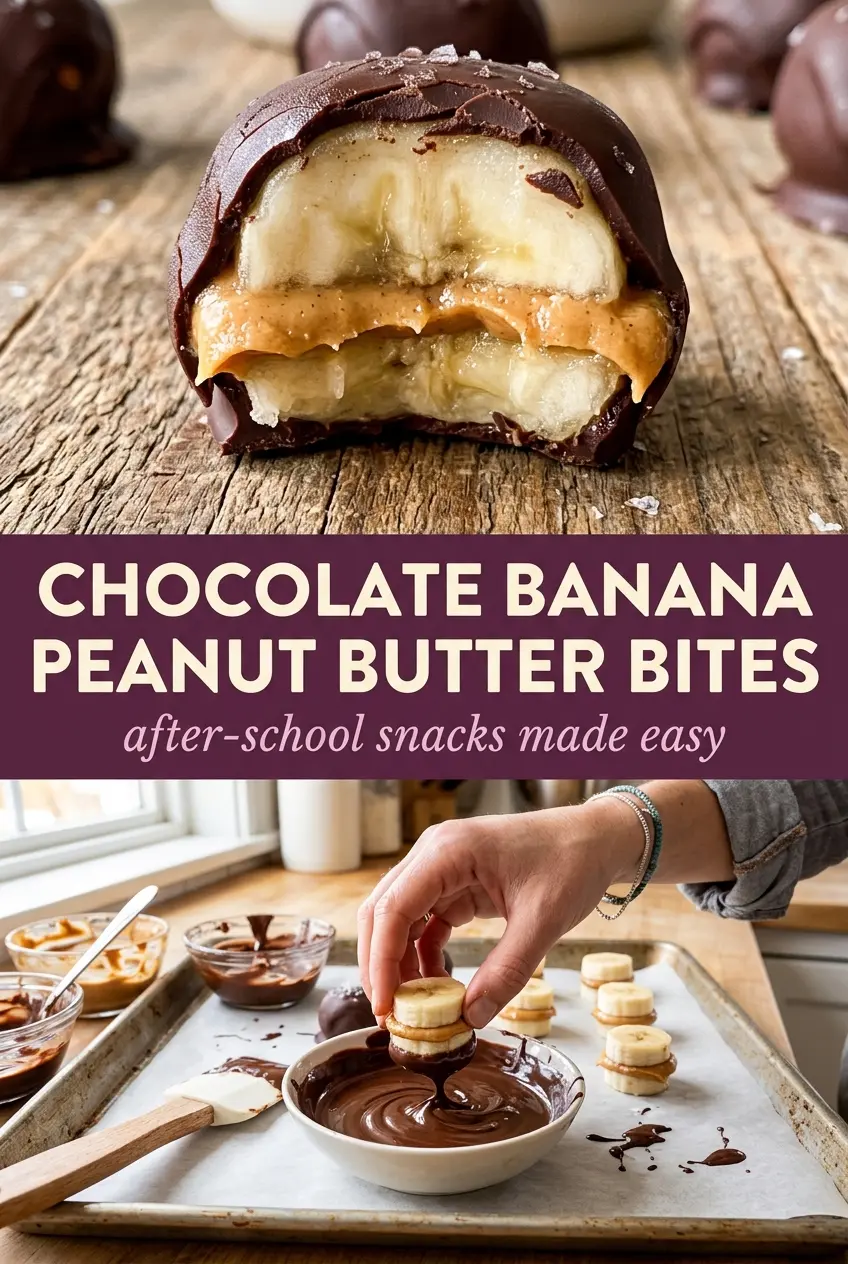
Spread a small amount of peanut butter on half the banana slices, then cap them with the remaining rounds and press gently. You want enough filling to taste it in the center, not so much that it squeezes out the sides. If the bananas are cut too thin, the sandwiches fall apart; if they’re too thick, they’re awkward to dip and the chocolate coating gets messy.
Freeze Until Firm
Set the banana sandwiches on a parchment-lined tray and freeze them until they feel solid to the touch. Thirty minutes is usually enough, but if your freezer runs warm or the bananas are large, give them a little longer. This is the stage that prevents the peanut butter from leaking and keeps the chocolate from melting off the second it hits the cold fruit.
Melt the Chocolate Smoothly
Microwave the chocolate chips with the coconut oil in short bursts, stirring after each round. The chocolate should look mostly melted before you stir; that last bit always finishes with residual heat. If you heat it too long, it seizes or turns grainy, and once that happens the coating loses its glossy finish.
Dip, Set, and Chill Again
Work quickly with the frozen sandwiches and coat each one fully in the melted chocolate. Set them back on the parchment and sprinkle with sea salt right away if you’re using it. The chocolate should harden within minutes once it hits the cold banana, but a second freeze gives you the cleanest snap and the easiest grab-and-go texture.
How to Change These for Different Freezers, Different Diets, and Different Sweetness Levels
Dairy-Free and Vegan Version
Use dairy-free chocolate chips and a plant-based peanut butter with no added milk ingredients. The texture stays the same, and the frozen bite still sets up with that crisp shell. Check the label on the chocolate, since some brands add milk solids even when they look dark enough to pass for vegan.
Swap the Peanut Butter
Almond butter or sunflower seed butter both work if you want a different flavor or need a peanut-free option. Almond butter tastes a little lighter and nuttier, while sunflower seed butter gives a more earthy finish and can tint the filling green over time. Use a thick, spreadable version so the sandwiches hold together.
Make Them Sweeter or More Bitter
Milk chocolate gives you a sweeter, softer shell, while dark chocolate makes the banana and peanut butter taste less candy-like and a little more balanced. If you prefer a less sweet bite, use darker chocolate and keep the sea salt. If you want them closer to dessert bar territory, milk chocolate is the easier path.
Storage and Reheating
- Refrigerator: These don’t hold well in the fridge; the bananas soften and the chocolate shell starts to sweat within a few hours.
- Freezer: Store in an airtight container with parchment between layers for up to 2 weeks. After that, the bananas can pick up freezer flavor and the texture gets icy.
- Reheating: No reheating needed. Let one sit at room temperature for 2 to 3 minutes before eating so the center isn’t rock hard. The common mistake is leaving them out too long, which makes the chocolate tacky and the banana too soft.
Questions I Get Asked About This Recipe
Chocolate Banana Peanut Butter Frozen Bites
Ingredients
Equipment
Method
- Spread a small amount of peanut butter onto half the banana slices, then top with the remaining slices to form sandwiches. Press gently so the layers stay together during freezing.
- Place the banana sandwiches on a parchment-lined tray and freeze for 30 minutes, until firm. The filling should be set enough that it won’t ooze when dipped.
- Melt the chocolate chips with coconut oil in the microwave in short bursts, stirring between each. Stop when smooth and glossy with no visible lumps.
- Dip each frozen banana sandwich into the melted chocolate, coating fully. Let excess chocolate drip back to the tray for an even shell.
- Return to the tray and sprinkle with sea salt if using. Add the salt quickly before the chocolate firms up.
- Freeze for another 30 minutes, until the chocolate is set. The bites should feel firm to the touch with a clean chocolate snap.