
Roasted cauliflower turns this soup from ordinary to the kind of bowl you keep thinking about after the pot is empty. The flavor is deeper than a basic blended vegetable soup, with a toasted, almost nutty edge from the oven that carries all the way through the cream. The texture lands silky and full, not thin or starchy, and that makes each spoonful feel like more work went into it than the ingredient list suggests.
The trick is giving the cauliflower time to caramelize before it ever meets the broth. That browned color on the sheet pan is where the best flavor lives, and if the florets go into the pot pale, the soup tastes flat. The onion and garlic build a soft base, but they don’t need to do heavy lifting here. The roasted cauliflower does that on its own.
Below you’ll find the small details that matter most: how dark to roast the cauliflower, why the blending step changes the whole texture, and how to keep the cream from dulling the flavor instead of rounding it out.
The cauliflower got those deep golden edges in the oven, and once I blended it, the soup turned out unbelievably smooth. Even my husband, who claims he doesn’t like cauliflower, went back for a second bowl.
Save this roasted cauliflower soup for the nights when you want something silky, deeply caramelized, and easy to finish with just a quick blend and a splash of cream.
The Browning Step That Gives This Soup Its Whole Personality
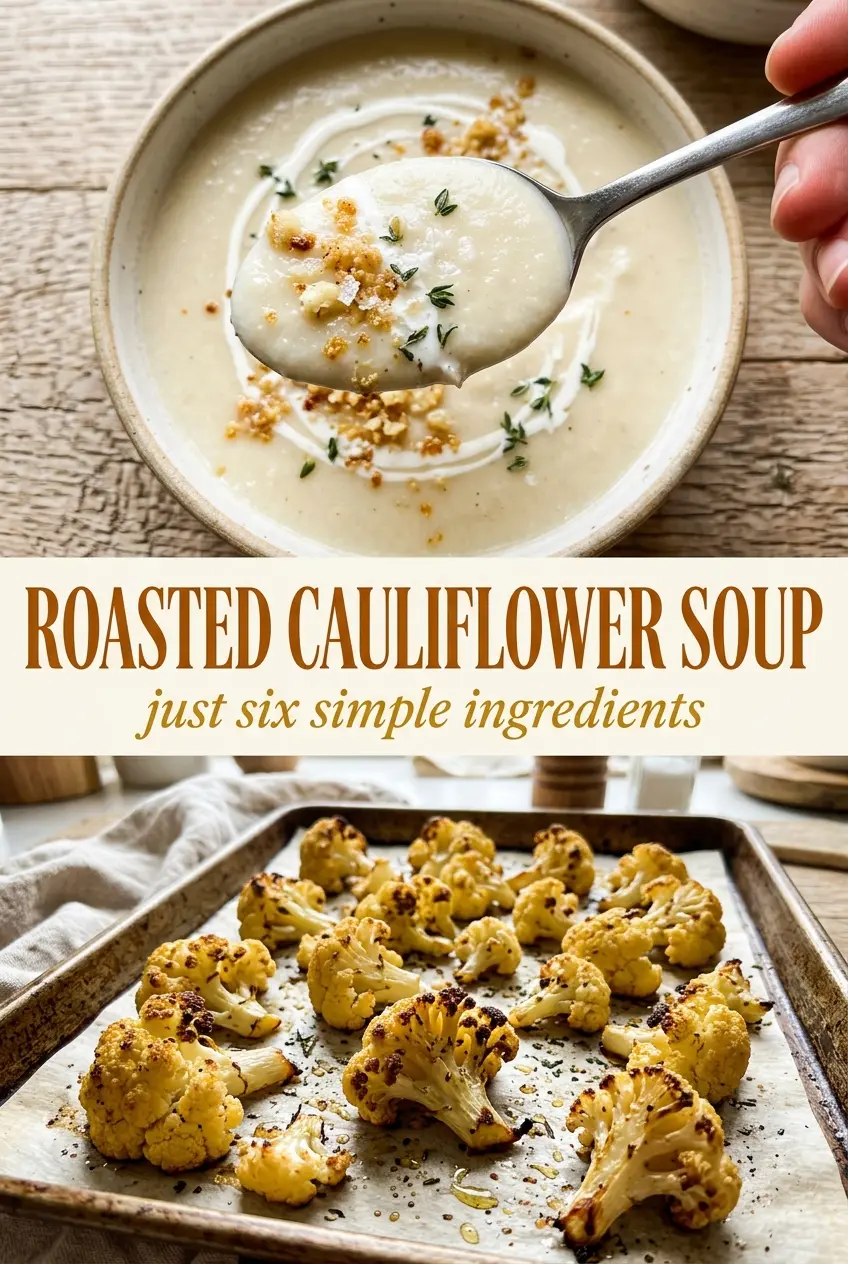
Roasted cauliflower soup lives or dies on color. Pale cauliflower tastes mild and a little watery; deeply caramelized cauliflower tastes layered, almost sweet, and it gives the finished soup the kind of depth you’d expect from something cooked much longer. The oven does the work here, and the goal is not just to soften the florets but to let the edges go amber and the little nubbly bits turn crisp.
If the pan looks crowded, the cauliflower will steam instead of roast. Give the florets space, and don’t pull them early because the center looks tender before the edges have browned. That browned surface is what melts into the broth and keeps the soup from tasting thin.
What Each Ingredient Is Actually Doing in This Soup
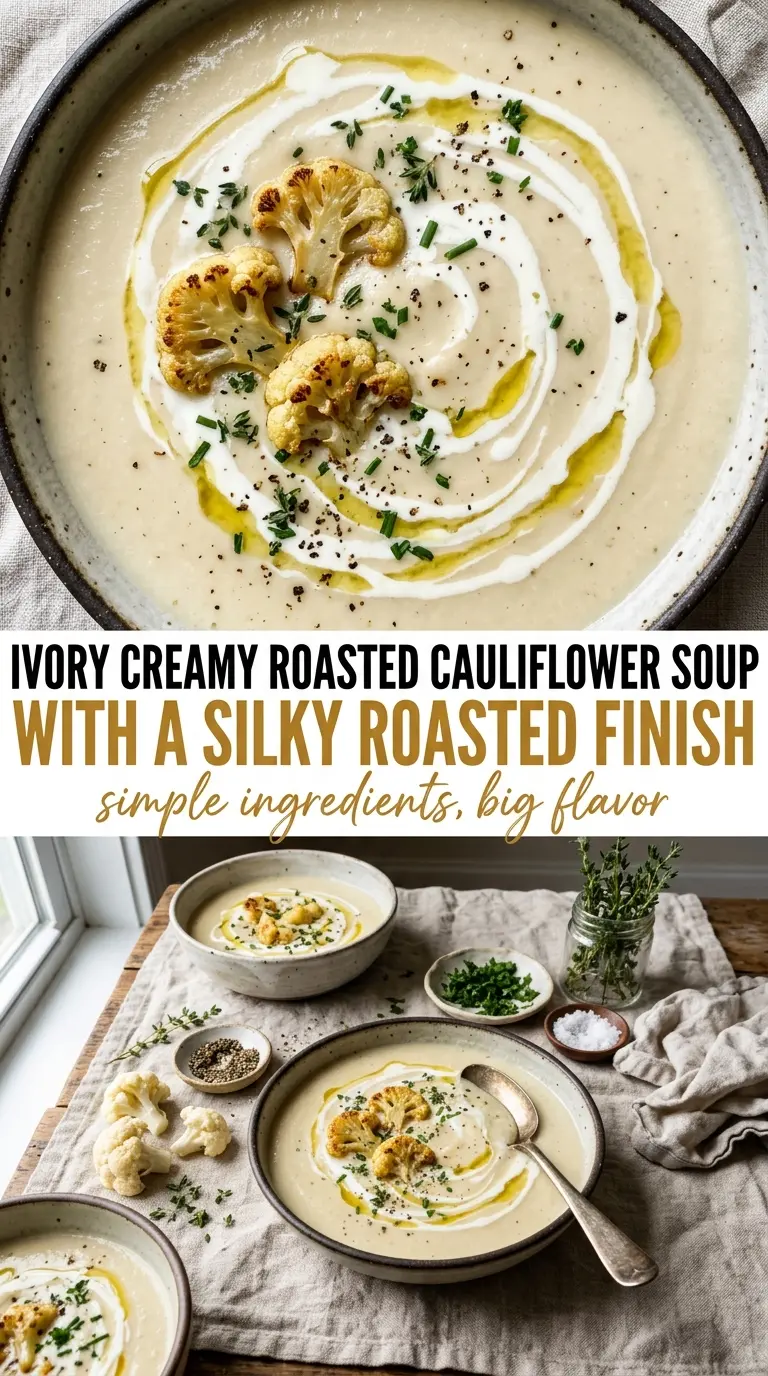
- Cauliflower — This is the main flavor and the body of the soup. A fresh, heavy head with tight florets roasts more evenly than one that’s already starting to dry out. Cut the pieces into similar sizes so the smaller bits don’t burn before the larger ones are browned.
- Olive oil — You need enough to coat the cauliflower and help it brown, not so much that it turns greasy. A good olive oil adds a roundness that vegetable broth alone won’t give, but you don’t need an expensive bottle here because the roasted cauliflower carries the dish.
- Onion and garlic — These build the savory base under the cauliflower. The onion should cook until soft and translucent, not deeply browned, because the soup already gets its dark notes from the oven. Garlic goes in only until fragrant; if it browns, it turns bitter in the finished soup.
- Vegetable broth — Use one with a clean, balanced flavor. Since the ingredient list is short, a weak broth shows up fast. If yours tastes flat, a pinch more salt at the end wakes everything up.
- Heavy cream — This finishes the soup and makes the texture plush. Add it after blending and after the soup has come off the boil so it stays smooth. Half-and-half works in a pinch, but the soup will be a little lighter and less velvety.
Building the Soup Without Losing the Silkiness
Roasting the Cauliflower Hard Enough
Spread the oiled cauliflower in a single layer and roast it until the edges are deeply golden and some of the smaller bits are almost mahogany. If the florets are only lightly colored, the soup tastes like steamed cauliflower with cream added later. Stir once during roasting if your oven has hot spots, but don’t keep moving the pieces around or they’ll brown unevenly.
Softening the Onion Before the Broth Goes In
Cook the onion in the pot until it turns soft and glossy, with no raw bite left at all. That gentle base keeps the soup from tasting sharp under the richness of the cream. Add the garlic for just a minute; once it smells fragrant, move on so it doesn’t take on a burnt edge.
Blending Until It Truly Disappears
Use an immersion blender and keep going longer than you think you need to. The soup should look completely smooth, with no little grains or cauliflower flecks left behind. If you’re using a countertop blender, work in batches and vent the lid carefully, because hot soup expands fast and can push the lid up if you rush it.
Finishing With Cream at the End
Stir the cream in after the soup is smooth and the heat is low. High heat can dull the cream and make the texture feel heavy instead of silky. Taste again after the cream goes in, because the soup usually needs another pinch of salt to bring the roasted flavor back to the front.
How to Adapt This for a Lighter Bowl or a Bigger Batch
Make it dairy-free
Swap the heavy cream for full-fat coconut milk or an unsweetened cashew cream. Coconut milk gives the soup a faint sweetness and a softer finish, while cashew cream keeps the flavor more neutral and close to the original. Either way, add it at the end so the texture stays smooth.
Make it vegetarian and richer tasting
This soup is already vegetarian as written, but if you want a deeper savory edge, use a high-quality vegetable broth and finish with a little extra salt. A small pinch of white pepper or nutmeg also plays nicely with the cauliflower without changing the character of the dish.
Make it thicker without adding flour
Reduce the broth by 1/2 cup if you want a denser soup that sits heavier in the bowl. You can also simmer it a few extra minutes after blending to evaporate some moisture. That keeps the flavor concentrated without changing the clean, smooth texture.
Storage and Reheating
- Refrigerator: Store in an airtight container for up to 4 days. The soup may thicken as it chills.
- Freezer: It freezes well for up to 2 months, though the cream can separate slightly if it’s added before freezing. For the smoothest result, freeze the soup before adding cream, then stir in fresh cream after reheating.
- Reheating: Warm it gently on the stove over low to medium-low heat, stirring often. A hard boil can make the dairy separate and can mute the roasted flavor, so heat it just until steaming and smooth again.
Questions I Get Asked About This Recipe
Creamy Roasted Cauliflower Soup
Ingredients
Equipment
Method
- Preheat oven to 425°F (220°C). Visual cue: the oven indicator reaches the set temperature before you start roasting.
- Toss cauliflower florets with 2 tbsp olive oil and spread on a sheet pan in a single layer. Visual cue: florets look evenly coated and there’s minimal crowding.
- Roast for 25-30 minutes, until deeply golden and caramelized at the edges. Visual cue: browned spots and a deep ivory-gold color appear on the cauliflower edges.
- Heat the remaining 1 tbsp olive oil in a large pot over medium heat. Visual cue: oil shimmers but does not smoke.
- Add the onion and sauté until soft. Visual cue: onion turns translucent and smells sweet, about 5-7 minutes.
- Add garlic and cook until fragrant, about 30-60 seconds. Visual cue: garlic aroma becomes noticeable without browning.
- Add roasted cauliflower and vegetable broth, then bring to a simmer for 10 minutes. Visual cue: small bubbles gently break the surface around the pot edges.
- Blend the soup until completely smooth using an immersion blender. Visual cue: no visible cauliflower flecks remain and the texture looks creamy and uniform.
- Stir in heavy cream and season with salt to taste. Visual cue: soup looks slightly lighter and glossy after the cream is incorporated.