
A good elderberry pie lands with that deep, jammy filling that tastes bold before it ever tastes sweet. The berries bake down into something glossy and tart, and the double crust gives each slice a clean contrast: flaky edges, bubbling center, and a little crackle from the coarse sugar on top. It’s the kind of pie that makes sense the second you cut into it, because the fruit holds its shape just enough to stay interesting while still turning thick and spoonable in the oven.
The part that matters most here is the balance. Elderberries need enough sugar to round out their sharpness, but too much turns the pie flat. Cornstarch gives the filling body without making it gummy, and the lemon juice wakes the berries up so the flavor stays bright after baking. Cinnamon and nutmeg sit in the background and keep the filling from tasting one-note.
Below, I’ll show you how to keep the bottom crust from going soggy, why the filling should go in right before baking, and what to do if you’re using frozen berries. The cooling time matters here too, and I’ll explain exactly why.
The filling set up beautifully and didn’t run all over the plate once it cooled. I used frozen elderberries and the pie still baked with a thick, glossy center and a crust that stayed crisp on the bottom.
Love the deep berry filling and flaky double crust? Save this elderberry pie for the next time you want a tart-sweet fruit pie that slices cleanly.
The Filling Only Works If the Berries Go in Cold and the Pie Goes in Fast
Elderberry pie can go wrong in two places: a crust that turns soggy before the filling thickens, and a filling that leaks out before it has time to set. The fix is timing. Once the berries meet the sugar and cornstarch, they start pulling out moisture right away. That means the pie dish should already be lined, and the top crust should be ready before you mix the filling.
Frozen elderberries work well here because they hold their shape in the oven and release their juices as they bake. What you don’t want is a long pause between mixing and baking. If the filling sits, the cornstarch starts working too early and the bottom crust takes the hit. Bake it while the fruit still looks dry and dusty from the starch.
The other thing worth knowing is that elderberries need a full cool-down. Hot pie always looks looser than it is. Give it at least two hours, and the filling will settle into that thick, sliceable texture you want.
What Each Ingredient Is Actually Doing in This Pie
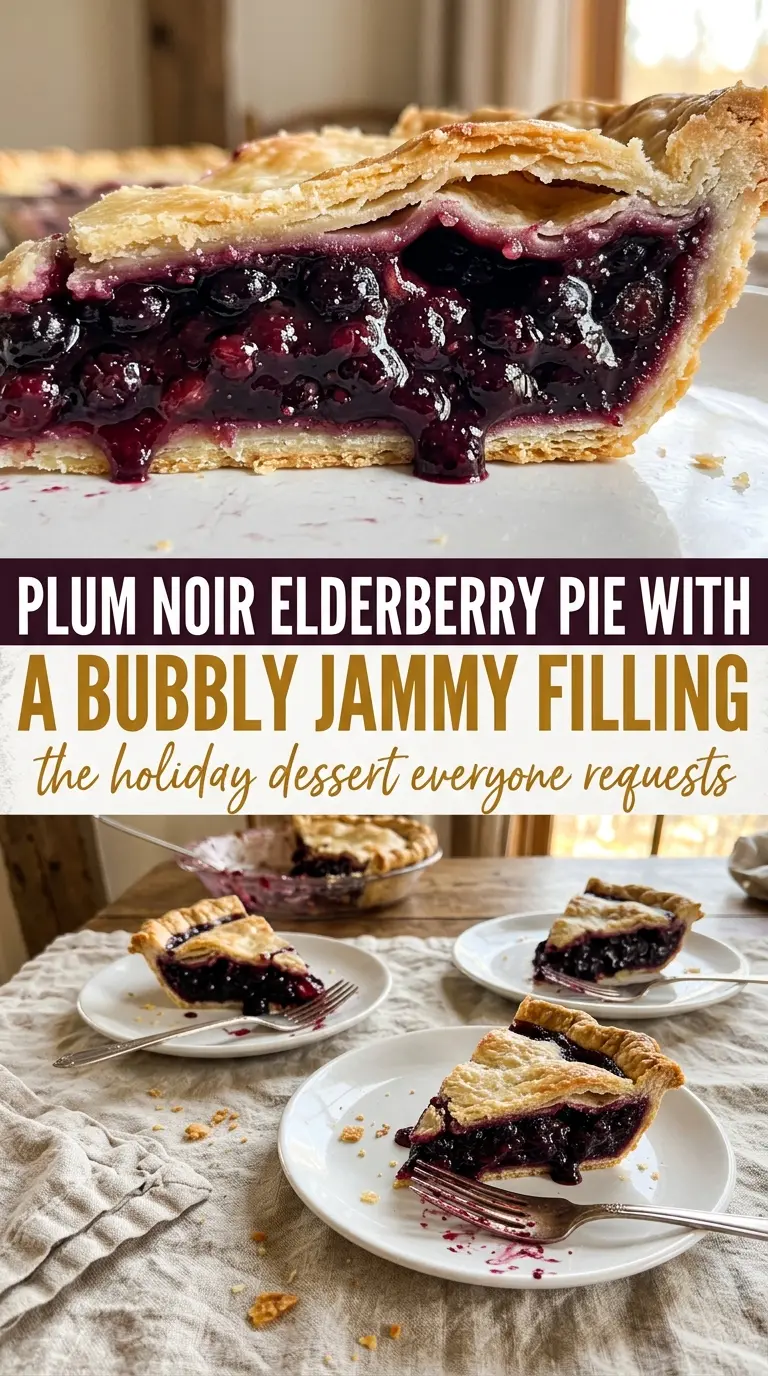
- Elderberries — Fresh or frozen both work. Frozen berries are often easier to find and bake just as well, but use them straight from the freezer so they don’t leak too much juice before the crust goes in the oven.
- Cornstarch — This is what turns the juices into a thick filling instead of a loose puddle. Flour won’t give you the same clean set here, and tapioca can turn slightly slippery with this much berry juice.
- Lemon juice — It sharpens the berries and keeps the filling from tasting heavy. The acid also helps the sweetness read more clearly once the pie is baked.
- Cinnamon and nutmeg — They don’t make the pie taste spiced in an obvious way. They just add warmth underneath the fruit so the filling tastes fuller and more finished.
- Pie crusts — Store-bought crusts are fine if you’re short on time. Homemade crust gives you more flavor and a flakier edge, but the real key is keeping the dough cold so the layers stay separate in the oven.
- Egg wash and coarse sugar — The egg wash gives the top crust a deep golden finish, and the coarse sugar adds a little crunch. Skip both and the pie still works, but you lose that bakery-style top.
Building the Pie So the Crust Stays Flaky and the Center Sets
Mix the Filling Right Before Assembly
Toss the elderberries with the sugar, cornstarch, lemon juice, cinnamon, and nutmeg in a large bowl, then move straight to the pie dish. The berries will start giving off juice fast, and that moisture is what can turn the bottom crust soft before baking. The mixture should look heavily coated, not soupy.
Keep the Bottom Crust Cold and the Top Crust Ventilated
Fit the bottom crust into the pie dish and work quickly so the dough doesn’t warm up. Pour in the filling, add the top crust, then seal and crimp the edges well enough that the juice can’t escape from the sides. Cut vents in the top crust so steam can get out; if you skip them, the crust can puff and the filling won’t bubble through properly.
Bake Until the Filling Bubbles, Not Just the Crust Browns
Brush the top with egg wash, sprinkle on coarse sugar, and bake at 400°F until the crust is golden and the filling is actively bubbling through the vents. That bubbling matters more than the color of the crust. If the edges brown too quickly, cover them with foil while the center finishes thickening.
Let It Cool Until the Filling Holds Its Shape
Set the pie aside for at least two hours before slicing. That resting time lets the cornstarch finish setting, which is why the first slice can be clean instead of runny. If you cut too soon, the filling will spill and you’ll miss the thick, glossy texture this pie is supposed to have.
Three Ways to Make This Elderberry Pie Fit Your Kitchen
Gluten-Free Crust Swap
Use a gluten-free double crust that bakes well rather than a single shell with a crumb topping. Elderberry filling is sturdy enough to support it, but the dough needs to be cold and handled gently because gluten-free crusts can crack faster when you crimp them.
Lighter Sweetness, More Tart Fruit
Cut the sugar back a little if your berries are especially ripe, but don’t remove it entirely. Elderberries need enough sweetness to round out their sharp edge, and sugar also helps the filling thicken into that jammy texture instead of tasting thin.
Homemade Dough for a Flakier Finish
A homemade crust gives the pie a better butter flavor and more visible layers at the edges. Keep the dough chilled and stop rolling as soon as it fits the dish; overworked pastry bakes up tough, which is more noticeable in a double-crust pie than in a single crust dessert.
Storage and Reheating
- Refrigerator: Store covered for up to 4 days. The crust softens a little, but the filling stays nicely set.
- Freezer: Freeze the baked pie tightly wrapped for up to 2 months. Thaw overnight in the refrigerator before reheating.
- Reheating: Warm slices in a 300°F oven for 10 to 15 minutes. The oven keeps the crust crisp; the microwave will soften it and make the filling weep.
Questions I Get Asked About This Pie
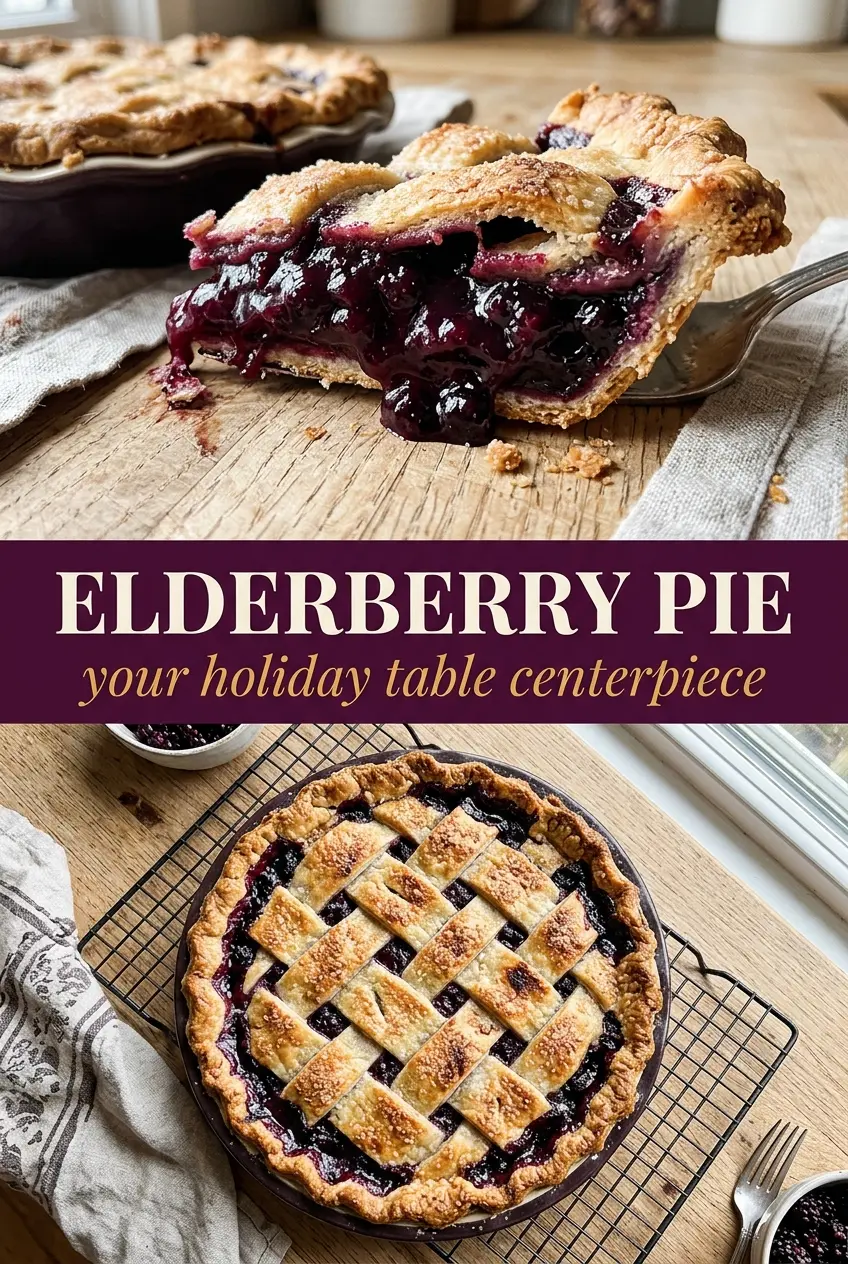
Elderberry Pie
Ingredients
Equipment
Method
- Preheat oven to 400°F and set a sheet pan on the middle rack to help the bottom crust bake through.
- In a large bowl, toss elderberries with sugar, cornstarch, lemon juice, cinnamon, and nutmeg until evenly coated with no dry cornstarch visible.
- Fit one pie crust into a 9-inch pie dish and press it gently into the corners to form an even base.
- Pour the elderberry filling into the crust and spread into an even layer.
- Top with the second crust, seal and crimp the edges, and cut vents in the top crust so steam can escape.
- Brush the top crust with egg wash and sprinkle with coarse sugar for a crisp, golden finish.
- Bake for 45-50 minutes at 400°F, until the crust is golden and the filling bubbles through the vents.
- Cool the pie for at least 2 hours before slicing so the jammy filling sets cleanly.