
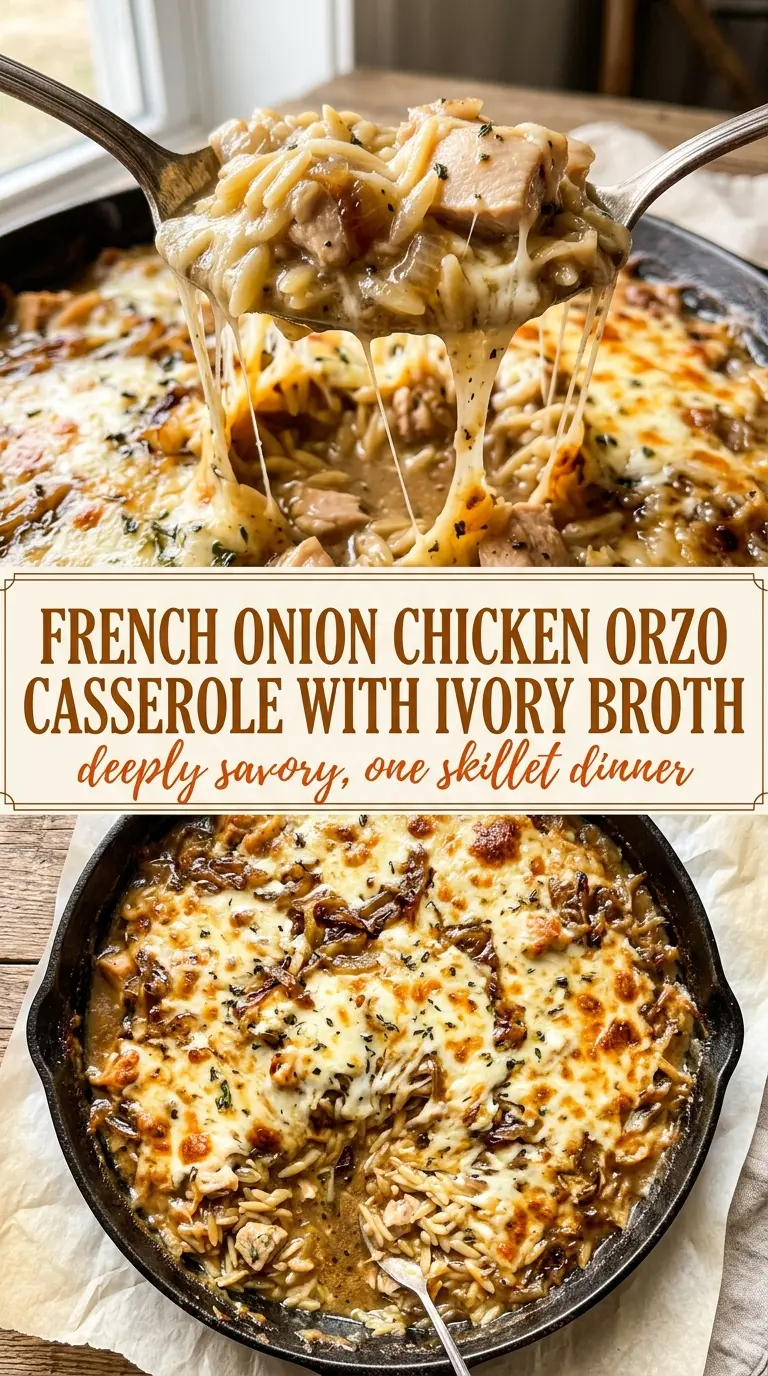
French onion chicken orzo casserole hits that rare spot where dinner feels cozy without turning into a project. The onions cook down until they’re dark, sweet, and jammy, the orzo turns tender in a savory broth, and the chicken gives the whole pan enough substance to count as a real meal. Then the mozzarella melts into the top and pulls everything into one creamy, spoonable bake that tastes deeper than the short ingredient list suggests.
The part that makes this work is patience with the onions. If they’re rushed, the casserole tastes flat; if they’re cooked until they’re deeply golden and the pan starts to pick up those browned bits, the broth develops that French onion character people are usually after. Toasting the orzo for a minute or two before adding liquid also helps it hold its shape instead of going soft and pasty.
Below, I’ve included the one stage that matters most for flavor, the ingredient swaps that actually make sense, and the fixes for the common issues people run into with creamy baked orzo.
The onions took a while, but they were worth every minute. The orzo stayed creamy, the chicken didn’t dry out, and the top got that perfect cheesy crust my kids picked off first.
Save this French Onion Chicken Orzo Casserole for the nights when you want deep caramelized onion flavor, creamy pasta, and one pan on the table.
The Real Reason This Casserole Tastes Like French Onion Soup
The flavor here doesn’t come from a shortcut ingredient. It comes from pushing the onions far enough that they stop tasting sharp and start tasting sweet, almost sticky, with a deep browned edge. That’s the difference between a casserole that tastes like creamy chicken and one that actually hints at French onion soup.
The other trap is adding the liquid too early. If the onions are still pale when the broth goes in, you’re just boiling them. Once that happens, the casserole can still be creamy, but it loses the savory backbone that makes every bite taste layered instead of one-note.
- Yellow onions — They’re the backbone of the dish because they soften and sweeten as they cook. White onions can work, but they don’t build the same round flavor.
- Thyme — Even a small amount helps the casserole read as French onion instead of just creamy onion pasta. Fresh thyme gives a cleaner finish, but dried thyme works in a pinch at about half the amount.
- Chicken broth — Use a broth you’d actually taste on its own. This is one of those dishes where a thin broth stays thin in the final casserole, while a well-seasoned broth deepens everything.
- Mozzarella and Parmesan — Mozzarella gives the melt and stretch, while Parmesan adds salt and that savory edge that keeps the sauce from tasting flat. If you swap in all mozzarella, the top will still melt, but the finish loses some character.
What Each Ingredient Is Doing Before It Hits the Oven
- Butter and olive oil — The butter brings flavor, while the olive oil keeps the butter from scorching during the long onion cook. You want enough fat to coat the pan lightly; too little and the onions dry out before they soften.
- Sugar — This isn’t for sweetness so much as insurance. A small amount helps the onions start browning more evenly, especially if they’re thick or a little firmer than ideal.
- Garlic — Add it late so it doesn’t burn and turn bitter. Once garlic goes in, it only needs a minute or two before the broth should follow.
- Orzo — Toasting the orzo briefly coats it in fat and gives the final casserole a better texture. It helps the pasta stay distinct instead of turning into a soft, collapsed layer.
- Shredded cooked chicken — Rotisserie chicken is perfect here because it’s already seasoned and tender. If you use leftover chicken breast, add it near the end of the simmer so it doesn’t dry out in the oven.
- Heavy cream — This gives the sauce body without relying on flour. Half-and-half can work, but the final casserole will be a little looser and less rich.
Cooking the Onions Until They Pay You Back
Start with a wide pan and real patience
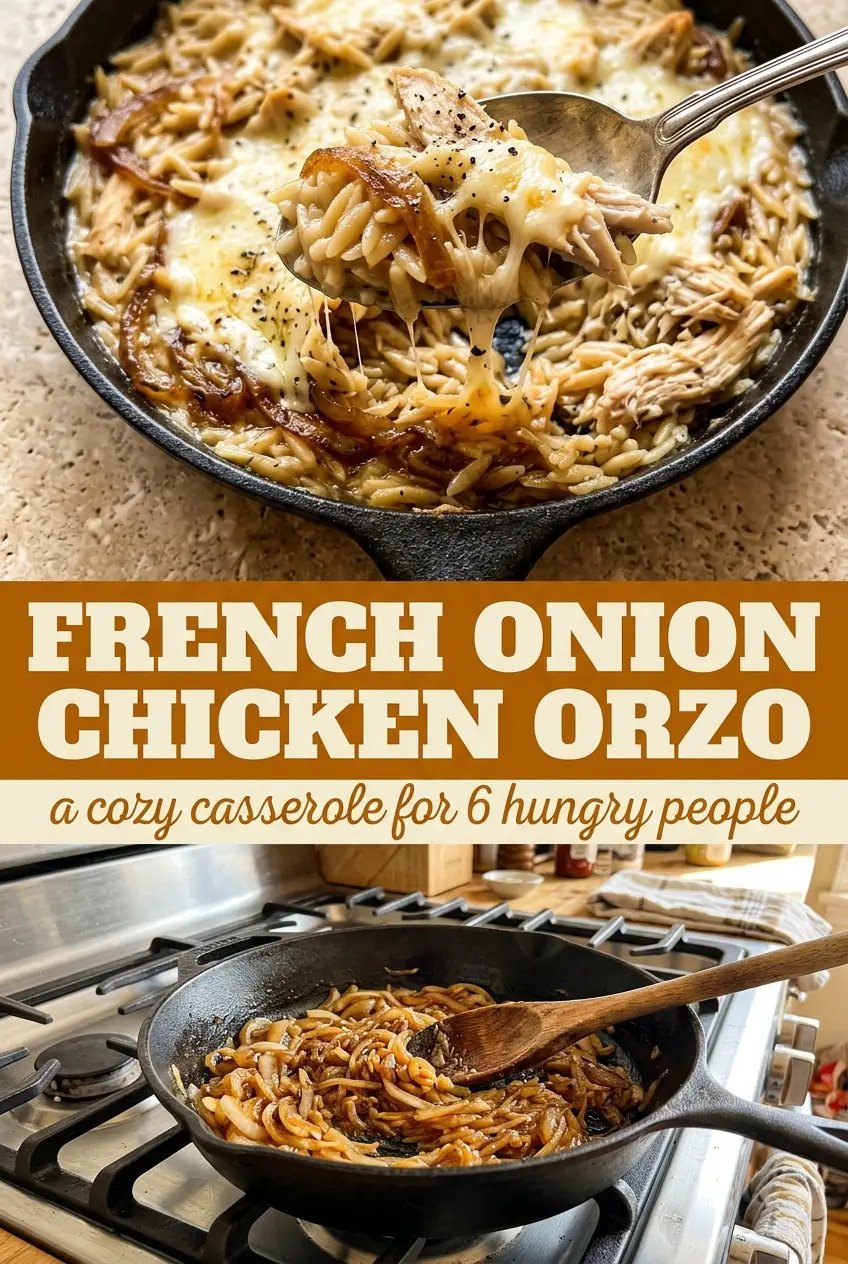
A large oven-safe skillet matters because onions brown by contact, not by magic. If they’re crowded, they steam and turn soft instead of caramelizing. Cook them over medium heat and stir often enough to keep the bottom from burning, but not so often that they never get a chance to sit against the pan and take on color.
Add the garlic only after the onions are deep gold
When the onions are nearly done, add the garlic and cook just until fragrant. If the garlic goes in at the beginning, it burns long before the onions finish, and that bitterness carries through the whole dish. You’re looking for onions that are deeply browned at the edges and reduced to a glossy, jammy pile before the next ingredient goes in.
Let the orzo absorb just enough liquid
Once the broth and cream hit the pan, bring everything to a steady simmer and cover it. The orzo should be tender but still have a little chew when you stir it. If the pan looks dry before the pasta is done, add a splash of broth; if it still looks soupy after cooking, uncover it for a couple of minutes so the sauce tightens before the cheese goes in.
Finish with cheese after the heat drops a little
Stir in part of the mozzarella and all of the Parmesan off the direct heat so the sauce stays smooth. Then top with the rest and bake until the cheese is melted, bubbling at the edges, and spotted with pale gold. If you bake it too long, the orzo keeps absorbing liquid and the casserole can turn thick instead of creamy.
Three Ways to Adapt This Without Losing the Point of the Dish
Make It Gluten-Free with Rice Orzo or Small GF Pasta
Use a gluten-free orzo-style pasta if you can find it, or a small pasta shape that cooks in a similar window. The key is to watch the liquid closely, since gluten-free pasta can go from tender to soft faster than wheat orzo.
Dairy-Free Version That Still Feels Creamy
Swap the butter for all olive oil, use a creamy unsweetened oat or cashew cooking cream, and finish with a dairy-free melting cheese if you like. The casserole will be a little less rich and the topping won’t brown quite the same way, but the onion flavor still comes through clearly.
Turn It Into a Vegetarian Main
Skip the chicken and use a deeply flavored vegetable broth. The dish becomes softer and more onion-forward, so a little extra Parmesan or a spoonful of white miso in the broth can help replace some of the savory depth the chicken would have added.
Stretch It for More People
Add another cup of shredded chicken and a little extra broth if you need to feed a bigger table. Keep the onions in the same proportion to the pasta, because that’s where the signature flavor lives; diluting the onions is how the casserole starts tasting like plain chicken pasta.
Storage and Reheating
- Refrigerator: Store covered for up to 4 days. The sauce will thicken as it chills, and the pasta will absorb more liquid.
- Freezer: It freezes, but the cream sauce can turn a little grainy after thawing. If you freeze it, cool it fully, wrap it well, and thaw in the fridge before reheating.
- Reheating: Reheat covered in the oven at 325°F with a splash of broth or cream stirred in first. The common mistake is blasting it on high heat, which dries out the pasta and tightens the sauce too much.
Answers to the Questions Worth Asking
French Onion Chicken Orzo Casserole
Ingredients
Equipment
Method
- Melt the butter and olive oil in a large oven-safe skillet over medium heat, then add the onions, sugar, and salt. Stir to coat the onions and distribute the seasoning evenly, with the onions starting to soften right away.
- Cook the onions for 20 to 25 minutes, stirring occasionally, until deeply golden and caramelized, adding the garlic in the last 2 minutes. Keep the heat at medium so the fond darkens without burning.
- Stir in the orzo and toast for 2 minutes, then add the shredded chicken and thyme. The orzo should smell lightly toasted and begin to pick up the onion flavors.
- Pour in the chicken broth and cream, bring to a simmer, then cover and cook for 8 to 10 minutes until the orzo is tender. Watch for gentle bubbling and an orzo texture that’s cooked through.
- Stir in 1 cup of mozzarella and the Parmesan until melted and creamy. The mixture should look glossy and thickened from the cheese and cream.
- Preheat the oven to 375°F, top with the remaining mozzarella, and bake uncovered for 10 to 15 minutes until bubbly and golden. Look for browned melted cheese edges and active bubbling in the center.