
Fresh berry slab pie bakes up with the kind of thin, crisp crust and jammy fruit filling that makes people hover near the pan before it even cools. The squares cut cleanly, the top turns deeply golden, and the berries cook down into a glossy filling that holds together instead of running all over the plate. It has the same comfort as a classic berry pie, just in a shape that feeds a crowd without the fuss of wrestling with individual slices.
The trick is keeping the crust cold enough to stay flaky while giving the filling enough thickener to set after baking. Cornstarch does the heavy lifting here, and the lemon juice keeps the berries tasting bright instead of flat. I like using a mix of strawberries and raspberries because strawberries bring body and raspberries bring sharp juice, which gives the filling that layered berry flavor you want in a slab pie.
Below, I’ve included the one part that saves this recipe from soggy-bottom trouble, plus a few smart swaps if you need to work with different berries or a scratch-made crust.
The berries baked into a thick, glossy layer and the crust stayed crisp on the bottom, which never happens with fruit pies at my house. Cutting it into squares made it so much easier for a cookout, and not a crumb was left.
Save this fresh berry slab pie for the kind of gathering where you want flaky crust, jammy berries, and easy square cuts every time.
The Crust Problem That Makes Slab Pie Turn Soggy
A slab pie gives the filling more room to spread than a deep-dish pie, which means the bottom crust has to stand up to a wider layer of berries and their juices. If the crust gets warm before baking, the butter melts out before the pastry sets, and you end up with a dense bottom instead of those flaky layers people hope for. Keep the crust cold, work quickly, and press it firmly into the corners so it bakes evenly from edge to center.
The filling matters just as much. Strawberries soften into thick chunks, while raspberries break down fast and release juice almost immediately, so the cornstarch has to be mixed in thoroughly before the fruit goes into the pan. If you see dry white streaks of cornstarch in the bowl, keep tossing. Those streaks turn into pasty pockets if they don’t dissolve before baking.
What Each Ingredient Is Actually Doing in This Pie
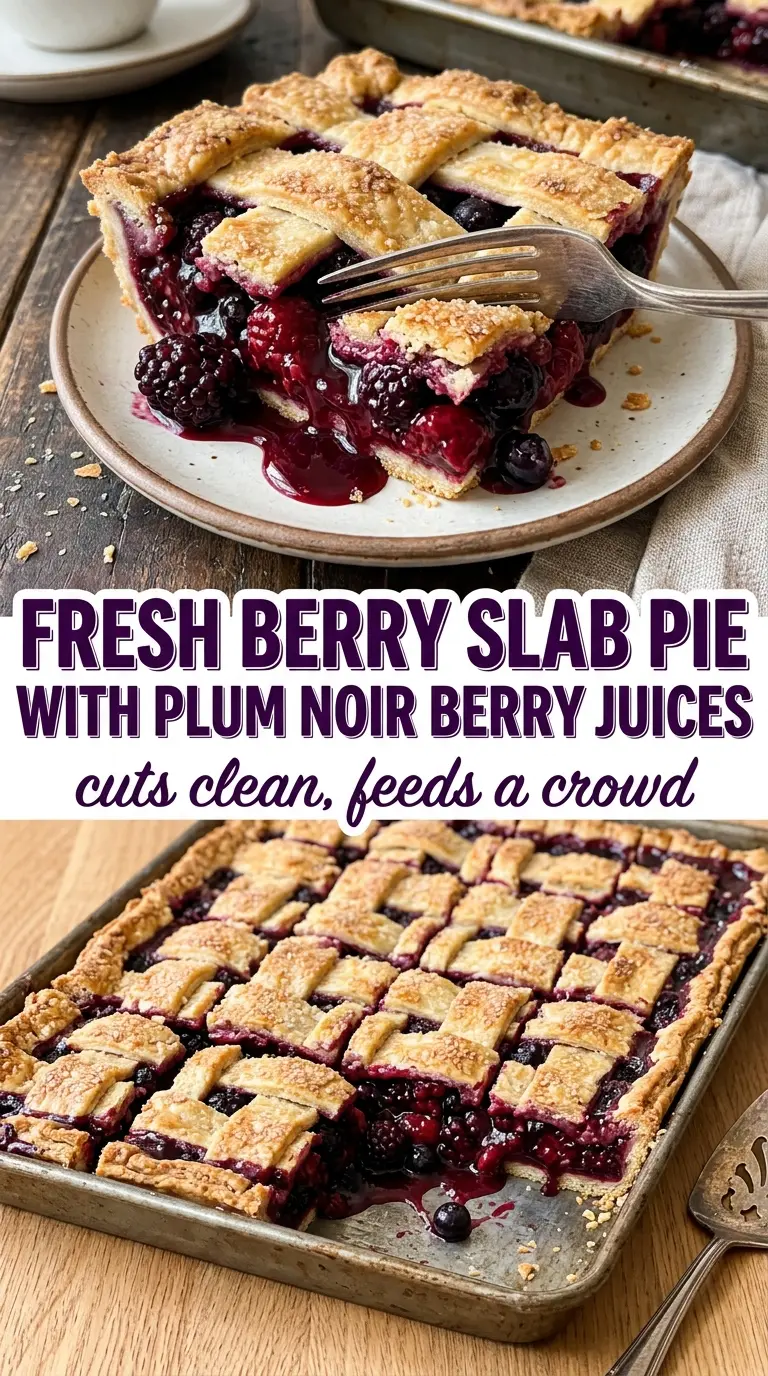
- Refrigerated pie crusts — These keep the recipe practical without giving up the crisp, layered texture that makes slab pie worth baking. If you want to use homemade crust, roll it a little thicker than you would for a round pie so it can handle the larger surface area and the juicy filling.
- Strawberries — They bring body and sweetness. Slice them evenly so they soften at the same rate; big chunks stay a little firm while smaller pieces collapse and help thicken the filling.
- Raspberries — These add sharpness and a deeper berry flavor, but they also bring a lot of juice. That’s part of the charm, as long as the cornstarch is measured accurately and mixed all the way through.
- Cornstarch — This is what turns berry juice into a filling that cuts cleanly after cooling. Flour won’t thicken as sharply here, and tapioca gives a softer finish, so cornstarch is the best choice if you want neat squares.
- Lemon juice — It keeps the fruit tasting vivid and prevents the filling from going dull or candy-sweet. Fresh lemon juice is worth using here because the amount is small and the flavor shows up.
- Milk and sugar for the top crust — The milk helps the top crust brown evenly, and the sugar adds a little crunch. That sprinkle on top is what gives the finished pie its bakery look.
Building the Berry Filling So It Sets After Baking
Shape the bottom crust first
Roll two crusts together into a large rectangle and fit them into the pan before you touch the filling. The crust needs to reach the corners without tearing, and any thin spots will leak once the berries start bubbling. Press the dough into the pan instead of stretching it, because stretched dough shrinks back in the oven.
Mix the fruit until the thickener disappears
Stir the berries, sugar, cornstarch, and lemon juice until the cornstarch is no longer dusty and the fruit looks lightly coated. The sugar will start pulling juice from the berries right away, so don’t let the bowl sit around while you roll the top crust. If the mixture looks soupy before it even hits the pan, the fruit is sitting too long and the juices are already moving.
Seal, vent, and bake until the top is deep gold
Lay the top crust over the filling, pinch the edges shut, then cut several slits so steam can escape. Brush the top with milk and add the sugar, which helps the crust brown and keeps it from baking up dull. Bake until the top is deeply golden and the filling is visibly bubbling through the slits; that bubbling is the signal that the cornstarch has activated and the center will set as it cools.
Let it cool all the way before slicing
Give the pie a full two hours to cool before cutting. If you slice too soon, the filling will run, and the clean squares this dessert is known for won’t happen. Cooling is part of the recipe, not an afterthought.
How to Adapt This for Different Fruit, Crusts, and Diets
Use all strawberries or all raspberries
You can swap the fruit ratio to match what you have, but keep the total amount about the same. All strawberries give you a sweeter, thicker filling with less juice, while all raspberries bake into a softer, more tart center that needs the full cornstarch amount to hold together.
Make it gluten-free with a sturdy gluten-free crust
A gluten-free crust works here as long as it rolls without cracking and can be patched in the pan. The filling is naturally gluten-free, so the only real job is choosing a crust that bakes up firm enough to handle the berry juice.
Swap in peaches or blueberries when berries are out of season
Peaches bring a softer, almost custardy filling, while blueberries hold their shape and bake into small bursts of juice. Keep the same cornstarch base, but if you use peaches, slice them thin so they soften before the crust overbakes.
Storage and Reheating
- Refrigerator: Store covered for up to 4 days. The crust softens a bit under the filling, but the squares still hold together well.
- Freezer: Freeze tightly wrapped squares for up to 2 months. Freeze them in a single layer first so the tops don’t stick together, then move to a container.
- Reheating: Warm slices in a 300°F oven for 10 to 12 minutes. Microwaving softens the crust and makes the filling loose again, so the oven is the better choice if you want the pastry crisp.
Answers to the Questions Worth Asking
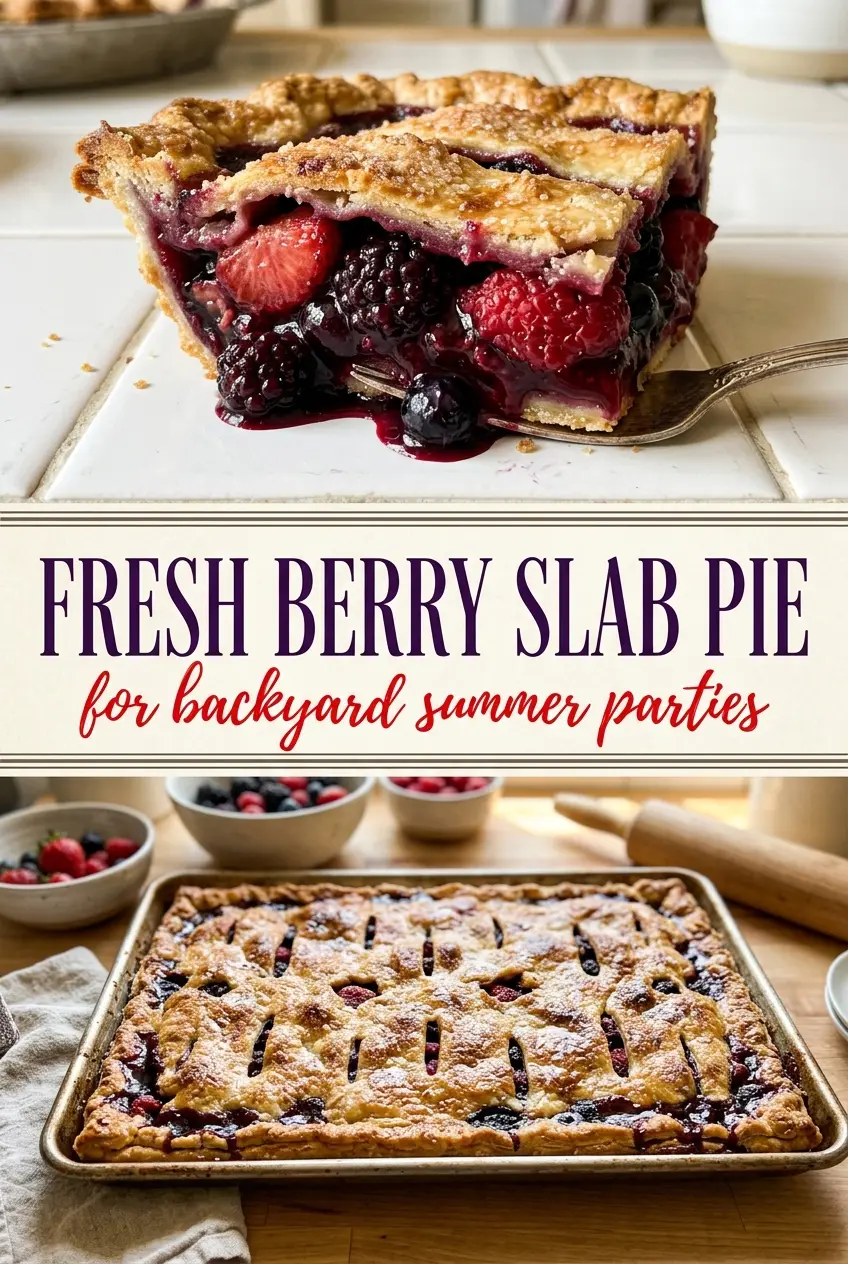
Fresh Berry Slab Pie
Ingredients
Equipment
Method
- Preheat the oven to 400°F (205°C) so it’s fully ready when the slab is assembled. Keep an eye on the temperature for even browning.
- Unroll and stack 2 refrigerated pie crusts, then roll into a 17x12-inch rectangle and fit into a 15x10x1-inch pan, pressing firmly into the corners. The crust should sit flush so the filling won’t leak.
- Mix the sliced fresh strawberries, fresh raspberries, 1 cup sugar, cornstarch, and lemon juice in a large bowl until well blended. Stop when the cornstarch looks evenly distributed and the mixture looks glossy.
- Spoon the berry mixture into the crust-lined pan. Spread it out evenly to help the slab bake with uniform thickness.
- Roll the remaining 2 refrigerated pie crusts into another 17x12-inch rectangle and place on top of the berry mixture, pinching the edges together to seal. Press the seam firmly to keep juices contained.
- Cut several slits in the top crust and brush with milk, then sprinkle with the remaining sugar. Look for slit openings so steam can escape and bubbling filling can release.
- Bake at 400°F for 40 to 45 minutes until deep golden brown. You should see active bubbling through the slits and a crisp, browned crust.
- Cool for 2 hours before slicing to let the filling set. The slab should hold neat squares without the juices running.