
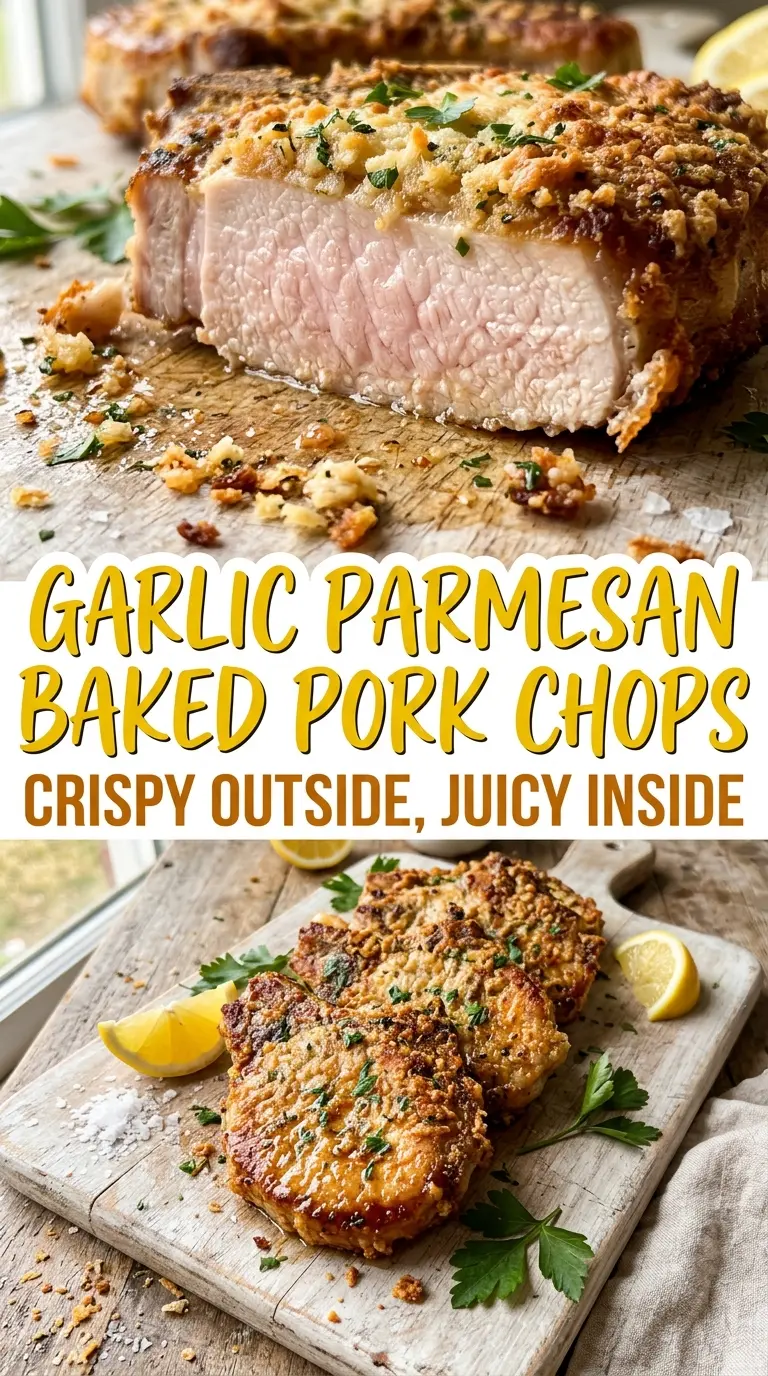
Garlic Parmesan baked pork chops land with the kind of crust that stays crisp instead of turning soggy the second it hits the plate. The outside shatters a little under the fork, the center stays juicy, and the whole thing tastes like you put in far more effort than you did. That combination is why this version earns a repeat spot: it gives you a deep golden crust, a tender middle, and a dinner that comes together fast enough for a weeknight.
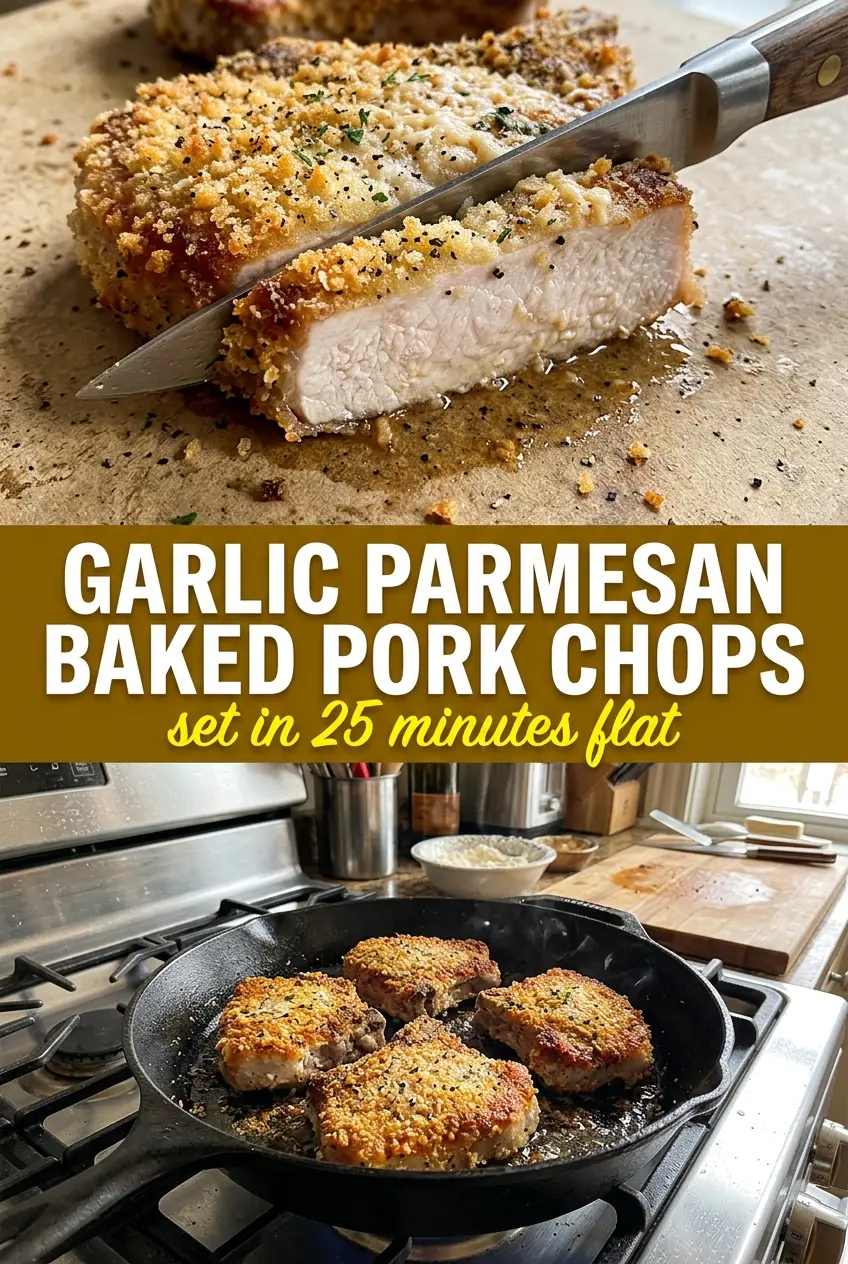
The key is treating the breading like a coating that needs help, not just a layer of crumbs. Dry pork chops grab onto the egg wash better, Parmesan adds salt and browning power, and a hot skillet gives the crust a head start before the oven finishes the meat gently. That sear matters. It sets the coating so it doesn’t steam off in the oven, and it builds the kind of color that breadcrumbs alone can’t create.
Below, I’ll walk through the small details that keep the crust attached and the pork from drying out. There’s also a few smart swaps and a storage note for the leftovers, which reheat better than you’d expect if you handle them the right way.
The crust stayed on the pork chops the whole time, and the Parmesan got this salty, almost nutty edge after baking. I used a cast iron skillet like you suggested and the bottoms were crisp instead of greasy.
These garlic Parmesan pork chops stay crunchy on the outside and juicy in the middle, so save this one for the nights when you want a fast dinner that still feels like a real meal.
The Secret to Keeping the Parmesan Crust on the Pork Chop
The biggest mistake with breaded pork chops is moving too fast after the coating goes on. If the chops go into a lukewarm pan, the crumbs absorb oil before they set, and the crust turns patchy. A hot skillet gives you instant browning and helps the egg wash glue the coating to the meat instead of letting it slide off.
Thickness matters here too. Thin pork chops dry out before the crust has time to brown in the oven, while very thick chops need extra oven time and can overbrown on the outside. Boneless chops in the 1-inch range are the sweet spot for this method because they sear quickly and finish at the same pace the crust is developing.
What Each Ingredient Is Actually Doing in This Dish
- Egg and water — The egg wash is what makes the breadcrumb mixture cling. The water loosens the egg just enough to create an even coat without turning gummy.
- Breadcrumbs — Plain or Italian-style both work. Fine crumbs make a tighter crust, while panko gives more crunch. If you use panko, press it on firmly so it doesn’t fall off in the skillet.
- Parmesan — Use grated Parmesan, not the shelf-stable powdery stuff in a green can. Real Parmesan browns better and brings the salty edge that makes the coating taste finished.
- Garlic powder — Fresh garlic would burn in the breading, so garlic powder is the right choice. It spreads evenly through the coating and stays mellow and savory.
- Cayenne — This doesn’t make the pork spicy-hot. It wakes up the Parmesan and keeps the crust from tasting flat. Leave it out if you want a milder version.
How to Sear First and Finish in the Oven Without Overcooking the Pork
Build the coating before the pan heats up
Mix the breadcrumb mixture in one bowl and the egg wash in another before you touch the pork. Once the chops are seasoned and dry, dip them in the egg, then press them into the crumbs so every side is covered in an even layer. Patchy spots are where the pan-splatter and bare meat start to show, so spend a few extra seconds pressing the coating on instead of just rolling the chop through it.
Get color in the skillet, not in the oven
Heat the olive oil until it shimmers, then lay the chops in and leave them alone for the first minute or two. If you move them too early, the crust tears and sticks to the pan. You want a deep golden color on the bottom before flipping, because the oven only finishes the cooking; it doesn’t build the crust from scratch.
Use the oven to finish the center gently
Once both sides are golden, move the skillet straight into the oven. Bake until the thickest part of the chop reaches 145°F, then pull it out right away. If you wait for the pork to climb much higher, the juices push out and the chops dry out fast. A short rest after baking lets the temperature settle and keeps the meat tender.
Three Smart Ways to Adapt These Pork Chops
Gluten-Free Coating
Use gluten-free breadcrumbs or crushed gluten-free crackers in the same amount. The texture stays crisp, though crackers brown a little faster, so watch the skillet closely. The coating still needs to be pressed on firmly or it can flake off during the flip.
Lower-Carb Version
Swap the breadcrumbs for finely crushed pork rinds if you want a keto-style crust. They brown quickly and bring a more savory, porky flavor, which works well with the Parmesan. Keep the heat steady so the coating doesn’t scorch before the center reaches temperature.
Dairy-Free Adjustment
Leave out the Parmesan and add an extra tablespoon or two of seasoned breadcrumbs plus a pinch of salt. You’ll lose some of the nutty browning that Parmesan brings, but the crust still works and the garlic flavor stays front and center. For a richer finish, serve the chops with a squeeze of lemon.
Storage and Reheating
- Refrigerator: Store in an airtight container for up to 3 days. The crust softens a bit in the fridge, but the flavor holds.
- Freezer: Freeze cooked chops on a sheet pan first, then wrap and store for up to 2 months. The coating won’t stay as crisp after thawing, but they still reheat well.
- Reheating: Warm in a 375°F oven or air fryer until hot through. The mistake is microwaving them, which turns the crust limp and overcooks the edges before the center is warmed.
Answers to the Questions Worth Asking
Garlic Parmesan Baked Pork Chops
Ingredients
Equipment
Method
- Preheat the oven to 400°F so it’s hot when the skillet goes in.
- Pat the pork chops dry and season both sides with salt and pepper.
- Whisk the egg with water in one shallow bowl, then stir together breadcrumbs, Parmesan, garlic powder, and cayenne in another.
- Dip each pork chop in the egg wash, then dredge in the breadcrumb mixture, pressing to coat evenly.
- Heat olive oil in a cast iron skillet over medium-high heat and sear the pork chops for 1 to 2 minutes per side until golden.
- Transfer the skillet to the oven and bake for 7 to 12 minutes until the internal temperature reaches 145°F for juicy, safe pork.