
Warm cookie dough, a soft center, and melted chocolate in every bite make a microwave mug cookie one of those tiny desserts that earns repeat status fast. It scratches the craving without hauling out a baking sheet, and the best versions stay tender instead of turning rubbery in the microwave. The trick is treating it like a real cookie batter, not a liquid mug cake.
A small amount of melted butter gives the dough that cookie-like richness, while brown sugar brings chew and a deeper caramel note. Just as important, the flour-to-liquid ratio stays tight enough for the mug cookie to set into a spoonable dessert instead of collapsing into a puddle. The microwave does the fast part; the ingredients do the heavy lifting.
Below, I’ll show you how to keep the center gooey, how to avoid the dry edge problem, and which swap works best if you need a dairy-free version.
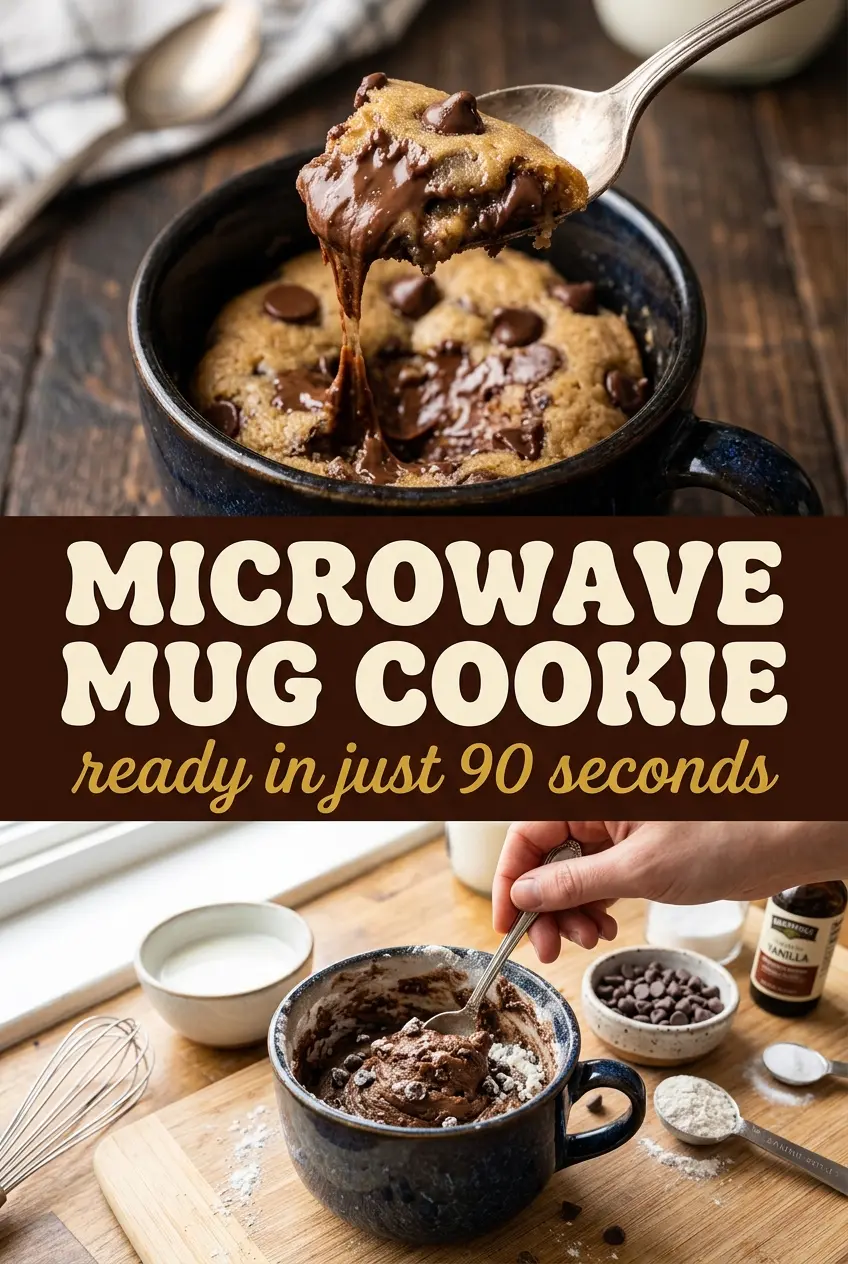
The dough came together fast and it actually stayed cookie-like instead of turning cakey. I stopped it at 60 seconds and the middle was still soft with melted chocolate pockets, which was exactly what I wanted.
Microwave Mug Cookie with a gooey center is the quick fix worth saving for late-night chocolate cravings.
The Difference Between Gooey and Gummy in a Mug Cookie
Microwave mug cookies fail for two opposite reasons: too little heat leaves raw flour taste, and too much heat turns the middle spongy or dry. The sweet spot is stopping the microwave when the top looks just set around the edges and the center still looks a little glossy. It keeps cooking for a minute from residual heat, which is exactly what you want here.
The other thing that matters is texture before the mug ever hits the microwave. You want a dough that holds together when stirred, not a thin batter, because that gives you a cookie-like bite instead of a mug cake. Brown sugar and butter help with that chew, while the chocolate chips protect little pockets of softness.
What Each Ingredient Is Actually Doing in This Mug Cookie

- All-purpose flour — This gives the cookie its structure. Too much and the mug cookie turns dry and dense; too little and it won’t hold together. Spoon it into the measuring spoon and level it off so you don’t accidentally pack in extra flour.
- Brown sugar — This is where the chew comes from. It also keeps the sweetness round instead of sharp, which matters in such a small dessert. Light or dark brown sugar both work; dark brown sugar gives a deeper caramel note.
- Melted butter — Butter carries the cookie flavor and gives the dough that soft, rich texture. Coconut oil works in a pinch, but the flavor changes and the center sets a little firmer. Let the butter cool for a minute before mixing so it doesn’t scramble the milk.
- Milk — Just enough to bring the dough together. Any dairy or unsweetened non-dairy milk works here, but don’t add extra unless the mixture looks dry and crumbly. Too much liquid is the fastest path to a mug cake texture.
- Vanilla extract — A small amount makes the whole thing taste more like a real cookie and less like sweet dough. It matters more than it looks like it should in a single serving recipe.
- Chocolate chips — These are the payoff. Fold them in at the end so they stay in distinct pockets instead of melting completely into the dough. Mini chips distribute better, but regular chips work fine.
The 60 Seconds That Matter Most
Mixing the Dough Without Overworking It
Stir the flour, brown sugar, melted butter, milk, vanilla, and salt until the dough looks smooth and there are no dry streaks left in the bottom of the mug. If it looks sandy, give it another few folds with a spoon; if it looks loose and glossy like batter, there’s too much milk. You’re aiming for a soft dough that holds its shape when you press it down lightly.
Adding the Chocolate Chips at the End
Fold in the chocolate chips after the dough comes together so they stay distributed through the mug cookie. Stirring them in too early can make you keep working the dough longer than needed, which toughens it. A few chips can sit near the top and still melt beautifully in the microwave.
Microwaving Until Just Set
Cook on high for 60 to 90 seconds, checking at the 60-second mark. The top should look set at the edges with a slightly soft center that still looks a touch underdone. If your microwave runs hot, stop early; if you cook until the whole top looks dry, the mug cookie will finish as a rubbery puck.
Letting It Finish on Its Own
Give the mug cookie a minute to cool before digging in. That rest lets the center firm up just enough to spoon cleanly while staying soft underneath. If you skip it, the cookie can seem undercooked even when it’s actually perfect.
Three Ways to Adjust the Mug Cookie Without Ruining the Texture
Dairy-Free Version
Use a plant-based butter and unsweetened almond, oat, or soy milk. The texture stays close to the original, though plant butter can make the flavor a little less rich, so the vanilla matters more. Stick with the same microwave time and don’t add extra liquid.
Extra Gooey Center
Pull it from the microwave at the 60-second mark and let it sit rather than cooking it longer. You’ll get a softer, molten middle, especially if you tuck a few chocolate chips into the center before cooking. The tradeoff is a spoon-only texture, not a clean cookie bite.
Gluten-Free Swap
A 1:1 gluten-free flour blend works best here because it keeps the structure close to the original. Almond flour alone makes the cookie too soft and crumbly for this method. If the dough seems looser than usual, add a teaspoon more flour blend rather than extending the microwave time.
Serving It Like a Proper Dessert
A small scoop of vanilla ice cream on top turns the warm cookie into a bigger dessert without changing the recipe itself. The cold ice cream melts into the hot center and softens the edges as you eat. This works best right after the rest period, when the cookie is still warm but not piping hot.
Storage and Reheating
- Refrigerator: Best eaten right away, but leftovers keep for 1 day covered at room temperature or 2 days in the fridge. The texture firms up as it sits.
- Freezer: Not a great freezer dessert once cooked. If you want to prep ahead, mix the dry ingredients in the mug and add the wet ingredients later.
- Reheating: Warm for 10 to 15 seconds in the microwave. Longer reheating dries it out fast, which is the most common mistake with small microwave desserts.
Questions I Get Asked About This Recipe
Microwave Mug Cookie
Ingredients
Equipment
Method
- Add all-purpose flour, brown sugar, melted butter, milk, vanilla extract, and salt to a microwave-safe mug and stir until combined. The mixture should look dry at first before it starts coming together.
- Stir until a smooth dough forms, scraping the sides of the mug as needed. Stop as soon as the dough is even with no dry pockets.
- Fold in the chocolate chips until they’re evenly distributed. You should see chips throughout the dough rather than clumped in one spot.
- Microwave on high for 60 seconds, then check the cookie. It should look just set around the edges but still slightly soft in the center.
- Microwave on high for an additional 0 to 30 seconds if needed until just set. Watch closely so the top doesn’t dry out or turn rubbery.
- Let cool for 1 minute before enjoying. The center will finish setting as it rests.