
White chocolate Halloween bark sets up with a glossy snap, swirls of dark chocolate, and a handful of candy that stays bold and crunchy after chilling. The appeal is in the contrast: creamy, sweet chocolate on the bottom, a little bitterness from the drizzle, and those playful toppings that make each shard look different from the last.
The trick is keeping the white chocolate layer thin enough to break cleanly, but not so thin that it turns fragile or see-through. Melt it gently and spread it before it starts to seize, then add the dark chocolate while the base is still soft enough for the swirl to sink in just a bit. That gives you the marbled look without muddying the design.
Below, I’ve included the one detail that keeps the candy from sliding off, plus a few easy ways to change the mix without losing the crisp texture that makes bark worth making in the first place.
The white chocolate set up perfectly and the dark chocolate swirl stayed sharp. I pressed the candy in while it was still warm like you said, and the bark came out with a clean snap instead of turning messy.
Pin this Halloween bark for a crisp, swirled treat with candy and sprinkles that breaks into perfect giftable pieces.
The Part That Keeps Halloween Bark Snappy Instead of Sticky
Chocolate bark looks simple, but it falls apart fast when the chocolate layer is too thick or the toppings go on at the wrong moment. A thick slab takes longer to set and tends to bend before it breaks. A thin, even layer chills into clean shards with that sharp snap people actually want.
White chocolate is the trickiest part here because it can seize or turn grainy if it gets too hot. Melt it slowly and stop as soon as the last bits melt from the residual heat. Once it’s spread, add the dark chocolate and swirl right away so the top stays decorative instead of sinking into the base.
- White chocolate — Use a good-quality bar or melting wafers if you can. White chocolate chips can work, but many brands are formulated to hold shape and don’t melt as smoothly, so the bark may look a little duller. If you need a substitute, use vanilla candy melts for the easiest setting.
- Dark chocolate — This adds contrast and keeps the bark from tasting one-note sweet. A bar with around 60% cacao gives you enough bitterness to balance the white chocolate without overpowering the candy toppings. If you only have semi-sweet chips, they’ll work fine.
- Halloween candy — Candy eyes, mini chocolate pieces, chopped peanut butter cups, or candy-coated chocolates all work. Press them in while the surface is still warm so they grip the bark instead of falling off when you break it apart.
- Sprinkles — These are mostly for color and texture, but the shape matters. Jimmies or small confetti sprinkles hold up better than large sugar shapes, which can bleed or clump as the bark chills.
Building the Swirl Before the Bark Sets
Line the Pan First
Start with a parchment-lined baking sheet so the bark lifts cleanly after chilling. If you skip the parchment, the chocolate can stick at the edges and crack unevenly when you try to remove it. Keep the sheet flat and ready before you melt anything, because the chocolate will begin to set as soon as it hits the cool pan.
Melt and Spread the Base
Melt the white chocolate gently, either over low heat or in short bursts in the microwave, stirring often. The goal is smooth and glossy, not hot. Spread it thin and evenly with an offset spatula or the back of a spoon, leaving a few irregular edges if you like the rustic look.
Drizzle, Swirl, and Decorate
Drizzle the melted dark chocolate over the white layer while it’s still soft, then drag a toothpick through it in quick figure-eight motions. Don’t over-swirl or the pattern turns muddy. Add the Halloween candy and sprinkles right away, then press them in just enough to seat them before chilling.
Chill and Break
Let the bark chill until fully firm, about 30 minutes. If it still feels soft, it will bend instead of snap. Once set, lift the parchment off the tray and break the bark into uneven pieces with your hands for the best texture and look.
How to Change Halloween Bark Without Losing the Crunch
Dairy-Free Version
Use dairy-free white chocolate or vanilla candy melts and a dairy-free dark chocolate. The texture stays crisp, but the flavor will be a little sweeter and less complex than real chocolate. This is the cleanest swap if you need a bark that sets firmly without any extra fuss.
Lower-Sugar Topping Mix
Swap some of the candy for chopped roasted nuts or unsweetened coconut chips. You’ll lose some of the playful candy look, but the bark gets a more balanced finish and a stronger crunch. Keep the sprinkles if you still want that Halloween look without piling on more sugar.
Milk Chocolate Instead of Dark
If you want a sweeter bark, use milk chocolate for the swirl. It won’t give you the same contrast, but it blends smoothly with white chocolate and makes the whole tray taste more like a classic candy bar. Add a pinch of flaky salt if you want the sweetness to stay from feeling flat.
Storage and Reheating
- Refrigerator: Store in an airtight container for up to 2 weeks. The bark may pick up a little condensation if you take it straight from the fridge to a warm room, so let it sit a few minutes before serving.
- Freezer: It freezes well for about 2 months if wrapped tightly and layered with parchment. Thaw it in the fridge or at cool room temperature so the chocolate doesn’t bloom.
- Reheating: No reheating needed. This is best served cold or at cool room temperature, and the biggest mistake is warming it, which softens the chocolate and makes the candy toppings loose.
Answers to the Questions Worth Asking
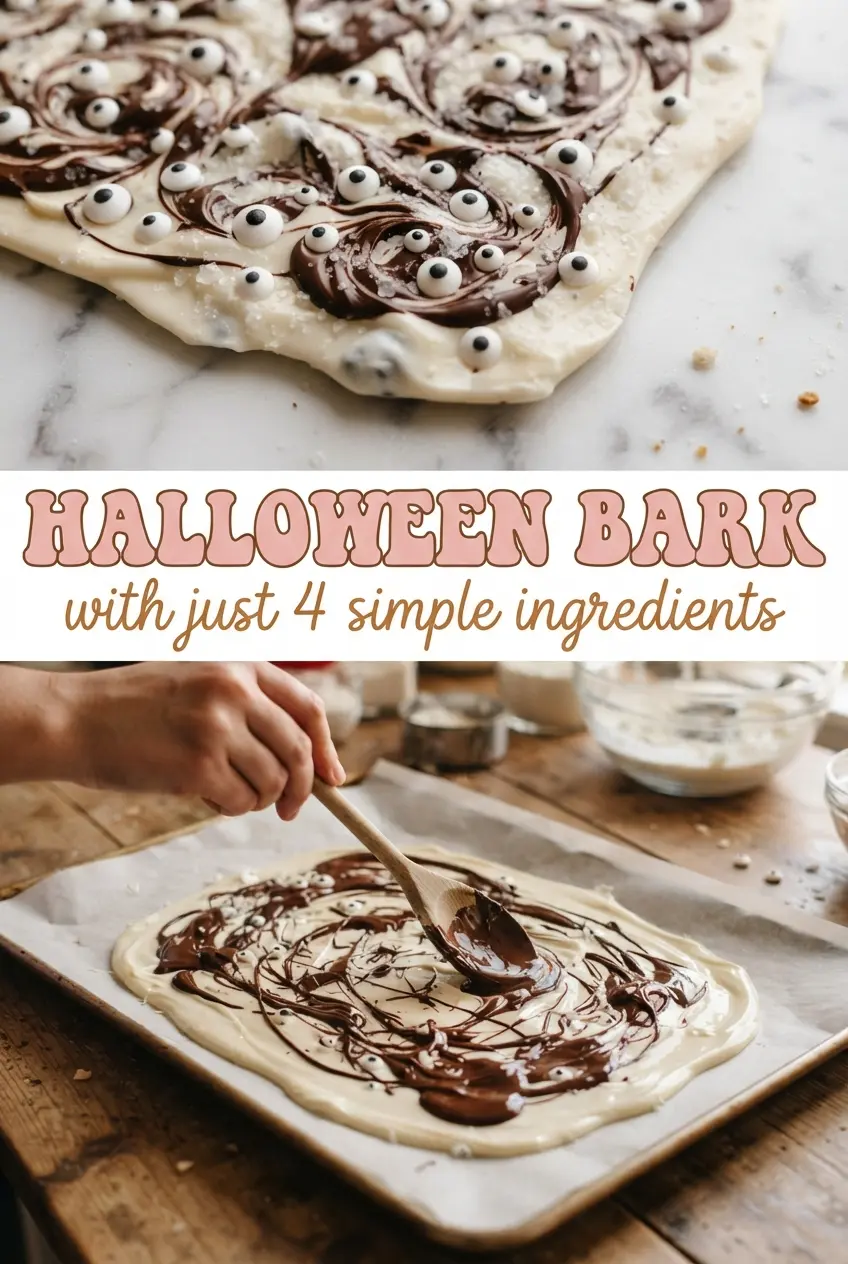
Halloween Bark
Ingredients
Equipment
Method
- Line a sheet pan with parchment paper to prevent sticking and make breaking easier.
- Melt the white chocolate until smooth and glossy, then spread it thin in an even layer over the parchment.
- Let the white chocolate rest for 2-3 minutes so it slightly thickens before adding the dark chocolate swirls.
- Melt the dark chocolate until pourable, then drizzle it over the white layer in thin ribbons.
- Swirl the dark chocolate with a toothpick for spiderweb-style streaks and contrast against the pale layer.
- Immediately top with Halloween candy and sprinkles, pressing gently so they stick while the chocolate is still warm.
- Chill for 30 minutes in the refrigerator until firm, then break into pieces by hand.