
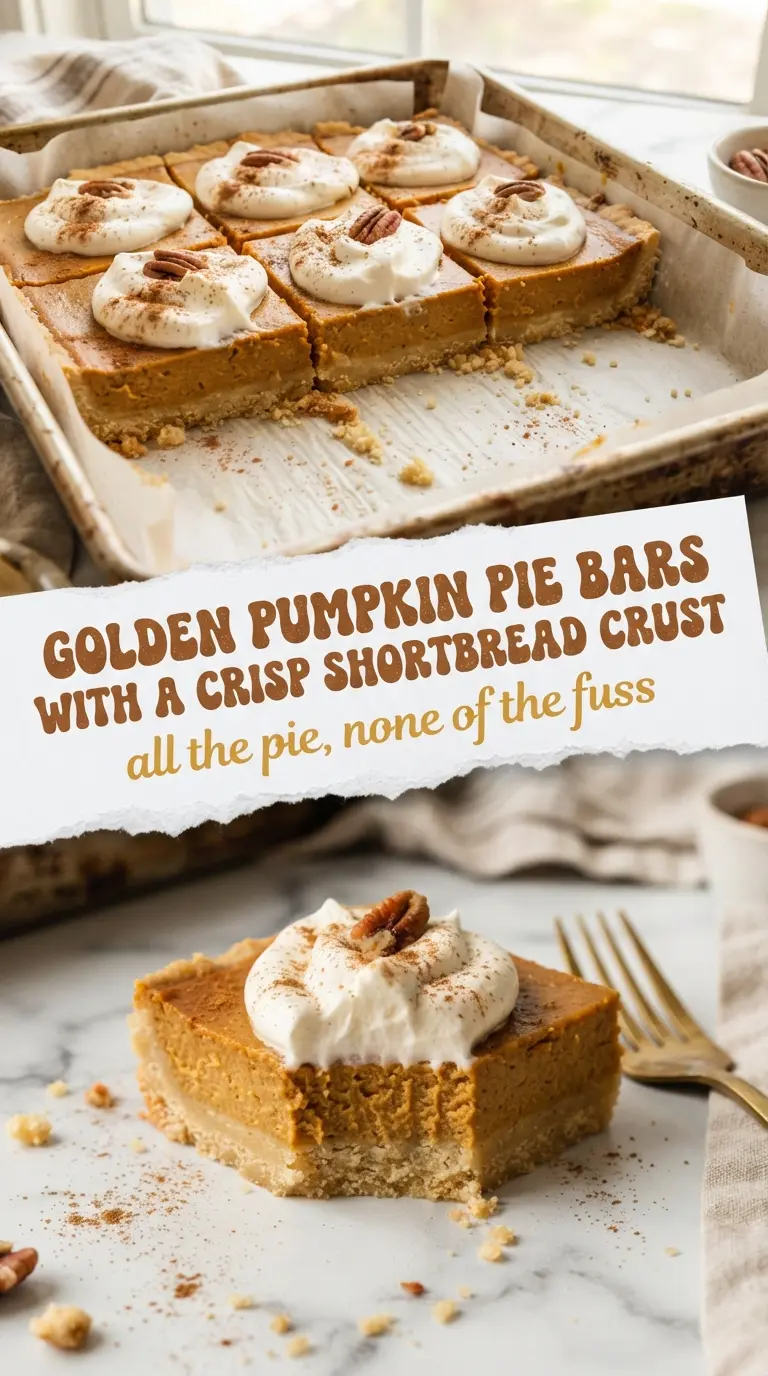
Pumpkin pie bars deliver everything people love about pumpkin pie in a form that slices cleanly, travels well, and skips the rolling pin entirely. The crust bakes up crisp and buttery, the filling sets into a soft custard with just enough wobble, and the whipped cream on top turns each square into something that feels a little more polished than a standard dessert bar.
The shortbread base matters here. It needs to be mixed until the butter disappears into sandy crumbs, then pressed firmly enough that it bakes into a real layer instead of a crumbly one. The filling is just as straightforward: whisk it until smooth, then pour it over the hot crust so the two layers bake together without a soggy gap in the middle. That little head start from the pre-baked crust is what keeps these bars from turning dense or underbaked.
Below you’ll find the small details that matter most, including the chill time that makes cleaner slices and the one shortcut you can use if you want to make them ahead for a crowd.
The crust stayed crisp even under the pumpkin layer, and the filling set up perfectly after chilling. I cut them into neat squares for a potluck and everyone kept asking for the recipe.
Pumpkin pie bars with that crisp shortbread base belong on your holiday dessert board.
The Shortcut That Keeps the Crust Crisp
With bar desserts like this, the usual failure point is a soggy bottom. Pumpkin filling is wet, and if the crust doesn’t get a real head start in the oven, it softens before it ever has a chance to set into something sturdy. Baking the crust first changes that. It gives the butter time to melt and brown a little, which creates a barrier between the pan and the filling.
The other thing that matters is the texture of the crust mixture before it goes into the pan. You want fine crumbs that hold together when pressed, not a paste. If the butter is too warm, the base can bake up greasy instead of sandy and crisp. Press it firmly into the corners and edges so every bite has a clean, even layer underneath the custard.
What Each Ingredient Is Doing in These Pumpkin Pie Bars
- All-purpose flour — This forms the structure of the shortbread crust. A lower-protein flour keeps it tender, which is what you want here; bread flour would make the base tougher.
- Butter — Use softened butter for the crust so it blends into the flour and powdered sugar evenly. That sandy, pressed dough is what bakes into a crisp layer instead of a greasy one.
- Powdered sugar — It dissolves easily and keeps the crust delicate. Granulated sugar will work in a pinch, but the texture won’t be quite as fine.
- Pumpkin puree — Canned puree is the right choice here because it’s consistent and smooth. If you use homemade pumpkin, cook it down until it’s thick or the filling can stay loose.
- Evaporated milk — This gives the filling body without making it heavy. Regular milk won’t set the same way, and the bars can end up soft in the center.
- Eggs — They set the filling into a sliceable custard. Beat them in until the mixture is uniform, but don’t whip in a lot of air or the top can puff and crack.
- Pumpkin pie spice — This does the heavy lifting on flavor. If you don’t have it, use cinnamon, ginger, nutmeg, and a small pinch of cloves in its place.
Building the Base and Setting the Filling Without a Soggy Middle
Mix the crust until it looks like damp sand
Combine the flour, softened butter, and powdered sugar until the mixture turns crumbly and starts to clump when pressed between your fingers. That texture tells you the butter is distributed correctly. If it turns into a smooth dough, it was overmixed or the butter was too soft, and the crust can bake up dense.
Press and bake the crust first
Pack the mixture into a 9×13-inch pan in an even layer, getting all the way into the corners. Bake it until the top looks set and lightly pale golden at the edges. This first bake keeps the filling from soaking through the crust and gives the bars enough structure to lift out cleanly later.
Whisk the filling just until smooth
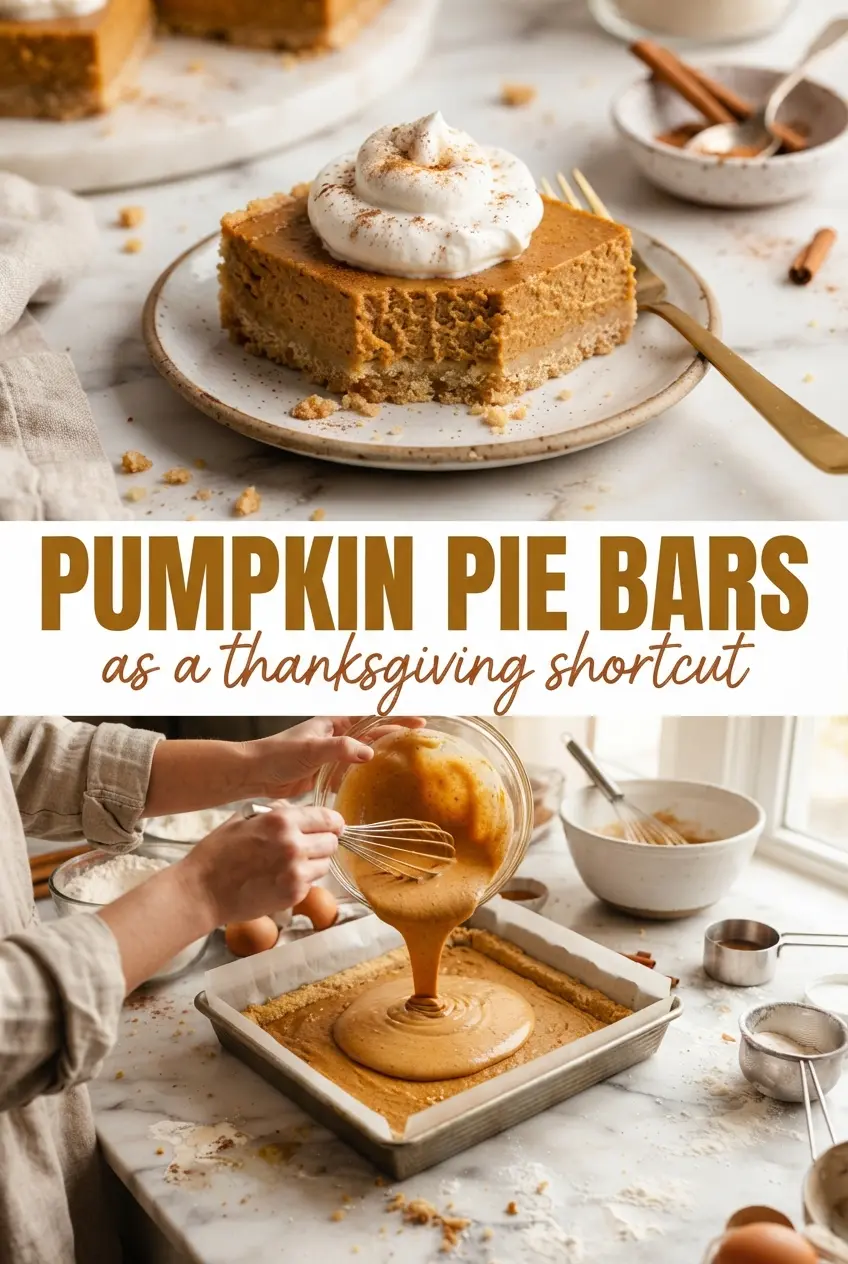
Stir together the pumpkin puree, evaporated milk, sugar, eggs, and pumpkin pie spice until the mixture looks silky and even. Don’t beat it until foamy, because extra air can make the surface crack as it bakes. Pour it over the warm crust while the pan is still hot from the oven so the layers bond together.
Bake until the center still has a slight wobble
The bars are done when the edges are set and the center moves only a little when you gently shake the pan. If the middle sloshes, it needs more time; if it looks firm all the way through, it’s probably overbaked and may crack as it cools. Let them cool completely before slicing, then chill if you want the cleanest cuts.
How to Adapt These Pumpkin Pie Bars for Different Needs
Make them ahead for a cleaner slice
These bars slice best after a long chill in the refrigerator. Bake them the day before you need them, cool completely, then cover and chill overnight. The filling firms up and the crust cuts into neat squares instead of soft wedges.
Gluten-free version
Swap the all-purpose flour for a 1:1 gluten-free baking blend that includes xanthan gum. The crust will be a little more delicate when warm, so let it cool fully before moving or slicing it.
Dairy-free adjustment
Use a plant-based butter for the crust and full-fat canned coconut milk in place of the evaporated milk. The filling will taste a little richer and coconut-forward, so this works best if you like that flavor with pumpkin.
Whipped cream and spice changes
Plain whipped cream keeps the bars classic, but a spoonful of maple syrup or a pinch of cinnamon stirred in before serving makes the topping feel a little more autumn-forward. Keep the garnish light so it doesn’t cover the crisp edge of the crust.
Storage and Reheating
- Refrigerator: Store covered for up to 4 days. The crust stays best on day one through three, and the filling gets a little firmer as it chills.
- Freezer: These freeze well. Wrap individual squares tightly and freeze for up to 2 months, then thaw in the refrigerator so the filling doesn’t sweat.
- Reheating: Serve cold or let a square sit at room temperature for 15 to 20 minutes. If you warm them, use only a few seconds in the microwave; too much heat softens the crust and can make the filling split.
Answers to the Questions Worth Asking
Pumpkin Pie Bars
Ingredients
Equipment
Method
- Preheat the oven to 350°F and lightly prepare a 9x13-inch pan. Mix the all-purpose flour, butter, softened, and powdered sugar until the mixture holds together, then press into the pan in an even layer with a flat surface.
- Bake the crust for 15 minutes at 350°F. Look for lightly golden edges and a set, dry surface before removing it to cool briefly.
- Whisk the pumpkin puree, evaporated milk, sugar, eggs, and pumpkin pie spice until smooth and no streaks remain. The mixture should look evenly orange and slightly thick.
- Pour the pumpkin filling over the baked crust. Spread it level so it bakes uniformly, then bake for 40 minutes at the same temperature.
- Cool the bars completely at room temperature before slicing. The center should be set but still tender, not jiggly like batter.
- Top each bar with whipped cream right before serving. Add it in a generous layer for a soft contrast to the crisp crust.