
Halloween Oreo balls disappear fast because they hit that perfect middle ground between fudgy and creamy. The cookie crumbs turn into a dense, truffle-like center, and the white chocolate shell gives each bite a clean snap before you reach the soft filling. Once you add the little ghost faces, they stop looking like a simple no-bake treat and start looking like something people hover over at a party.
The trick is getting the Oreo mixture cold enough to dip without losing its shape. Cream cheese gives the filling its rich texture and helps the crumbs hold together, but it also means the balls need a good chill before they go anywhere near melted chocolate. That pause is what keeps the coating smooth instead of sliding off in streaks. White chocolate melting wafers are worth using here because they set faster and coat more evenly than regular white chocolate chips.
Below, I walk through the easiest way to crush the cookies fine enough, keep the mixture from getting sticky, and draw faces that stay crisp on the shell. A little patience with chilling makes the whole batch easier to handle.
The filling was smooth and easy to roll, and the white chocolate set up with a clean shell after chilling. My kids had a blast drawing the ghost faces, and they stayed neat instead of smudging.
Save these ghostly Halloween Oreo Balls for a no-bake treat with a creamy center and a glossy white chocolate shell.
The Part That Keeps Oreo Balls from Turning Sticky and Messy
The biggest mistake with Oreo balls is rushing the chill. If the filling is still soft, the centers slump when you dip them and the coating gets lumpy fast. A cold center holds its shape long enough for the chocolate to set around it, which is what gives you that neat, round finish instead of a drippy one.
Crushing the Oreos finely matters more than people expect. Big cookie pieces leave the mixture grainy and harder to roll, while a finer crumb blends into the cream cheese and makes the inside dense and smooth. The cream cheese also needs to be softened, not melted. Softened cream cheese mixes evenly; melted cream cheese makes the mixture loose and greasy.
What Each Ingredient Is Doing in These Halloween Oreo Balls
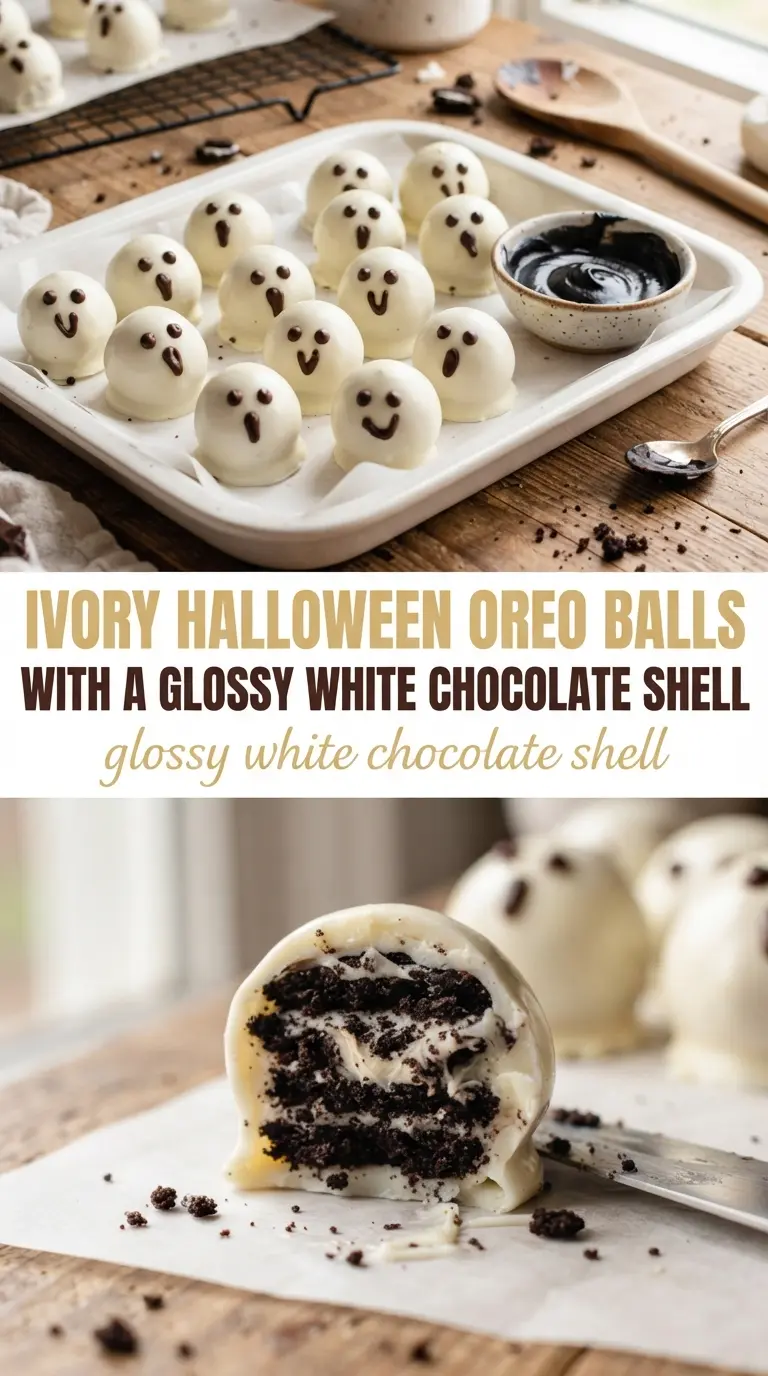
- Oreos — These are the whole base of the filling, so a standard chocolate sandwich cookie gives the deepest, most familiar flavor. You don’t need to scrape out the filling; it goes in with the crumbs and helps bind everything. If you use a different sandwich cookie, the texture still works, but the flavor gets lighter.
- Cream cheese — This is what turns cookie crumbs into a truffle-style center. Use full-fat cream cheese for the best texture; reduced-fat versions can taste thin and make the mixture softer. It needs to be softened so it blends smoothly, but not warm enough to get loose.
- White chocolate melting wafers — These give you the cleanest coating and set up faster than regular white chocolate chips. If you swap in chips, the coating can seize or stay too thick unless you thin it carefully. Melt slowly so it stays glossy and easy to dip.
- Black icing — This is for the faces, and a small piping tip or fine squeeze bottle makes the ghost features sharp instead of blobby. Gel icing works better than watery frosting because it sits on top of the chocolate shell without running.
Rolling, Chilling, and Dipping Without Losing the Shape
Mixing the Filling
Crush the Oreos into fine crumbs, then mix them with the softened cream cheese until the mixture looks uniform and dark with no pale streaks. It should hold together when you press it, almost like thick cookie dough. If it seems too soft to roll, it needs a few minutes in the fridge before you start shaping. Sticky filling at this stage turns into misshapen balls later.
Shaping the Balls
Roll the mixture into even portions and set them on a parchment-lined tray. Clean hands help, but slightly damp hands keep the mixture from clinging if it starts to warm up. Keep the portions small enough to dip easily; oversized balls are harder to coat cleanly and take longer to chill through. Once rolled, chill them until they feel firm on the outside.
The Chocolate Coating
Melt the white chocolate wafers gently and stir until smooth. Dip one ball at a time and let the excess drip off before setting it back on the tray. If the chocolate starts to thicken, warm it briefly again rather than adding liquid, which can make it seize. A cold filling and a smooth coating are what give these their clean shell.
Drawing the Ghost Faces
Wait until the coating is fully set before adding the black icing. If you decorate too soon, the faces sink into the chocolate and lose their shape. Keep the expressions simple — two eyes and a little mouth are enough. The icing should sit on the surface without bleeding.
How to Adapt These for Different Crowds and Diets
Dairy-Free Version with a Firmer Chill
Use a dairy-free cream cheese that holds its shape well and check that your white chocolate wafers are dairy-free too. The texture will still be creamy, but it may need a longer chill because some non-dairy versions stay a little softer. Roll the balls small so they’re easier to coat cleanly.
Oreo Ball Pops for a Party Tray
Insert lollipop sticks after the first chill, then dip the pops once the centers are firm. This turns them into easier grab-and-go treats, but they do take a little more care because the weight of the coating can pull on the stick if the filling is too warm.
Dark Chocolate Ghosts Instead of White
Swap the white chocolate for dark or semi-sweet melting wafers if you want a richer, less sweet shell. The ghost look changes, of course, but the contrast against the black icing is striking and the flavor is deeper. This version works especially well if the cookies taste sweeter than you like.
Storage and Reheating
- Refrigerator: Store in an airtight container for up to 5 days. The centers stay creamy, but the chocolate shell may pick up a little moisture if the container isn’t sealed well.
- Freezer: They freeze well for up to 2 months. Freeze in a single layer first, then transfer to a container so the coating doesn’t get scuffed.
- Reheating: No reheating needed. Let frozen Oreo balls thaw in the refrigerator so the coating stays intact; room-temperature thawing can create condensation that dulls the shell.
Answers to the Questions Worth Asking

Halloween Oreo Balls
Ingredients
Equipment
Method
- Crush the Oreos finely until they resemble fine crumbs, creating a uniform texture for the centers.
- Mix the crushed Oreos with the softened cream cheese until fully combined and thick, with no dry pockets.
- Roll the mixture into balls and place them on a sheet pan, leaving space between each for even chilling.
- Chill the balls for 30 minutes so they firm up and the chocolate sets quickly.
- Melt the white chocolate melting wafers until smooth, glossy, and fully liquid.
- Dip each chilled ball into the melted white chocolate, letting excess drip off for a clean coating.
- Set the dipped balls back on the sheet pan and draw ghost faces with black icing for a clear, spooky look.