
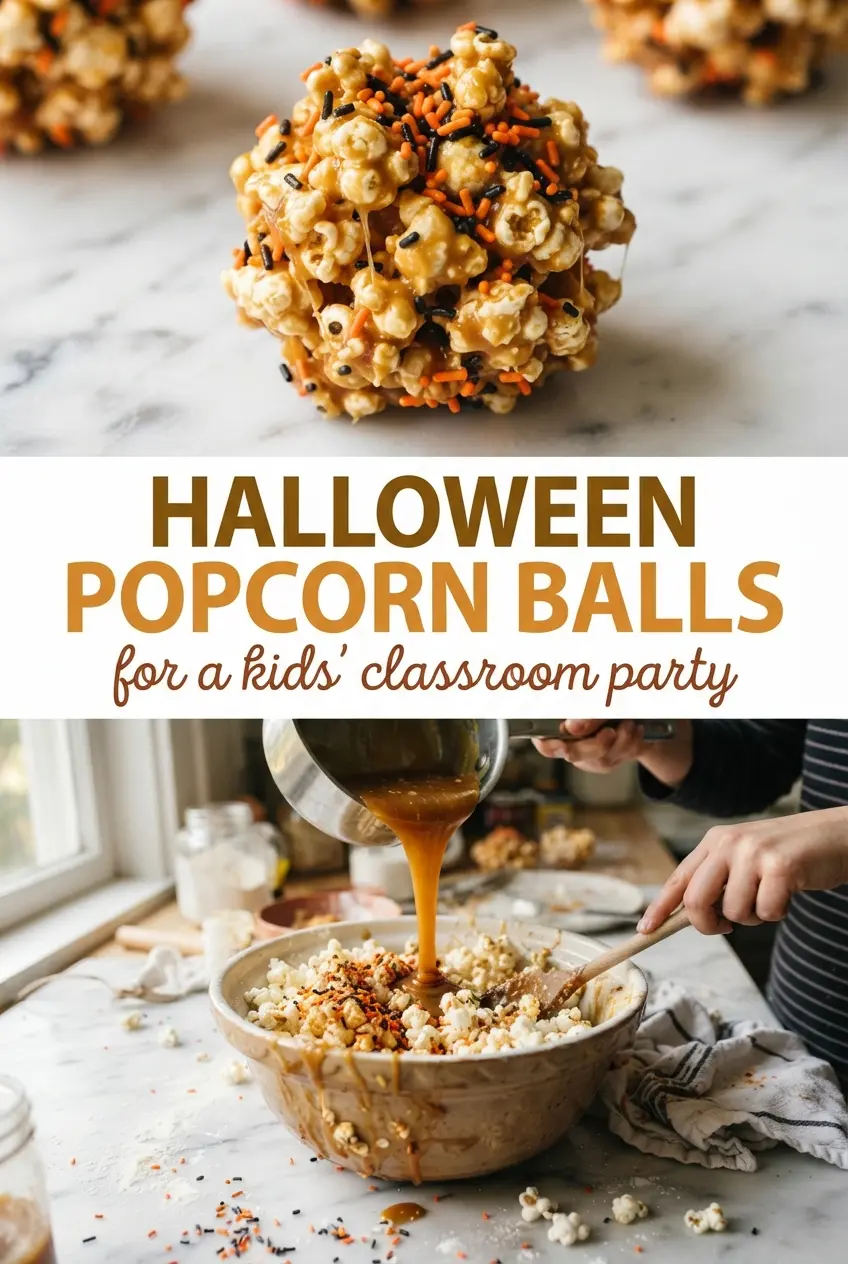
Halloween popcorn balls hit that sweet spot between crunchy, sticky, and nostalgic. The caramel coating clings to every kernel, then sets just enough to hold its shape without turning hard and brittle. When they’re done right, you get a snack that feels playful for a classroom party but still tastes homemade in the best way.
The trick is in the syrup stage. Boiling the sugar, butter, and corn syrup for the full four minutes gives you a coating that tightens up as it cools instead of sliding off the popcorn. Stirring in the vanilla after the boil keeps the flavor round and warm, and buttered hands are non-negotiable if you want clean, even shapes instead of a sticky mess.
Below, I’ve included the one handling tip that saves the whole batch, plus a few variations if you want to change the look or make them a little easier to serve at a party.
The caramel set up perfectly and the buttered hands tip saved me — I had neat popcorn balls instead of a sticky clump, and the sprinkles stayed put.
Pin these Halloween popcorn balls for a crunchy, sticky party treat with orange and black sprinkles.
The Part That Keeps the Popcorn Balls from Falling Apart
The syrup has to reach the right stage before it ever touches the popcorn. Four minutes of boiling gives the sugar, butter, and corn syrup enough structure to coat the kernels and set up into a ball, but not so much that it turns into brittle candy. If you undercook it, the mixture stays loose and greasy. If you overcook it, the popcorn balls harden into something you don’t want to bite into.
The other mistake is mixing too slowly. Once the syrup is ready, it needs to go over the popcorn and get tossed fast so every kernel gets a thin coating before it starts cooling. A greased bowl helps at the start, but the real difference is working while the mixture is still warm and pliable. That’s what gives you popcorn balls that hold together without cracking apart.
- Popped popcorn — Use plain popcorn with most of the unpopped kernels removed. Extra kernels turn a soft snack into a dental hazard, and they’re easy to miss once the coating goes on.
- Corn syrup — This is what keeps the sugar from crystallizing and gives the coating that smooth, chewy set. There isn’t a perfect substitute if you want the same texture, though golden syrup can work in a pinch with a slightly different flavor.
- Butter — Butter adds richness and helps the coating cling. Use real butter here; margarine can make the mixture taste flat and behave inconsistently.
- Halloween sprinkles — Add them at the end, after shaping or while the balls are still tacky. If you stir them into the hot syrup too early, the colors can bleed and the sprinkles lose their crisp look.
How to Build the Coating Without Making a Sticky Mess
Starting with the Popcorn
Put the popcorn in a large greased bowl before the syrup goes on the stove. You want plenty of room to toss, because a cramped bowl makes the coating gather in one spot and leaves dry patches behind. If the popcorn is warm from the popping process, that’s fine, but it shouldn’t be steaming. Too much moisture softens the finished balls.
Boiling the Syrup
Bring the sugar, butter, and corn syrup to a full boil and let it go for the full four minutes. The mixture should bubble steadily and look slightly darker and thicker when it’s ready. If you pull it early, the balls won’t hold; if the heat is too high and the bottom scorches, you’ll taste that burnt edge in every bite.
Mixing, Shaping, and Decorating
Stir in the vanilla off the heat, then pour the syrup over the popcorn right away. Toss quickly until the kernels are evenly coated, then work fast with buttered hands to shape the mixture into balls. If the mix starts sticking to your hands, stop and re-butter them before continuing. Add the sprinkles while the outside is still tacky so they actually stay put.
Three Ways to Change These for a Party Table
Make them nut-free and classroom-safe
These are already a solid nut-free option as written, as long as your popcorn and sprinkles are made in a facility that works for your needs. That makes them a smart pick for school parties, where you want a treat that’s easy to portion and doesn’t require special handling.
Swap the sprinkles for a different look
Use orange and black sanding sugar for more sparkle, or small candy pieces if you want extra crunch. Just keep the add-ins light, since heavy mix-ins can make the balls fall apart before the coating sets.
Make them dairy-free
You can replace the butter with a good-quality plant butter that melts smoothly. The flavor will be a little less rich, but the texture stays close as long as the substitute has enough fat to help the syrup coat evenly.
Storage and Reheating
- Refrigerator: Store in an airtight container at room temperature for up to 3 days. The popcorn softens a little each day, so they’re best the day they’re made.
- Freezer: Don’t freeze them. The texture turns dry and brittle once thawed, and the coating loses that nice chewy snap.
- Reheating: Reheating isn’t needed. If they firm up too much, let them sit at room temperature for 10 to 15 minutes before serving so the coating relaxes a little.
Answers to the Questions Worth Asking
Halloween Popcorn Balls
Ingredients
Equipment
Method
- Place the popped popcorn in a large greased bowl so the caramel coating won’t stick to the sides.
- Set up a sheet pan for shaping so the balls can cool in one layer.
- Bring the sugar, butter, and corn syrup to a boil over medium heat, stirring until smooth.
- Boil the caramel for 4 minutes without stirring, watching for a steady bubble; set a timer.
- Stir in the vanilla right after the 4-minute boil so the mixture stays glossy and fragrant.
- Pour the hot caramel over the popcorn and mix until every kernel looks evenly coated.
- Shape into balls with buttered hands so the mixture doesn’t stick; add Halloween sprinkles as you form each ball.
- Let the balls cool on the sheet pan until firm to the touch, about 10 minutes, then serve.