
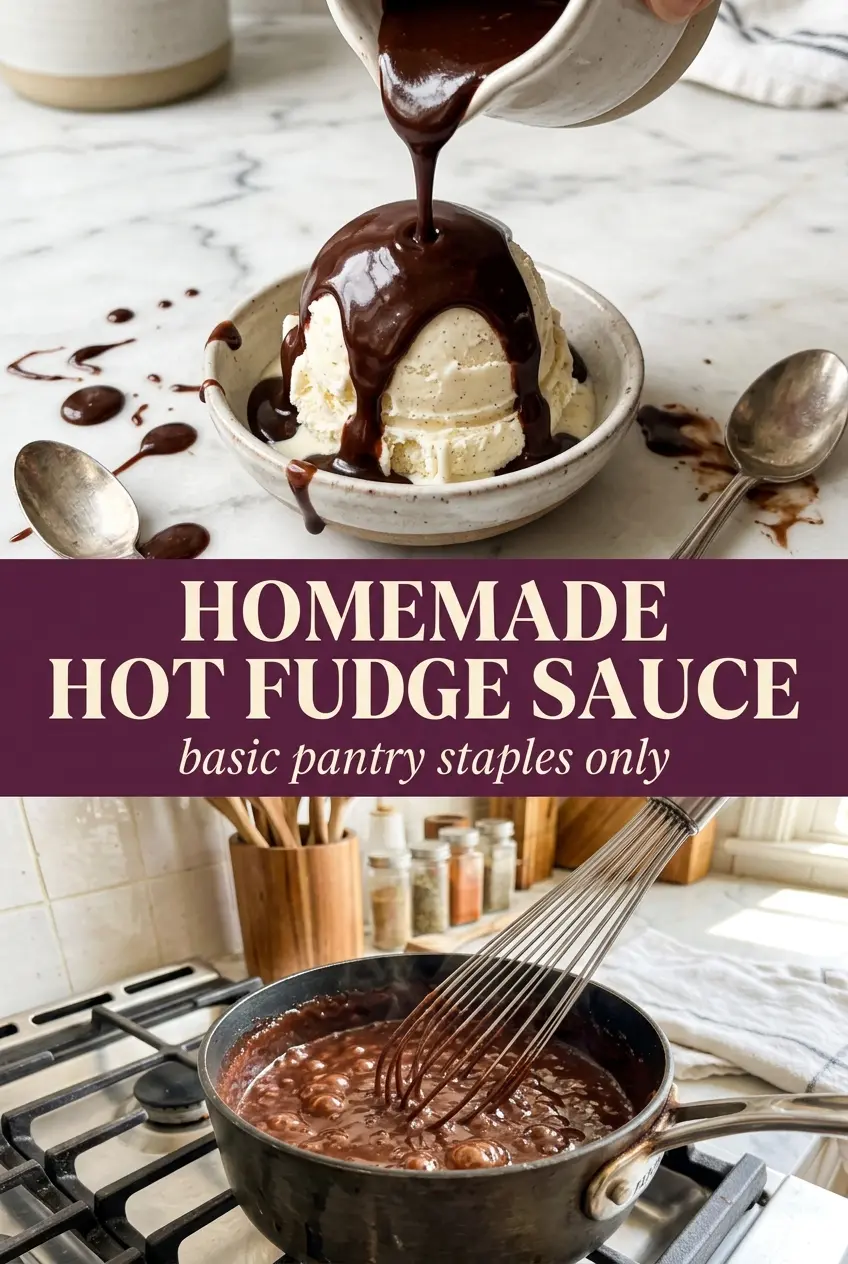
Glossy hot fudge that pours in a thick ribbon and settles into a soft, fudgy blanket over ice cream is one of those kitchen wins that never gets old. This version tastes deep and chocolatey without any fiddly steps or specialty ingredients, and it comes together on the stovetop in the time it takes a pan of brownies to cool. The texture is what makes it worth keeping in the fridge: smooth when warm, spoonable when chilled, and rich enough that you only need a little to turn plain vanilla into dessert.
The balance matters here. Butter gives the sauce its sheen, cocoa brings the chocolate backbone, and cream keeps everything plush instead of grainy or thin. The sugar needs to dissolve fully before the sauce simmers, and the simmer itself should stay gentle; hard boiling can make the sauce seize around the edges or cook down too fast. A pinch of salt and a splash of vanilla at the end keep it from tasting flat, which is where a lot of homemade fudge sauces miss the mark.
Below you’ll find the part that matters most: how to keep the cocoa smooth, how long to simmer for the right consistency, and what to do if the sauce thickens up too much after chilling.
The sauce thickened up perfectly and stayed smooth after chilling. I warmed it back up the next day and it poured over ice cream just like the first night.
Save this glossy homemade hot fudge sauce for the nights when you want a deep chocolate topping that pours warm and sets up thick in the fridge.
The Moment Cocoa Turns into Fudge Instead of Grainy Chocolate Syrup
The difference between a smooth hot fudge sauce and a gritty one usually comes down to the first minute on the stove. Cocoa powder needs to be whisked into the melted butter and sugar until the mixture looks uniform before the cream goes in. If you rush that part, the cocoa can float in dry pockets and stay lumpy all the way through the simmer.
The other trap is heat. Once the cream is in, the sauce should come to a gentle simmer, not a rolling boil. You want the sugar to dissolve, the mixture to thicken, and the surface to just barely burble around the edges. That short simmer does the work; letting it go too hard can make the sauce tighter than you want or leave it tasting cooked instead of lush.
What Each Ingredient Is Actually Doing in This Sauce

- Unsalted butter — This is what gives the sauce its shine and helps the cocoa melt into a smooth base. Salted butter works in a pinch, but you lose some control over the final balance, so keep the added salt smaller if you use it.
- Granulated sugar — Sugar does more than sweeten here; it builds body as it dissolves and thickens. Don’t cut it much or the sauce will turn thin and bitter instead of fudgy.
- Unsweetened cocoa powder — Use a good cocoa here, because this is the main chocolate flavor in the sauce. Natural cocoa keeps the taste bright and classic; Dutch-process gives it a darker, smoother edge if that’s what you like.
- Heavy cream — Cream is what turns the mixture from chocolate paste into pourable hot fudge. Half-and-half will work, but the sauce won’t be as plush and it may need a little extra simmer time to thicken.
- Vanilla extract — Add it off the heat so the flavor stays rounded and fragrant. It doesn’t make the sauce taste like vanilla; it makes the chocolate taste fuller.
- Pinch of salt — This keeps the sauce from reading as one-note sweet. Even a tiny amount sharpens the chocolate and makes the butter taste more intentional.
Building the Sauce So It Stays Smooth
Melt the Butter First
Warm the butter over medium heat just until it melts and starts to foam lightly. You’re not browning it; you’re creating a liquid base that lets the cocoa disperse evenly. If the pan gets too hot at this stage, the sugar can start cooking before it has fully dissolved, which leaves the sauce a little sandy later on.
Whisk the Cocoa and Sugar into the Fat
Add the sugar and cocoa and whisk until the mixture looks like a thick, dark paste with no dry streaks left. This is the stage that saves you from clumps. If you see little cocoa specks now, they will show up later, so keep whisking until the paste is glossy and uniform.
Bring in the Cream Slowly
Pour the cream in gradually while whisking constantly. The mixture will look a little stubborn at first, then loosen into a smooth sauce once the cream is fully incorporated. If you dump it in all at once, the cocoa can seize into tiny lumps before the sugar has a chance to dissolve.
Simmer Until It Drapes Off the Spoon
Let the sauce simmer gently for 3 to 4 minutes, stirring often, until it thickens enough to coat a spoon and fall back in a slow ribbon. You want movement in the pan, not aggressive bubbling. The sauce will look slightly loose when hot, then thicken more as it cools, so stop before it gets as thick as you want it to be at serving time.
Finish Off Heat
Remove the pan from the burner and stir in the vanilla and salt. Off-heat is where the chocolate flavor settles in without losing the fragrance of the vanilla. Taste it while it’s warm; if it needs a touch more salt to wake up the chocolate, that’s the moment to add it.
Three Ways to Make This Hot Fudge Fit the Moment
Dairy-Free Hot Fudge
Swap the butter for a plant-based butter and use full-fat canned coconut milk in place of the cream. The sauce will still be rich, but it will taste a little more coconut-forward, so it works best when you want that flavor to be part of the dessert instead of hidden.
A Deeper, Less Sweet Chocolate Sauce
Use Dutch-process cocoa and add an extra pinch of salt. The sauce will taste darker and more grown-up, with less sharp sweetness and a rounder chocolate finish. This version is especially good over vanilla ice cream, banana splits, or even strawberries.
Thicker Sauce for Spoons and Layered Desserts
Let the simmer run the full 4 minutes and wait until the sauce coats the back of a spoon without immediately running off. That extra minute gives you a firmer texture once it cools, which works well if you want to spoon it over cheesecake, brownies, or a sundae bar and keep it from sliding right off.
Storage and Reheating
- Refrigerator: Store in a covered jar or container for up to 2 weeks. It will thicken a lot as it chills and may look almost spreadable when cold.
- Freezer: It freezes well for up to 2 months in a freezer-safe container, though the texture may need a good stir after thawing. Leave a little space at the top for expansion.
- Reheating: Warm it gently over low heat or in short bursts in the microwave, stirring between each burst. The mistake to avoid is blasting it on high heat, which can make the sauce separate or turn the edges grainy before the center is warm.
Answers to the Questions Worth Asking
Homemade Hot Fudge Sauce
Ingredients
Equipment
Method
- Melt the butter in a saucepan over medium heat until fully melted, then keep it warm for whisking. You should see a smooth, glossy melted butter layer in the pan.
- Whisk in the sugar and cocoa powder until smooth, with no dry cocoa pockets. The mixture should look thick and uniform, starting to darken as you whisk.
- Slowly pour in the heavy cream while whisking constantly, to keep the mixture silky and lump-free. The sauce will loosen to a pourable, chocolate-brown consistency.
- Bring the mixture to a gentle simmer and cook for 3-4 minutes, stirring the whole time, until thickened. Look for small bubbles and a sauce that coats the back of a spoon.
- Remove from heat and stir in vanilla extract and a pinch of salt. The sauce should smell fragrant and look glossy and darker.
- Let the sauce cool slightly for 2-3 minutes before serving warm. It will thicken just enough to drizzle smoothly over ice cream.