
Deep, inky elderberry syrup has a way of turning a bare pantry into something useful fast. It simmers down thick and glossy, with the warmth of cinnamon, clove, and ginger carrying the fruit instead of masking it. The finished syrup tastes earthy and spiced, not candy-sweet, and that balance is what makes it worth keeping in the fridge all winter.
The part that matters most is the order of operations. The berries need time on the stove to give up color and flavor, but the honey should wait until the liquid cools to lukewarm so it stays fresh-tasting and doesn’t get cooked into the background. Straining matters too; pressing the berries extracts more body, which gives the syrup that velvety texture people expect.
Below, I’ve included the small details that make this batch turn out well every time, including what to do if your syrup comes out thinner than you wanted and how to store it so it stays easy to use.
The syrup reduced beautifully and thickened right up after I strained it. I waited until it was just warm before stirring in the honey, and the flavor came out smooth, spiced, and not bitter at all.
Homemade elderberry syrup with cinnamon, clove, and honey is the kind of pantry staple worth keeping on hand.
The Simmer Time That Gives Elderberries Their Full Color
Elderberries need a real simmer, not a quick warm-up. The berries, spices, and ginger have to bubble long enough for the water to turn a deep purple-black and for the liquid to reduce by about half. If the pot is barely steaming, you’ll end up with a weak syrup that tastes thin and watery instead of concentrated and rich.
Uncovered cooking matters here. That evaporation is what gives the syrup body. If you cover the pot, the steam has nowhere to go and the mixture stays too loose. The goal is a spoon-coating liquid that tastes bold enough to stand up to the honey that comes later.
What Each Ingredient Is Doing in This Syrup
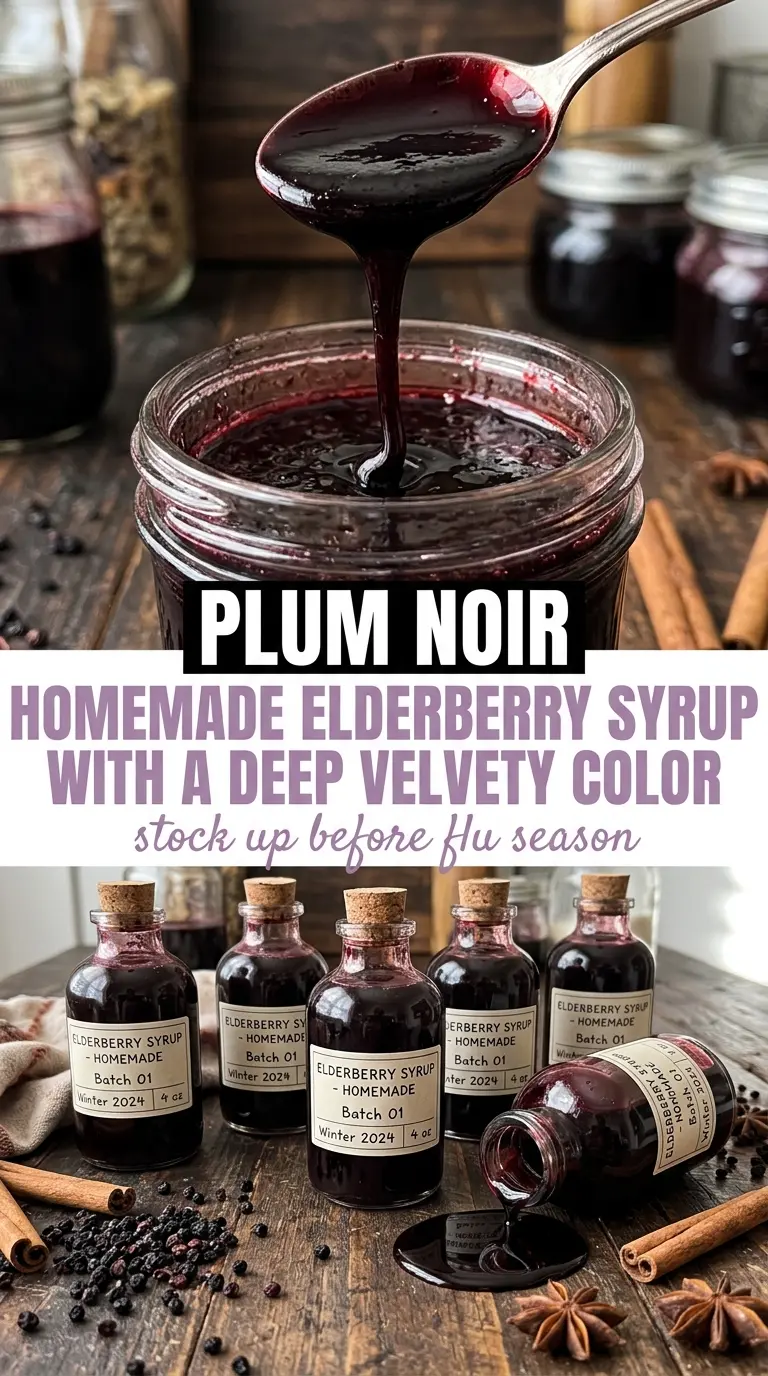
- Dried elderberries — These are the backbone of the syrup. Dried berries work better than fresh here because they’re easier to keep on hand and they give up color and flavor steadily during the simmer.
- Cinnamon stick — A whole stick adds warmth without making the syrup dusty or cloudy. Ground cinnamon can work in a pinch, but it leaves sediment and makes the finished syrup taste heavier.
- Whole cloves — Cloves bring sharp, medicinal warmth that fits elderberry syrup well, but they can take over fast. Stick to whole cloves so you can strain them out cleanly.
- Fresh ginger — Ginger adds brightness and a little heat. Slice it thin so it infuses evenly; grated ginger can be harder to strain and makes the syrup more fibrous.
- Raw honey — Honey sweetens the syrup and gives it that smooth, rounded finish. Stir it in only after the liquid cools to lukewarm so the flavor stays fresh and the texture stays silky.
Building the Syrup Without Cooking the Honey Too Hard
Start the Pot Cold and Let the Flavor Build
Combine the elderberries, water, cinnamon, cloves, and ginger in the saucepan before turning on the heat. That gives the spices time to steep as the liquid warms, which helps the syrup taste layered instead of one-note. Bring it up to a boil, then drop it to a steady simmer so you don’t scorch the bottom or boil off too much liquid too quickly.
Reduce Until the Liquid Looks Concentrated
Let the pot simmer uncovered for about 45 minutes, or until the liquid has reduced by half. You’re looking for a darker, thicker-looking syrup that clings slightly to the back of a spoon. If it still tastes sharp and watery, give it more time; if it gets too low before the color deepens, the heat was probably too high.
Strain While It’s Still Warm
Pour the mixture through a fine-mesh strainer into a bowl and press the berries well with the back of a spoon. That pressure pulls out more of the concentrated liquid, which is where the body lives. If you skip pressing, you leave a lot of flavor behind and the syrup can taste flat.
Stir in Honey After the Heat Drops
Wait until the liquid is warm, not hot, before adding the honey. Hot syrup can dull the honey’s aroma and make the finished batch taste cooked. Stir until it dissolves completely, then pour the syrup into a clean jar or bottle and refrigerate it.
Three Useful Ways to Adjust This Batch
Make it less sweet
Use a little less honey if you want a sharper, more herbal syrup. The texture will still be good, but the flavor will lean more medicinal and less rounded, which some people prefer for daily use.
Skip the honey for a vegan version
Swap the honey for maple syrup if you need a vegan option. Maple gives a deeper, woodsy sweetness and changes the flavor a bit, but it still blends smoothly into the cooled elderberry base.
Use frozen elderberries when that’s what you have
Frozen elderberries work in place of dried if they’re fully thawed and measured by weight or volume consistently. Expect a slightly looser first simmer, since frozen berries release more liquid right away, so you may need a few extra minutes to reach the same reduction.
Storage and Reheating
- Refrigerator: Store in a sealed glass jar for up to 3 months. It may thicken a little more as it chills.
- Freezer: It freezes well in ice cube trays or small silicone molds. Pop the cubes into a freezer bag once frozen and thaw only what you need.
- Reheating: Don’t heat the whole batch unless you need to. Let a spoonful come to room temperature or warm it gently in your hand; high heat can make the honey taste flat and changes the texture.
Answers to the Questions Worth Asking
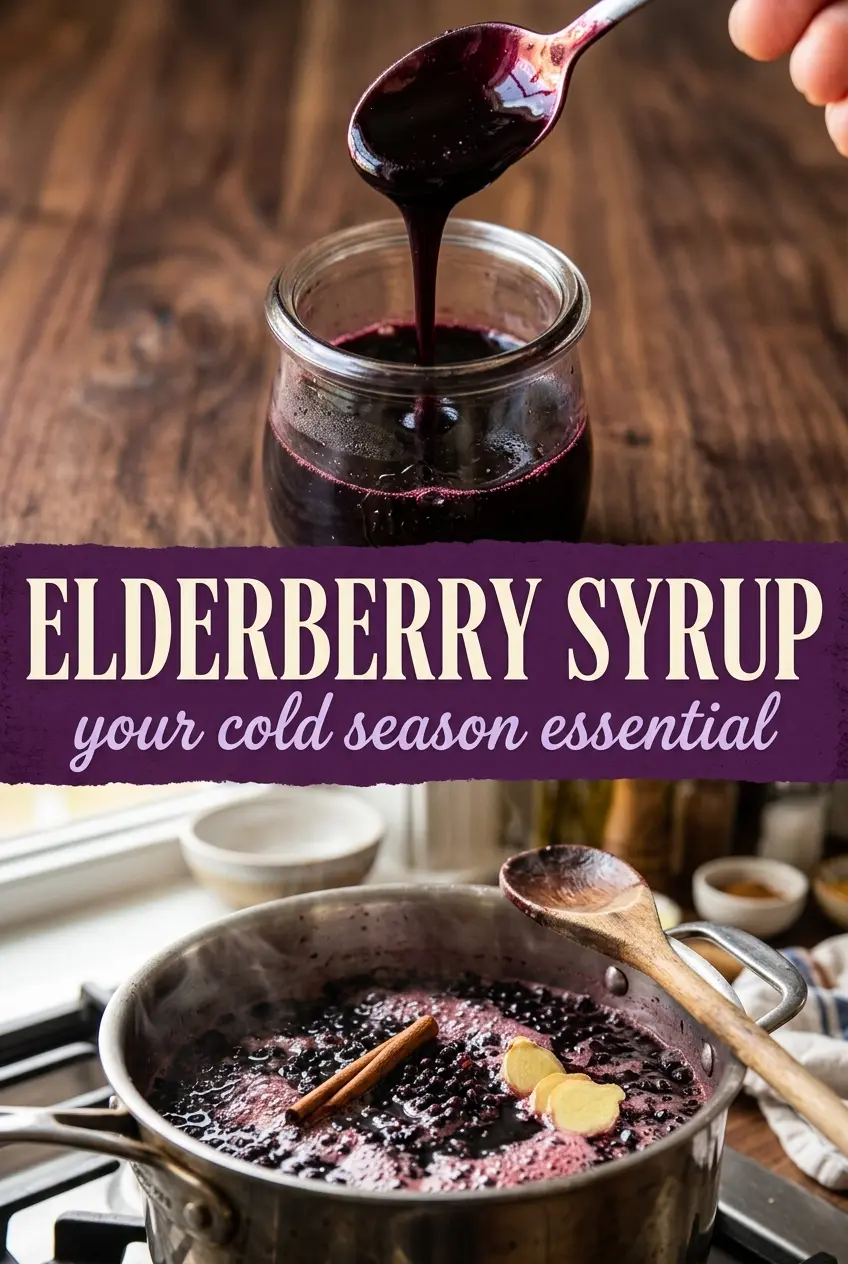
Homemade Elderberry Syrup
Ingredients
Equipment
Method
- Combine dried elderberries, water, cinnamon stick, whole cloves, and sliced fresh ginger in a saucepan over medium heat until everything is evenly mixed and the ingredients are fully wetted.
- Bring the mixture to a boil, then reduce heat to low and simmer uncovered at a gentle bubble.
- Simmer uncovered for 45 minutes at a low simmer, stirring once or twice, until the liquid reduces by about half and looks syrupy.
- Remove from heat and let the syrup cool until just warm to the touch, about 10 minutes.
- Pour through a fine-mesh strainer into a bowl and press the berries firmly to extract as much liquid as possible.
- Stir raw honey into the strained liquid once it is lukewarm, mixing until fully dissolved and smooth.
- Pour into a clean glass jar or bottle, then refrigerate until ready to use.