
Three tall vanilla layers, bright orange curd, and a smooth Swiss meringue buttercream turn this Leo birthday cake into the kind of centerpiece people talk about before they even take a bite. The ombre finish gives it a dramatic gold-to-ivory fade, and the citrus filling keeps the whole cake from tasting heavy or one-note. It looks polished and expensive, but the technique is steady and manageable if you give each part the attention it needs.
What makes this cake work is balance. The sponge stays tender from butter, eggs, and buttermilk, while the orange curd cuts through the richness with a sharp, clean edge. Swiss meringue buttercream is the right choice here because it spreads smoothly, holds color well, and gives you the kind of clean surface that makes the gold dust and star details stand out instead of getting lost.
Below, I’ll walk you through the small details that matter most: how to keep the layers level, why the buttercream needs to be fully cool before coloring, and how to get that soft ombre fade without making the cake look streaky.
The orange curd was the best part for me — it stayed bright and tangy between the layers, and the Swiss meringue buttercream went on so smooth that the ombre finish actually looked clean. I also loved that the gold dust didn’t turn muddy when I applied it lightly like you said.
Save this Leo Birthday Cake for the next celebration that calls for a dramatic ombre finish, orange curd filling, and gold details that actually look polished.
The Real Reason the Ombre Finish Stays Clean Instead of Looking Patchy
The ombre effect only looks polished when the buttercream has enough body to hold its shape and enough softness to blend at the edges. If the frosting is too warm, the colors smear into each other and the gold turns dull. If it’s too cold, the spatula drags through it and leaves streaks that are hard to fix without scraping the whole cake back down.
Swiss meringue buttercream solves most of that problem because it starts silky and stays stable once it’s properly emulsified. The other thing that matters is the order of assembly: chill the filled layers before you start the final coat, then work from the darkest color at the bottom upward with a clean offset spatula. That gives you control over the fade instead of forcing you to fight the frosting while it softens under your hands.
What Each Ingredient Is Actually Doing in This Cake
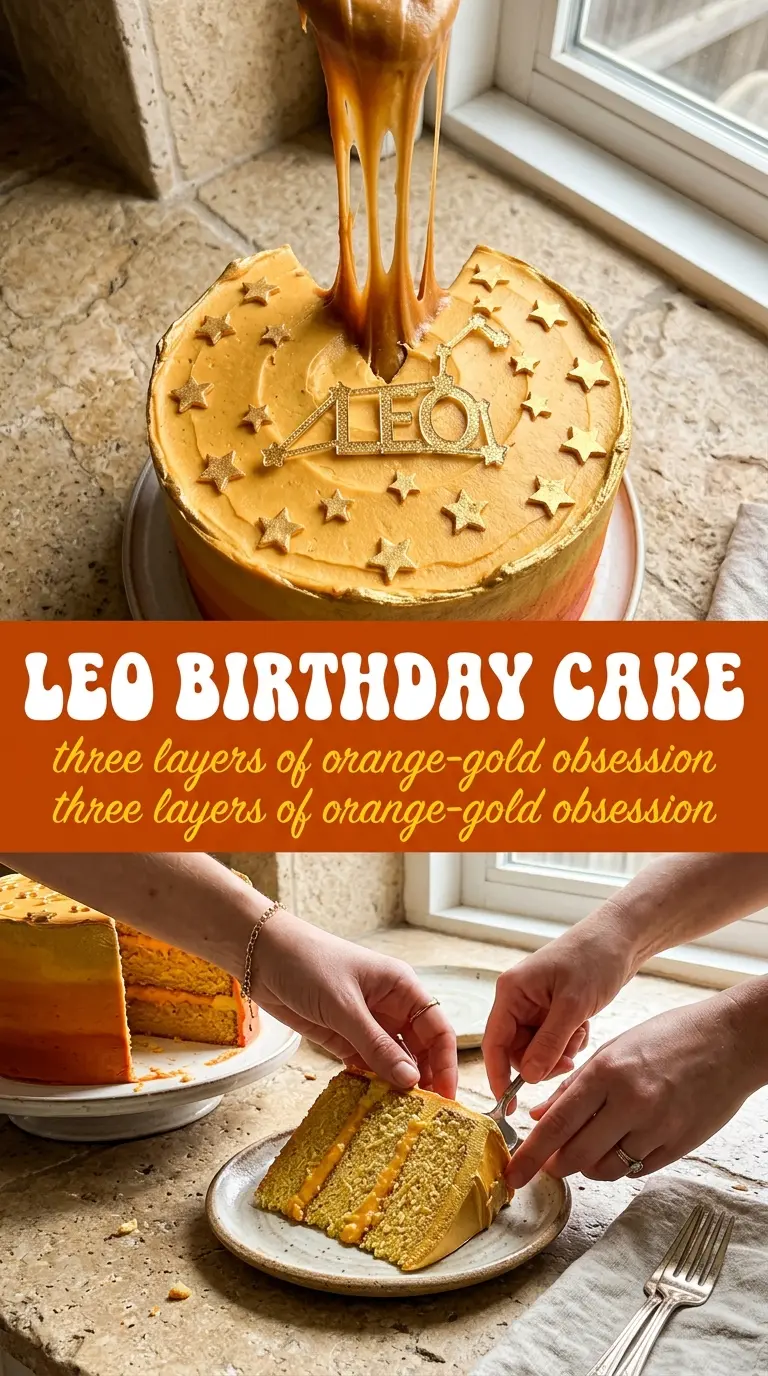
- All-purpose flour — This gives the cake structure without making it dry. Cake flour will make the crumb a little softer, but all-purpose flour is sturdy enough to support three layers plus filling.
- Buttermilk — It tenderizes the sponge and adds a quiet tang that keeps the vanilla base from tasting flat. If you don’t have it, use whole milk plus 1 tablespoon lemon juice or vinegar, then let it sit for 5 minutes before mixing.
- Orange curd — This is the flavor anchor. Store-bought works if it’s thick enough to hold between layers, but homemade usually gives you a brighter, fresher citrus note.
- Swiss meringue buttercream — It’s not just for texture; it’s the frosting that makes the ombre effect possible. American buttercream can work for simpler decoration, but it tends to crust faster and doesn’t blend as smoothly.
- Gold luster dust and edible stars — Use these for finishing, not hiding problems. The dust looks best over a smooth surface, and the stars read clearly when they’re clustered instead of scattered randomly.
- Chocolate Leo constellation topper — Optional, but it gives the cake a clear theme without crowding the design. If you skip it, the cake still works as a gold celestial birthday cake.
Building the Cake in the Right Order
Bake the Layers Evenly
Mix the batter just until the flour disappears, then divide it evenly into three 8-inch pans. Overmixing makes the crumb tight, and uneven pans give you slanted layers that are harder to stack cleanly. Bake until the centers spring back and a toothpick comes out with a few moist crumbs, not wet batter. Let the cakes cool all the way before you level them, or the layers can tear while the crumb is still warm.
Fill and Stack Without Leaks
Spread a thin, even layer of orange curd between each cake layer. If the curd is loose, it will slide when the cake warms up, so chill it briefly if needed until it holds its shape on a spoon. Keep the filling slightly inside the edge of the cake instead of pushing it all the way to the rim. That small border helps the buttercream seal the sides without orange curd squeezing out later.
Whip the Buttercream Until It’s Truly Smooth
Cook the egg whites and sugar until the sugar dissolves completely, then whip the meringue until the bowl feels only slightly warm before adding butter. If the butter goes in while the meringue is too hot, the frosting turns soupy. If the bowl is too cold, it can look curdled before it comes together. Keep beating and it will usually smooth out into that glossy, spreadable texture you need for a clean finish.
Blend the Ombre and Finish the Surface
Start with the darkest gold at the bottom edge and gradually work upward with lighter frosting until the top is nearly ivory. Use a bench scraper or offset spatula to smooth the sides, cleaning the tool between passes so the colors don’t get muddy. Pat the luster dust on with a dry brush instead of swiping it, which keeps the finish even and stops the buttercream underneath from smearing. Add the stars and topper after the surface is set.
How to Adapt This Cake for Different Needs
Dairy-Free Version
Use a good plant butter in the cake and frosting, and swap the buttermilk for unsweetened soy milk plus 1 tablespoon lemon juice. The texture will still be tender, but the buttercream won’t be quite as silky or stable, so chill it a little longer before decorating.
Simpler Buttercream Finish
If the ombre fade feels too fussy, frost the cake in a single soft gold shade and finish with the stars and constellation topper. You lose the dramatic color shift, but the cake still looks intentional and polished.
Make-Ahead Timing
Bake the layers a day ahead and wrap them tightly once cool. You can make the buttercream ahead too, then bring it back to room temperature and rewhip it briefly before decorating. That extra rest actually helps the cake slice more cleanly.
Storage and Reheating
- Refrigerator: Store covered for up to 4 days. The buttercream firms up in the fridge, so the cake will slice best after it sits at room temperature for a bit.
- Freezer: Freeze unfrosted cake layers well wrapped for up to 2 months. You can also freeze fully frosted slices, but the gold decorations may lose some of their shine after thawing.
- Reheating: Let chilled slices sit at room temperature for 30 to 45 minutes. Don’t microwave the frosted cake; it softens the buttercream unevenly and can make the filling slide.
Questions I Get Asked About This Cake
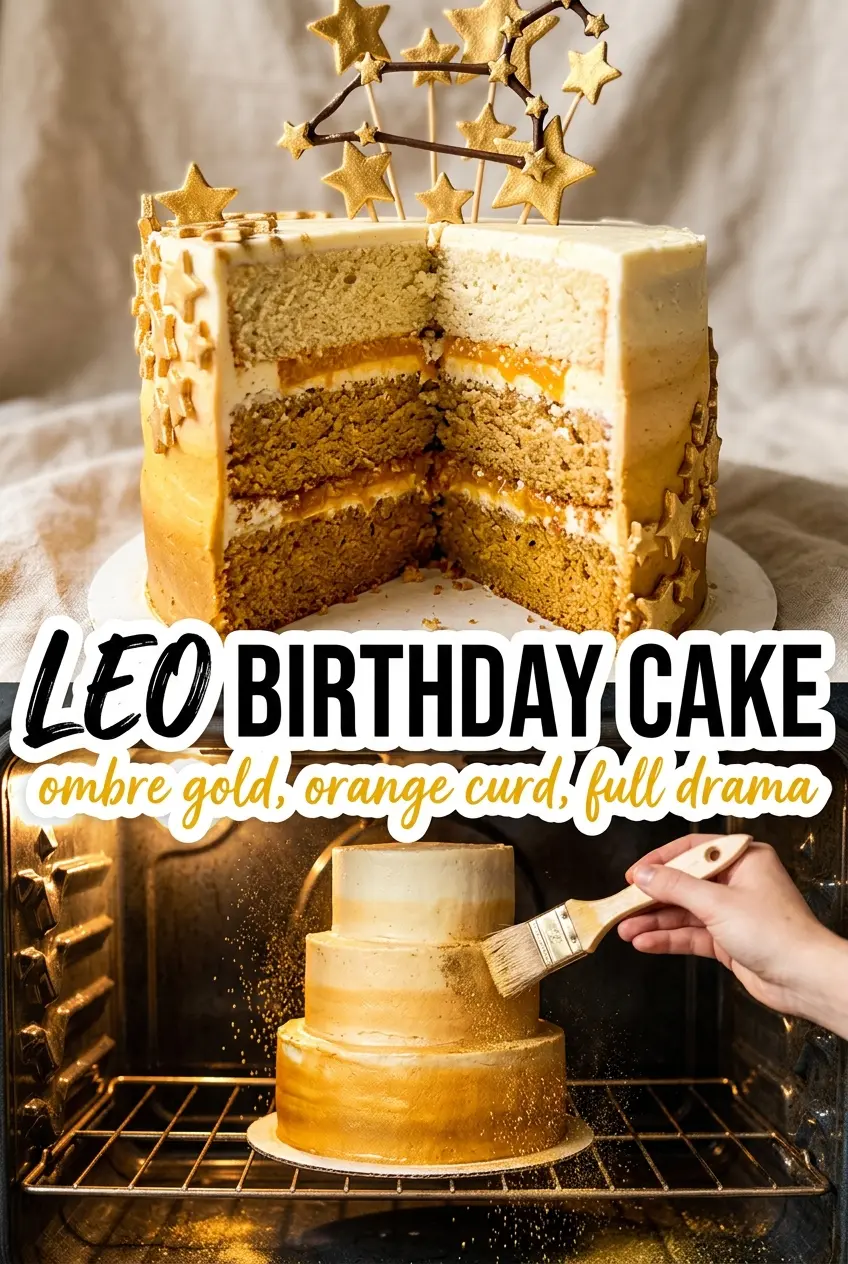
Leo Birthday Cake
Ingredients
Equipment
Method
- Preheat oven to 350°F (175°C) and grease three 8-inch round cake pans. Bake the three vanilla sponge layers until the centers spring back and a toothpick comes out clean, then cool completely.
- Spread a layer of orange curd over the top of the first cooled sponge layer. Repeat for the remaining layers, stacking them evenly.
- In a stand mixer bowl, whisk egg whites and sugar, then heat just until the sugar dissolves and the mixture is hot. Whip on high until glossy stiff peaks form, then gradually add softened butter while mixing.
- Flavor the buttercream with orange zest, then tint with orange food coloring and gold coloring to prepare for the ombre look.
- Apply frosting with a deep gold tint at the base of the stacked cake. Gradually blend upward into a lighter, ivory tint so the color transitions from dark amber-gold to pale ivory.
- Dust the cake with gold luster dust using a dry flat brush by patting, not swiping, for even coverage. Add edible gold stars and any constellation topper to the center as the finishing touch.