
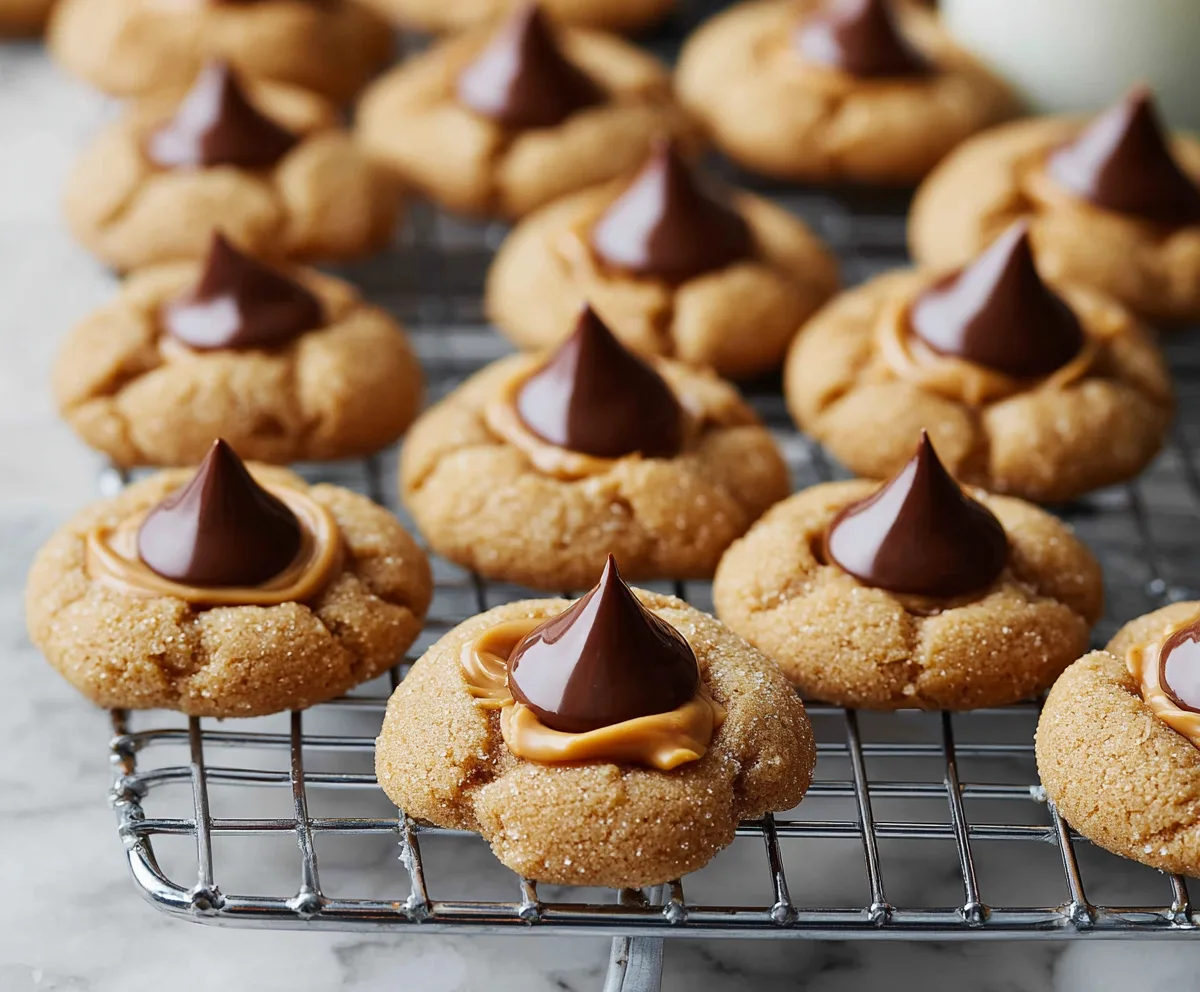
Peanut Butter Blossoms are classic cookies that bring together the perfect mix of peanut butter goodness and a chocolatey kiss right in the center. These soft, chewy cookies have a buttery peanut flavor and are topped off with a shiny, melty chocolate Hershey’s Kiss that just makes you smile with every bite.
I love making these during the holidays or whenever I want a simple yet special treat. One of my favorite things is how easy they are to whip up and the way the chocolate melts just enough while baking, creating a little surprise on top. If you’re like me, you’ll find yourself sneaking more than a few while the batch is still warm!
Peanut Butter Blossoms are perfect to share with friends and family because they’re familiar but still feel like a cozy, homemade gift. I like serving them with a glass of cold milk or a cup of hot cocoa for an extra comforting snack time. They never last long in our house, and they always bring back happy memories of baking together and enjoying simple, sweet moments.
Key Ingredients & Substitutions
Peanut Butter: Creamy peanut butter works best for a smooth texture. If you prefer a little crunch, chunky peanut butter can add nice bite. For allergies, sunflower seed butter makes a good substitute.
Butter: Unsalted butter lets you control the salt level. You can swap with margarine or coconut oil if needed, but flavor and texture may vary slightly.
Sugars: Brown sugar adds moisture and depth, while granulated sugar helps with crisp edges. You can replace brown sugar with coconut sugar for a different taste.
Hershey’s Kisses: Classic milk chocolate Kisses are the signature feel. Dark or white chocolate Kisses also work well and add a twist. You could use mini chocolate chips as a last resort.
How Can I Make the Cookies Soft and Chewy with a Perfect Kiss on Top?
The key is how and when to add the chocolate kiss. Bake the cookies until just golden at the edges but still soft in the middle. Remove from oven and gently press a kiss in the center while warm. Don’t press too hard or the cookie may flatten.
- Roll cookie dough balls well in sugar for a nice crackly surface.
- Bake on parchment paper to prevent sticking and help even cooking.
- Cool on the sheet at least 5 minutes before moving, so the chocolate sets nicely and the cookies keep shape.
Equipment You’ll Need
- Baking sheet – I use a cookie sheet because it gives the cookies space to spread evenly.
- Parchment paper or silicone baking mat – keeps the cookies from sticking and makes clean-up easier.
- Mixing bowls – for mixing the dough and dry ingredients.
- Measuring cups and spoons – help you get the proportions just right.
- Large spoon or cookie scoop – makes portioning the dough quick and uniform.
- Wire rack – for cooling the cookies evenly after baking.
Flavor Variations & Add-Ins
- Use dark or white chocolate Kisses instead of milk chocolate for different flavors.
- Add a handful of mini chocolate chips into the dough for extra chocolatey goodness.
- Mix in a bit of crushed pretzels or chopped nuts for a salty crunch.
- Swirl in a spoonful of grape jelly or jam into the center before adding the Kiss for a fruity twist.
Peanut Butter Blossoms
Ingredients You’ll Need:
For the Cookies:
- ½ cup granulated sugar (plus extra for rolling)
- ½ cup packed brown sugar
- ½ cup creamy peanut butter
- ½ cup (1 stick) unsalted butter, softened
- 1 large egg
- 1 ½ cups all-purpose flour
- ¾ teaspoon baking soda
- ½ teaspoon baking powder
- ¼ teaspoon salt
- About 36 Hershey’s Kisses, unwrapped
How Much Time Will You Need?
This recipe takes about 15 minutes for preparation and 8-10 minutes for baking each batch. Including cooling time, you’ll spend around 30-40 minutes from start to finish. Perfect for a quick, sweet treat!
Step-by-Step Instructions:
1. Preparing the Oven and Cookie Sheets:
First, preheat your oven to 375°F (190°C). Line your baking sheets with parchment paper or lightly grease them to keep cookies from sticking.
2. Mixing the Dough:
In a large bowl, beat together the softened butter, granulated sugar, brown sugar, and creamy peanut butter until the mixture is light and fluffy. Next, add the egg and beat until everything is well combined.
3. Combining Dry Ingredients:
In a separate bowl, sift together the all-purpose flour, baking soda, baking powder, and salt. Gradually blend these dry ingredients into the peanut butter mixture, stirring just until incorporated.
4. Forming and Rolling the Cookies:
Roll the dough into small 1-inch balls. Then, roll each ball in granulated sugar to coat, which gives the cookies a nice, crackly surface.
5. Baking and Adding the Chocolate Kisses:
Place the sugar-coated dough balls about 2 inches apart on your prepared baking sheets. Bake for 8-10 minutes, or until the edges are lightly golden. As soon as you take them out of the oven, gently press one unwrapped Hershey’s Kiss into the center of each cookie. The cookies may crack a little around the edges – that’s perfect!
6. Cooling and Serving:
Allow the cookies to cool on the baking sheet for about 5 minutes; this helps the chocolate kiss set nicely. Then transfer the cookies to a wire rack to cool completely. Serve your delicious Peanut Butter Blossoms with a cold glass of milk and enjoy!
Can I Use Natural Peanut Butter Instead of Creamy?
Yes, you can use natural peanut butter, but it may affect the texture slightly, making the cookies a bit denser. Make sure to stir the peanut oil back in before measuring for best results.
Can I Make the Dough Ahead of Time?
Absolutely! You can prepare the dough and refrigerate it for up to 24 hours. Just roll and bake the cookies straight from the fridge, adding a minute or two to the baking time if needed.
How Should I Store Leftover Cookies?
Store the cookies in an airtight container at room temperature for up to 5 days. If you want them to last longer, you can freeze the baked cookies for up to 3 months.
Can I Substitute Hershey’s Kisses with Another Chocolate?
Yes! If you don’t have Hershey’s Kisses, chocolate chips, mini chocolate bars, or chunks of your favorite chocolate candy can all work well as toppings.