
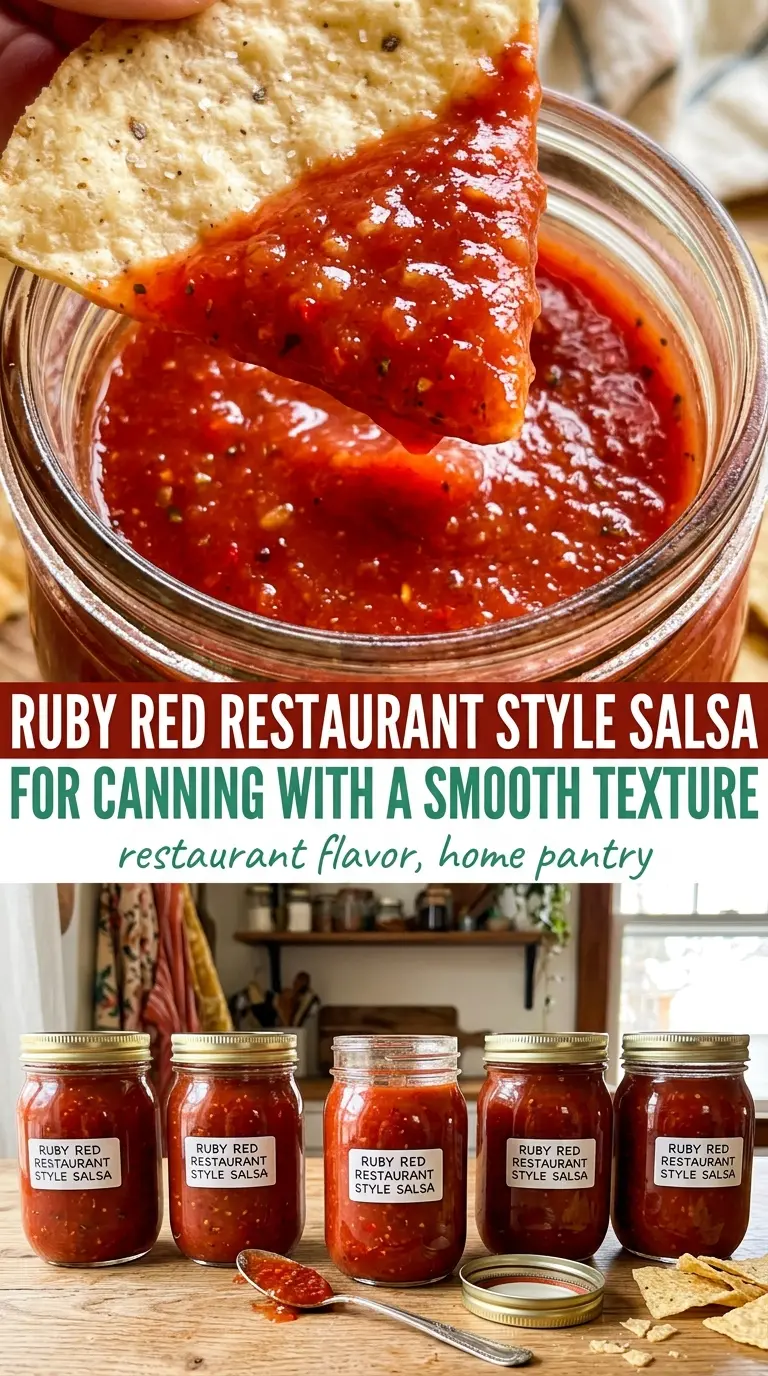
Silky, bright, and just thick enough to cling to a chip, this restaurant style salsa for canning has the kind of clean tomato-and-jalapeño balance that keeps you reaching back for another scoop. The texture matters here. Blend it too little and it turns chunky in a way that reads more like pico than salsa. Cook it too long and it loses that fresh, spoonable finish that makes a pantry jar taste like it came from the table at a good Mexican restaurant.
The trick is in the order of operations. Blending the tomatoes, onions, jalapeños, and garlic first gives you that smooth, restaurant-style base before the vinegar and salt go in. Then the simmer does two jobs at once: it takes the raw edge off the vegetables and gives the salsa enough body to jar safely without turning it pasty. Using bottled vinegar instead of guessing with fresh-squeezed citrus or a random pantry acid keeps the acidity consistent, which matters when you’re preserving tomatoes at home.
Below, I’ve added the little details that keep the texture right, plus a few substitutions that still preserve the character of the salsa. If you’ve ever wanted a canned salsa that tastes clean, sharp, and balanced instead of flat or overcooked, the notes here will help.
I loved how smooth this turned out after blending in batches. The salsa thickened up just enough after simmering, and the jars sealed perfectly. It tastes exactly like the restaurant salsa we always ask for by the bowl.
Smooth, jar-ready restaurant style salsa for canning with that classic table salsa texture
The Thing That Keeps This Salsa Smooth Instead of Gritty
Most canned salsa gets rough for one of two reasons: the vegetables are chopped too coarsely, or the pot gets boiled hard enough to break the texture before it ever hits the jar. This version stays smooth because the food processor does the heavy lifting first, and the simmer is kept controlled. You’re looking for a gentle bubble, not a rolling boil that beats the tomatoes into sauce and leaves the onions stringy.
The other mistake is overthinking thickness before canning. Salsa always loosens when it heats, then tightens a little as it cools. If it looks a touch thinner than you’d serve from a bowl, that’s fine. What you don’t want is to cook it down until it’s jammy in the pot, because the water bath will push it even farther in that direction.
What Each Ingredient Is Actually Doing in This Dish
- Tomatoes — Use ripe, meaty tomatoes with good flavor. If they’re very juicy, expect a looser salsa at first; that cooks down naturally. Peeling them matters here because the skins can leave the finished salsa flecked and rough.
- Onions — Quartering them before blending keeps the texture even. A sweet onion works if that’s what you have, but a standard yellow onion gives a more classic restaurant salsa flavor.
- Jalapeños — Seeding them pulls the heat back without flattening the pepper flavor. If you want more bite, leave a few seeds in one or two peppers. If you want less heat, remove all of the ribs too.
- Vinegar — This isn’t the place to swap in whatever acid is on hand. Bottled vinegar keeps the acidity predictable for safe canning. White vinegar gives the cleanest finish; cider vinegar adds a softer note if you don’t mind a little extra flavor.
- Salt — The salt doesn’t just season the salsa. It sharpens the tomato flavor and helps the whole pot taste finished after canning. Use the full amount unless you have a tested low-sodium canning formula to follow.
Getting the Vegetables Broken Down Before the Pot Ever Goes On
Pulse in batches for an even texture
Work with small batches in the food processor so the vegetables blend evenly instead of turning the bottom layer to puree while the top stays chunky. You want a smooth, restaurant-style texture with a little body, not tomato juice with onion bits floating in it. If the mixture starts looking watery before the vegetables are fully broken down, stop there and move on. Overprocessing is how the salsa loses its fresh look and starts tasting dull.
Simmer just long enough to tighten the body
Once the vinegar and salt are in, bring the pot up to a boil, then drop it to a steady simmer. The surface should move in small bubbles around the edges, not spit and surge across the pot. In 20 to 25 minutes, the salsa should look slightly thicker and a shade deeper in color. If you cook past that point, the tomatoes can start tasting flat instead of bright.
Jar while it’s hot and still loose
Ladle the salsa into sterilized jars while it’s hot. The texture should still flow easily from the ladle. Leave the headspace the recipe calls for so the salsa can expand during processing without forcing liquid under the lid. Wiping the rims clean matters here; even a thin smear of salsa can keep a jar from sealing.
Make it milder without losing the restaurant-style flavor
Use fewer jalapeños and remove every seed and rib. The salsa will taste softer and a little sweeter, but it still keeps the bright tomato base and the same smooth finish. If you cut the peppers too much, add a little extra onion for body rather than reaching for more vinegar.
Use cider vinegar for a rounder flavor
Apple cider vinegar works if you want a softer edge than white vinegar gives. The finished salsa tastes a little less sharp and a little more rounded, which some people prefer. Keep the amount exactly the same so the acidity stays where it needs to be for canning safety.
Skip the canning process and keep it in the fridge
If you want a fresh batch for the week, you can stop after the simmer and refrigerate it instead of water-bath processing. The texture stays a little brighter and the flavor stays fresher, but it won’t have pantry storage. This is the best route if you’re testing the seasoning before committing to a full canning batch.
Storage and Reheating
- Refrigerator: Once opened, keep the salsa refrigerated and use it within 1 to 2 weeks. The flavor stays sharp, and the texture may loosen slightly after chilling.
- Freezer: This salsa can be frozen if you skip the canning step and store it in freezer-safe containers, but the texture gets softer after thawing. It still works well for cooking or scooping over eggs.
- Reheating: Warm it gently on the stove over low heat if you want to serve it hot. Don’t boil it hard; that pushes the texture toward sauce and can dull the fresh tomato taste.
Questions I Get Asked About This Salsa
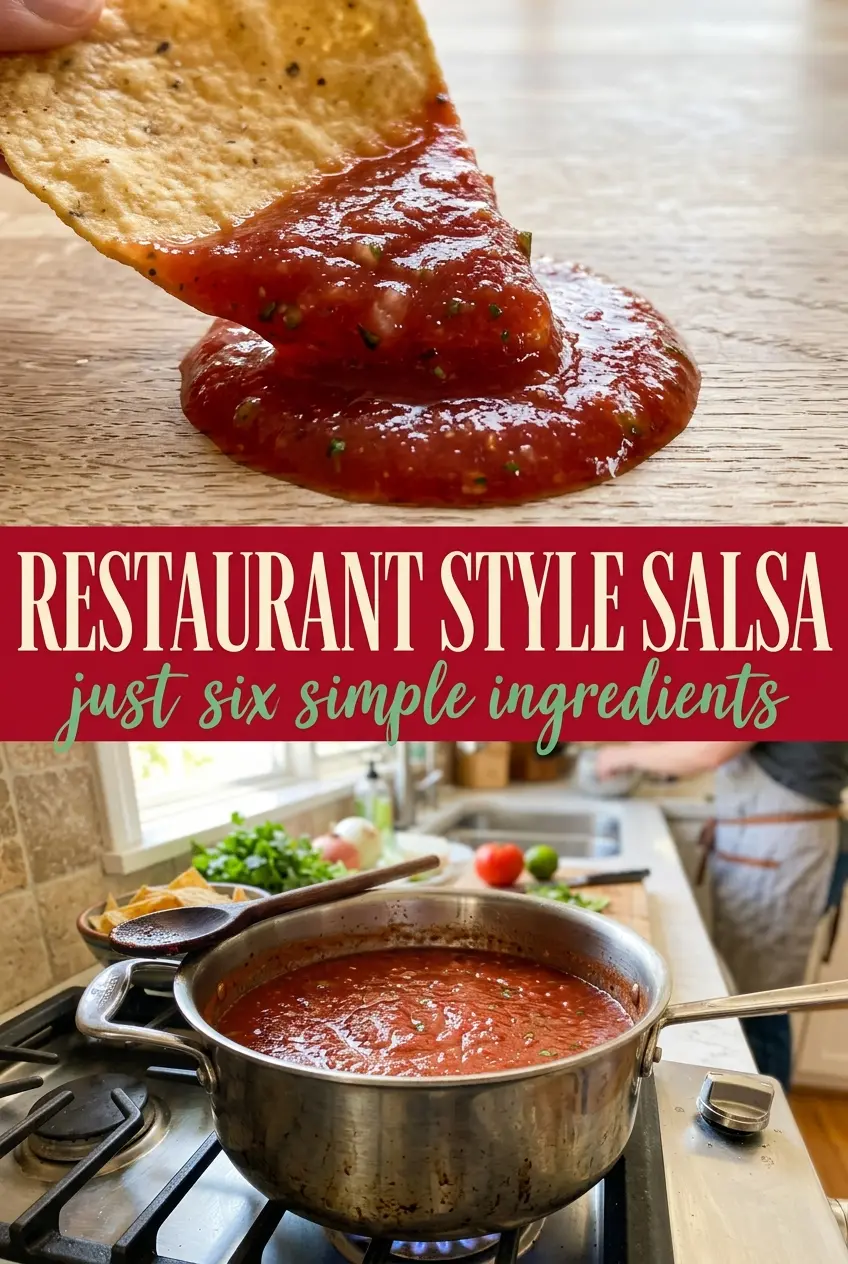
Restaurant Style Salsa For Canning
Ingredients
Equipment
Method
- Sterilize canning jars and lids in boiling water, then keep them hot until ready to fill. Use a visual cue: jars should look clear and steaming when you remove them.
- Working in batches, pulse the tomatoes, onions, jalapenos, and garlic in a food processor to your desired smoothness. Stop when the mixture looks evenly blended with a consistent ruby-red color.
- Pour the blended mixture into a large Dutch oven with vinegar and salt, then stir to combine. Bring the pot to a boil, with active bubbling across the surface.
- Reduce heat and simmer for 20-25 minutes until slightly thickened, stirring occasionally. Visual cue: the salsa should look a bit glossier and cling slightly to the spoon.
- Ladle the hot salsa into sterilized jars, leaving 1/2 inch headspace, then wipe rims and seal with lids. Visual cue: headspace should be uniform and lids should sit flat with sealed edges.
- Process sealed jars in a boiling water bath for 15 minutes. Visual cue: water should stay at a steady rolling boil during processing.
- Let jars cool completely, then check that lids have sealed properly. Visual cue: lids will be concave and won’t flex when pressed.