
Roasted tomato peach salsa lands with a smoky-sweet punch that plain fresh salsa never quite reaches. The peaches soften into the tomatoes instead of disappearing into them, and the char from the grill pan gives the whole jar a depth that holds up after processing. What you end up with is bright, thick, and balanced enough to spoon over tacos, tuck beside eggs, or eat with chips straight from the pantry.
The detail that makes this version worth canning is the roast before the simmer. Those browned edges bring in flavor you can’t fake later, and starting with firm-ripe peaches keeps the salsa from turning mushy after the water bath. A little brown sugar rounds out the acidity, but the lime juice still does the important work of keeping the flavor sharp and the canned salsa safe.
Below, I’ve laid out the part most people rush past: how to get the right amount of char without turning the fruit to jam, what each ingredient is doing in the pot, and the small adjustments that matter if you’re swapping peppers or planning a big batch.
The peaches held their shape after canning and the salsa had that smoky-sweet balance I was hoping for. I used it on pork chops the first night and my husband went back for seconds before I even sat down.
Save this roasted tomato peach salsa for canning so you’ve got smoky-sweet jars ready whenever fresh produce is gone.
The Char That Keeps This Salsa From Tasting Flat
The biggest mistake in fruit salsa is treating it like a chopped salad. Raw peaches and tomatoes can taste bright, but they don’t have much depth once they’re sealed in jars and cooled. A quick roast on the grill pan changes that. The cut sides pick up color, the edges dry just enough to concentrate flavor, and the finished salsa tastes like the best parts of summer with a little smoke tucked underneath.
Leave the skin on after roasting, just as written. That charred skin blends into the salsa and gives it body, especially after the simmer. If you peel the peaches or tomatoes, you lose some of that roasted character and the final texture gets looser. The other trap is cooking the salsa down too hard before canning. You want it softened and combined, not reduced into a jammy paste that can turn stodgy after processing.
What Each Ingredient Is Actually Doing in This Dish
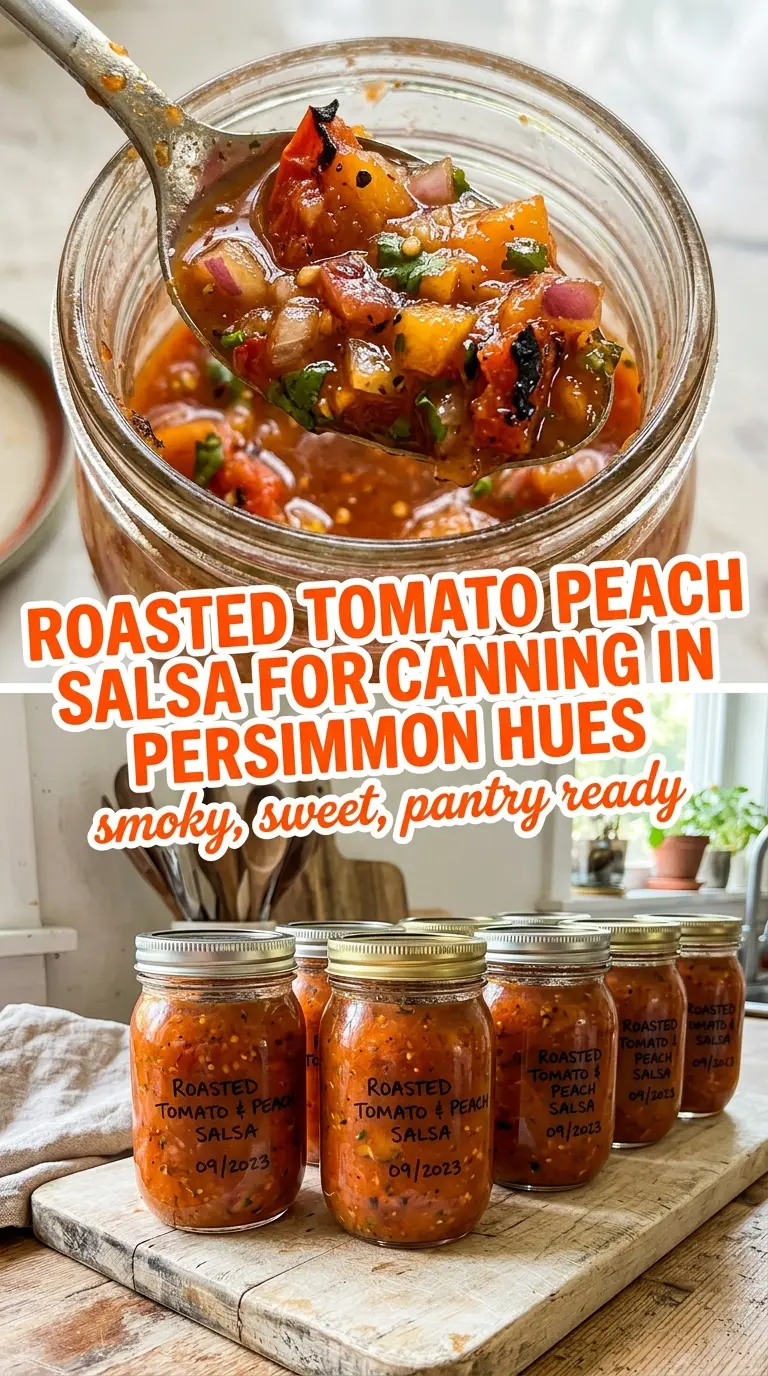
- Firm-ripe peaches — They need to be ripe enough to taste sweet, but still firm enough to keep their shape through roasting, simmering, and canning. Soft peaches break down fast and give you more purée than salsa.
- Ripe tomatoes — Use tomatoes with good flavor and enough flesh to hold up. Very watery tomatoes can make the salsa thin, so if yours are especially juicy, let the diced mixture sit in a colander for a few minutes before combining.
- Jalapeños — This is where the heat comes from, and the range matters. One pepper gives a gentle background burn; two bring the salsa closer to medium. Remove the seeds if you want cleaner heat without changing the texture.
- Lime juice — Bottled lime juice is the safer choice for canning because the acidity is predictable. Fresh lime tastes great, but the canned version needs the consistent acid level more than it needs the brightest aroma.
How to Build the Sweet-Smoky Base Without Turning It Mushy
Getting Color on the Fruit and Vegetables
Set the peaches, tomatoes, bell pepper, and onion skin side down on the grill pan and let them sit long enough to actually char, not just warm through. You want some browning and blistering on the exposed flesh, but not collapsed pieces that fall apart when you turn them. If the pan is too cool, the produce steams and softens without developing the smoky edge this salsa needs.
Chopping After the Roast
Let the roasted produce cool just enough to handle, then dice it into pieces that are still chunky. Keep the charred skin on. That’s where a lot of the flavor lives, and it disappears if you trim it away. The salsa should look loose and rustic at this stage, not like a smooth sauce, because it tightens up as it simmers.
Simmering to the Right Texture
Combine everything except the cilantro in the saucepan and bring it to a steady simmer, stirring often so the sugars from the peaches and brown sugar don’t catch on the bottom. Cook just until the peaches soften and the flavors start to marry, about 10 minutes. If you keep going until the liquid is almost gone, the jars can end up too thick and dense after processing. The finished salsa should still spoon easily.
Adding the Cilantro at the End
Stir in the cilantro right before canning so it stays green and fresh-tasting instead of turning dull and wilted in the pot. It won’t taste like a garnish here; it gives the salsa the herbal lift that keeps the sweetness from taking over. If cilantro isn’t your thing, leave it out rather than swapping in a stronger herb that fights the peaches.
Three Ways to Work With What You Have
Make It Milder
Use one jalapeño and remove the seeds and ribs before roasting. You’ll still get enough warmth to balance the peaches, but the heat stays in the background instead of taking over the jar.
Make It Dairy-Free and Gluten-Free Without Changing Anything
This recipe already fits both diets as written, which is part of why it works so well for a pantry staple. The only thing to watch is what you serve it with afterward; the salsa itself stays clean and simple.
Swap the Bell Pepper for a Sweeter Finish
A red bell pepper keeps the salsa sweet and mellow, but roasted poblano brings a deeper, earthier note if you want less fruit-forward flavor. The texture stays the same, though the final jars will taste a little more savory.
Stretch the Batch for Bigger Canning Day
You can double the recipe, but use a wide, heavy pot so the salsa simmers evenly instead of spattering or scorching at the edges. A deeper pot slows evaporation, which helps you keep the texture consistent across the full batch.
Storage and Reheating
- Refrigerator: After opening, keep canned salsa refrigerated and use it within 1 week. The texture loosens a little as it sits, but the flavor gets even better the next day.
- Freezer: I don’t recommend freezing the canned salsa after processing; it’s meant to be shelf-stable. If you want to freeze a portion before canning, leave headspace for expansion and use it within 3 months.
- Reheating: Warm only the amount you need in a small saucepan over low heat or use it cold straight from the jar. High heat can push the fruit into a broken, watery texture and dull the fresh cilantro notes.
Questions I Get Asked About This Recipe
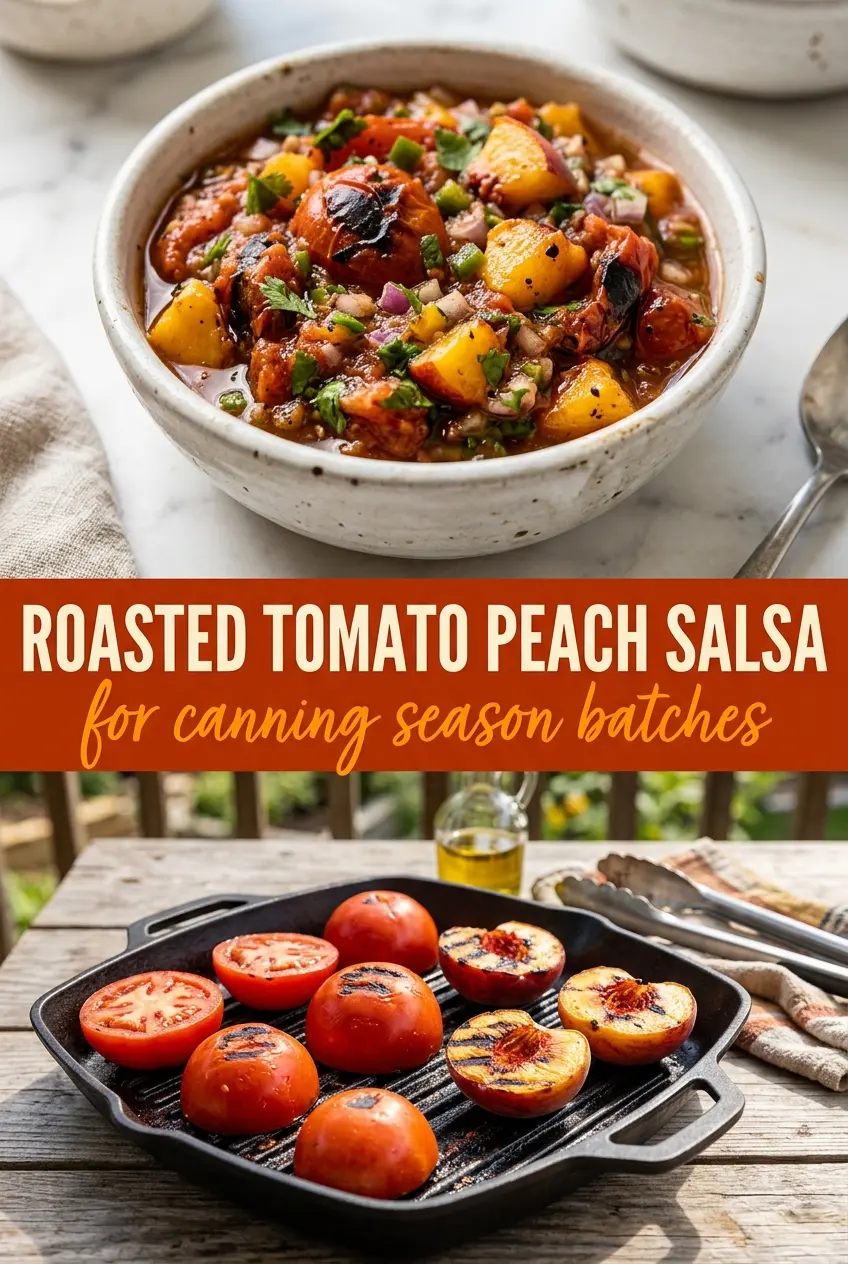
Roasted Tomato Peach Salsa for Canning
Ingredients
Equipment
Method
- Place the peaches, tomatoes, red bell pepper, and red onion halves skin side down on a grill pan and cook over medium heat until slightly charred, about 8 to 10 minutes, watching for browned edges.
- Remove the grill pan and let the roasted produce cool slightly so it’s easier to handle, about 10 minutes, until warm but not hot to the touch.
- Dice the peaches, tomatoes, onion, and pepper, leaving the charred skin on for smoky flavor, then set aside the diced mixture.
- Combine the diced produce with brown sugar, lime juice, and salt in a 4-quart saucepan and bring to a simmer over medium heat while stirring frequently.
- Cook at a simmer until the peaches soften and flavors combine, about 10 minutes, until the salsa looks cohesive and slightly thickened.
- Stir in the chopped cilantro just before canning so the herb stays bright.
- Ladle the hot salsa into hot, sterilized jars leaving 1/2-inch headspace, then remove air bubbles and wipe the rims clean.
- Process the filled jars in a water bath for 20 minutes, adjusting for altitude, until sealed for shelf stability.