
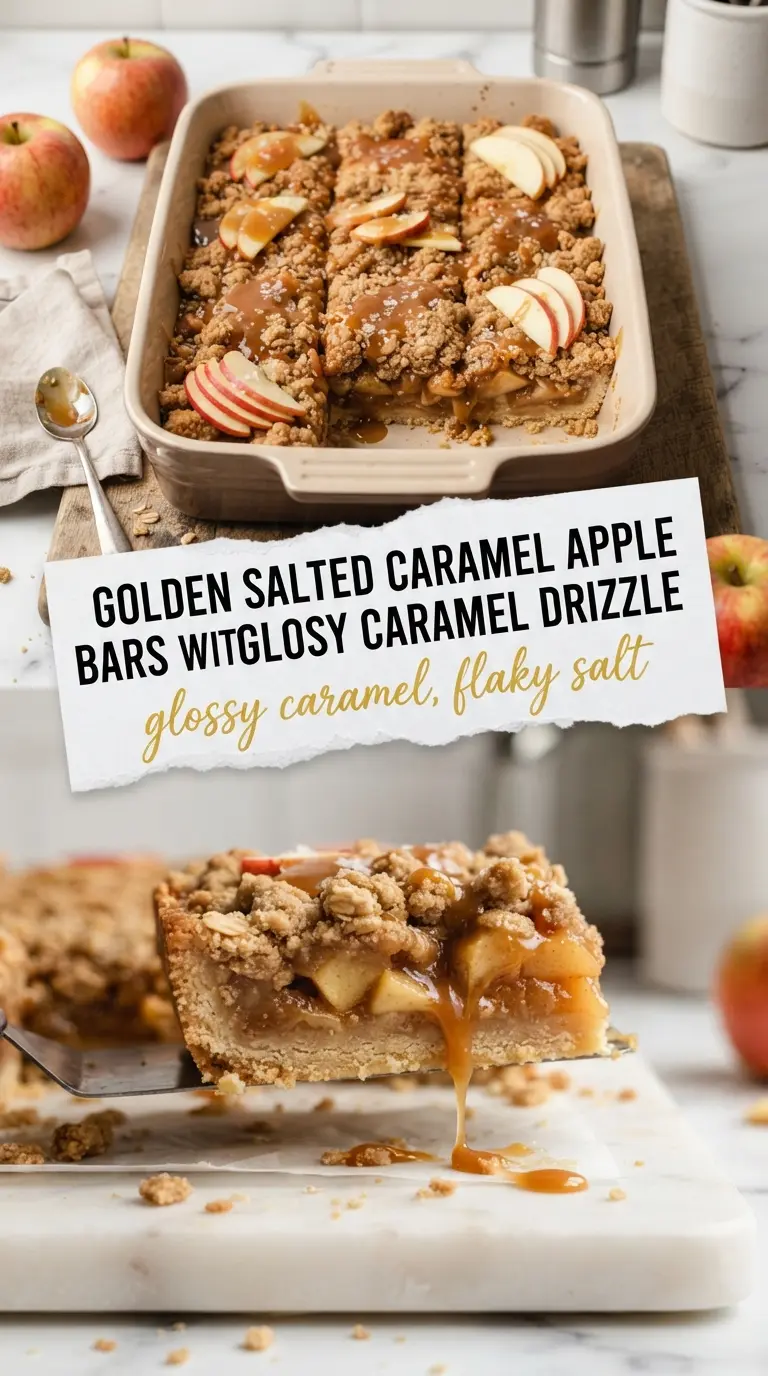
Buttery shortbread, cinnamon-soft apples, and a glossy caramel finish make these salted caramel apple pie bars the kind of dessert that disappears before the pan cools. The crust stays sturdy enough to lift clean squares, but it still melts as soon as it hits your tongue. A little flaky salt on top keeps the caramel from turning cloying and gives every bite a sharp, clean finish.
What makes these work is the balance. The bottom crust gets pressed in firmly so it bakes into a solid base instead of a sandy layer that falls apart when you cut it. The apples are tossed with cornstarch, which catches the juices as they bake and keeps the bars from turning soggy. Thin slices matter here, too — they soften all the way through in the oven and settle into the caramel instead of staying crunchy in the middle.
Below, you’ll find the technique that keeps the crust crisp, the apple layer neat, and the caramel from taking over the whole dessert. There’s also a storage note that matters if you’re making these ahead, because they slice best after they’ve had time to cool completely.
The crust baked up buttery and crisp, and the apples softened just enough without getting mushy. I loved the flaky salt on top — it kept the caramel from tasting too sweet.
Save these salted caramel apple pie bars for the next time you want a crisp buttery crust, tender apples, and that glossy caramel-salt finish.
The Trick to Keeping the Crust Crisp Under Juicy Apples
The mistake with fruit bars is usually the same: the fruit gets juicy before the crust has a chance to set, and the whole thing turns soft in the middle. Here, the crust is the anchor. Pressing most of the crumb mixture into the pan gives you a compact base that can stand up to the apples, while the top layer bakes into a golden, craggy lid that catches the caramel later.
The other thing that matters is moisture control. Cornstarch isn’t there for texture alone — it turns the apple juices into a light filling instead of a puddle. If your apples are very wet or especially tart, the bars can leak at the edges if you skip that step. Thin slices help, too, because they cook through before the crust overbakes.
What the 8 Ingredients Are Doing Here
- All-purpose flour — This gives the bars structure without making the crust tough. You want enough gluten to hold the slices together, but not so much that the base turns bready.
- Butter — Cold butter is nonnegotiable here. It creates the sandy, crumbly texture in the crust and topping, and those little butter pockets are what bake into a crisp, tender base.
- Apples — Use apples that hold their shape when baked, not varieties that collapse into applesauce. Slice them thin so they soften fully in 40 minutes and settle into an even layer.
- Cinnamon — This is doing more than adding warmth. It makes the apple layer taste deeper and keeps the caramel from reading flat and one-note.
- Cornstarch — This is the safeguard against a wet filling. It thickens the apple juices as they release, so the bars set cleanly instead of running when you cut them.
- Caramel sauce — A thick, spoonable caramel works best. Thin sundae sauce can soak into the crust and disappear, while a richer sauce stays glossy on top and in the layers.
- Flaky salt — This finishes the bars with contrast. It sharpens the caramel and keeps each bite from becoming overly sweet.
Building the Bars So They Slice Cleanly
Pressing the Base
Use the back of a spoon or your fingers to pack about two-thirds of the crumb mixture into the pan. The layer should look even and compact, not fluffy or loose. If the crust is pressed too lightly, it will crumble when you cut the bars. Bake it just until the surface looks set and the edges start to turn pale gold.
Layering the Apples
Toss the sliced apples with cinnamon and cornstarch until every piece looks lightly coated. That dry coating needs to cling to the fruit before it goes into the pan, or the filling will collect in streaks. Spread the apples in an even layer and drizzle on half the caramel so the flavor runs through the filling instead of sitting only on top.
Finishing With the Crumb Top
Scatter the remaining crumbs over the apples without packing them down. The top should look uneven and rustic, with some apples peeking through. Bake until the top is deeply golden and the fruit underneath is tender when pierced with a knife. If the top browns before the fruit softens, cover the pan loosely with foil for the last few minutes.
The Cool-Down That Makes the Difference
Let the bars cool completely before cutting. This is the step people skip, then wonder why the filling oozes out. As the bars cool, the caramel tightens and the cornstarch finishes setting the juices. Add the final caramel drizzle and flaky salt after cutting for the cleanest look and the best texture.
Three Ways to Make These Bars Work for Your Kitchen
Dairy-Free Version
Swap the butter for a solid plant-based baking butter. You’ll lose a little of the classic buttery aroma, but the crust still bakes up crisp and sturdy if the substitute is firm and cold when you mix it in.
Gluten-Free Adaptation
Use a cup-for-cup gluten-free flour blend that includes xanthan gum. The texture will be a little more delicate, but the bars will still hold together if you press the crust firmly and let them cool all the way before slicing.
Less-Sweet Finish
Cut the final caramel drizzle in half and lean a little heavier on the flaky salt. This keeps the bars balanced if your caramel sauce is on the sweet side, and it makes the apple flavor stand out more clearly.
Storage and Reheating
- Refrigerator: Store in an airtight container for up to 5 days. The crust softens a little, but the flavor stays excellent.
- Freezer: These freeze well. Wrap individual bars tightly and freeze for up to 2 months, then thaw in the fridge so the caramel doesn’t weep.
- Reheating: Warm a bar in the microwave for 10 to 15 seconds if you want the caramel a little softer. Don’t overheat it or the crust will lose its crisp edge.
Answers to the Questions Worth Asking
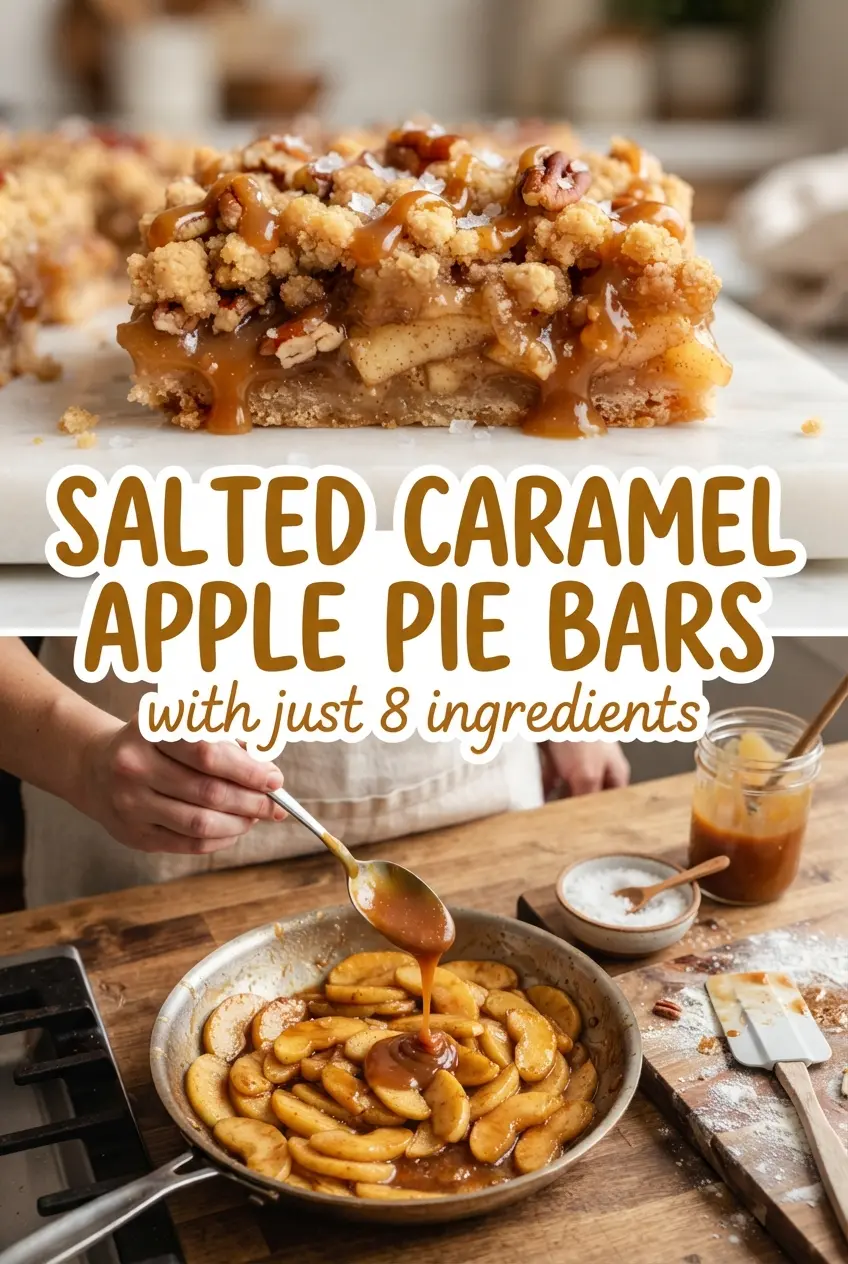
Salted Caramel Apple Pie Bars
Ingredients
Equipment
Method
- Mix the all-purpose flour, cold and cubed butter, and sugar until they form coarse crumbs, then press 2/3 of the crumbs into a 9x13-inch pan. Press firmly so the base holds together when sliced.
- Toss the apples, cinnamon, and cornstarch until the apple slices are evenly coated. Make sure every slice gets a light dusting of cornstarch for a glossy, set filling.
- Spread the coated apple mixture over the crust and drizzle over half the caramel sauce. Add an even layer so the bars bake consistently.
- Sprinkle the remaining crumbs over the apples to form a crumb topping. Cover as evenly as possible so caramel doesn’t pool in gaps.
- Bake for 40 minutes at 350°F, until the top looks golden and the center is set. Visual cue: the apples should look softened and the filling should not look watery.
- Drizzle the remaining caramel sauce over the warm bars and finish with flaky salt. Let it sit briefly so the caramel looks glossy rather than runny.