
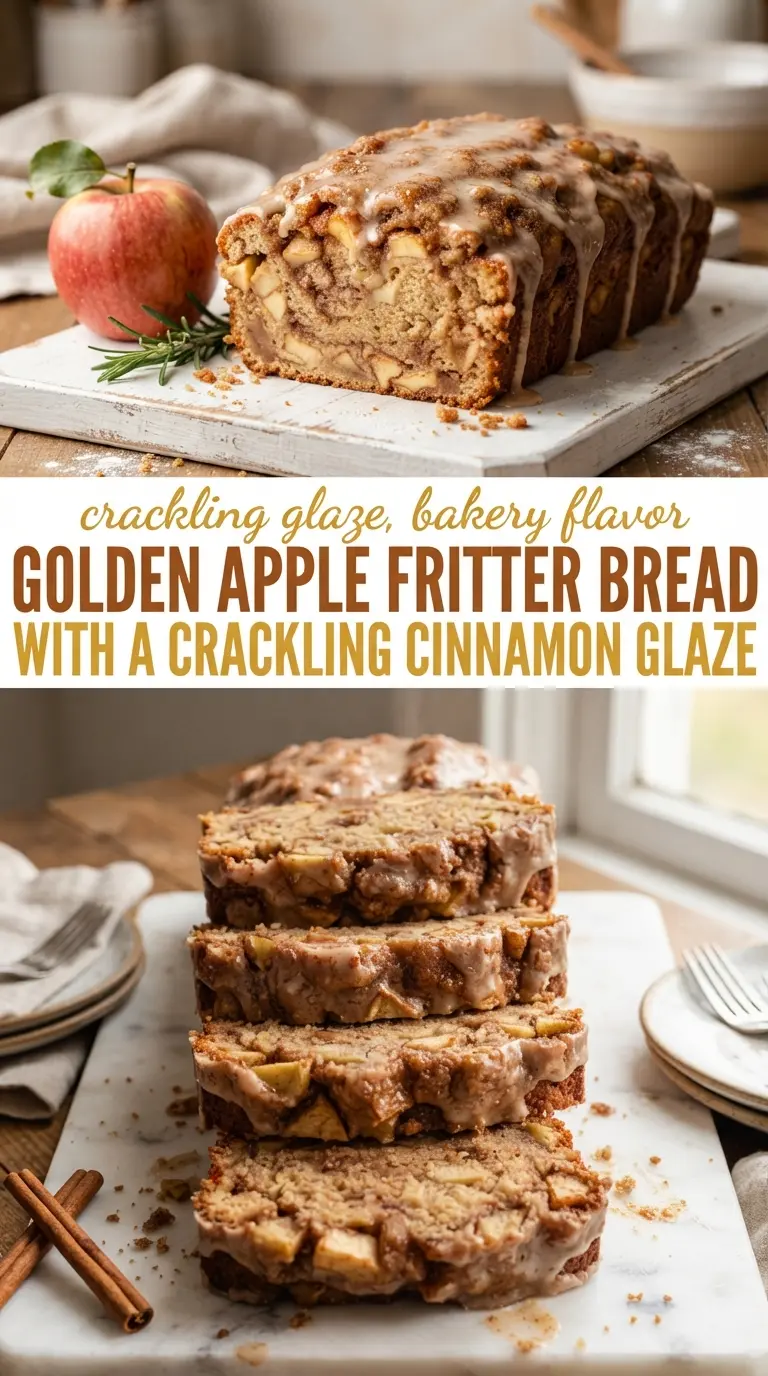
Spiced apple fritter bread bakes into a tender loaf with juicy apple pieces, a soft cinnamon-scented crumb, and a crackling glaze that settles into the top instead of disappearing into it. It slices like quick bread, but the flavor lands closer to a bakery fritter: warm spice, browned edges, and little pockets of fruit that stay moist instead of turning mushy.
The trick is keeping the apple pieces small and folding them in at the end so they stay evenly distributed. Sour cream does the heavy lifting here; it adds moisture and a slight tang that keeps the loaf from tasting flat. Brown sugar brings deeper caramel notes than white sugar would, and the cinnamon gets mixed into both the batter and the glaze so the flavor carries all the way through.
Below, you’ll find the easiest way to keep the loaf from sinking in the middle, plus a few smart swaps if you only have yogurt or a different apple on hand. The glaze is worth the extra minute, and there’s a simple reason it stays glossy instead of turning watery.
The apples stayed in little soft bites instead of disappearing, and the glaze set up with that crackly finish on top. I made it on a Sunday and it was gone by Monday morning.
Spiced apple fritter bread tastes even better after the cinnamon glaze sets, so it’s perfect for a make-ahead breakfast loaf or afternoon snack.
The Crackly Top Starts Before the Batter Goes In
Quick breads fail in a few predictable ways: the center sinks, the apples sink, or the crumb turns dense and wet. This loaf avoids all three because the batter is built to be thick enough to hold the fruit, but not so stiff that it bakes up dry. The sour cream adds body without thinning the batter, which matters more than people think when you’re loading in fresh apples.
The other thing that makes a difference is the pan fill. If the batter barely reaches the middle of the loaf pan, the bread overbakes before the center sets. If it’s piled too high, the middle can dome and crack before it’s done. A standard 9×5-inch pan gives the loaf the room it needs to rise into a clean, even shape.
The glaze is not just decoration. It adds sweetness, but it also gives the top that thin, crackly finish that makes this bread taste like it came from a bakery case instead of a quick-bread tin.
What Each Ingredient Is Actually Doing in This Loaf
- All-purpose flour — This gives the loaf enough structure to hold the apples without turning heavy. Bread flour would make it chewier than you want, and cake flour would be too delicate for the fruit.
- Baking powder and baking soda — These work together for lift. The baking soda reacts with the sour cream, while the baking powder gives the bread a steadier rise in the oven.
- Brown sugar — Brown sugar brings the deep, caramel note that fits apple and cinnamon better than plain white sugar. Light or dark brown sugar both work; dark brown sugar will give the loaf a little more molasses depth.
- Butter — Melted butter keeps the crumb tender and adds flavor without the extra step of creaming. Use unsalted if that’s what you keep on hand; if you use salted butter, cut the added salt slightly.
- Sour cream — This is what keeps the bread moist and rich. Plain Greek yogurt is the closest substitute, and it works best at full-fat if you want the same texture.
- Apples — Use a firm baking apple so the pieces soften without collapsing. Peel them, dice them small, and keep the pieces even so they cook through in the same time.
- Cinnamon — The loaf needs it in the batter and the glaze. If you only add it in one place, the flavor tastes thinner than it should.
Building the Loaf So the Apples Stay Evenly Suspended
Mix the wet ingredients until the batter looks smooth
Whisk the melted butter, brown sugar, eggs, and sour cream until the mixture looks glossy and uniform. You don’t need to whip air into it, but the sugar should be fully incorporated so it doesn’t leave gritty pockets in the finished loaf. If the butter is still hot when it goes in, it can scramble the eggs a little, so let it cool until warm, not steaming.
Fold in the dry ingredients just until the flour disappears
Stir in the flour, baking powder, baking soda, salt, and cinnamon until there are no dry streaks left. Stop as soon as the batter comes together; overmixing is what makes quick bread tough. The batter should be thick, almost scoopable, and that’s what helps hold the apples in place.
Add the apples last and keep them evenly distributed
Fold in the diced apples with a few turns of the spoon, then stop. If you keep stirring, the apples will start breaking down and the batter will tighten up. Small dice matters here because the fruit needs to soften fully during the bake instead of staying crunchy in the middle.
Bake until the center springs back under light pressure
Pour the batter into the lined loaf pan and bake until the top is deeply golden and a toothpick from the center comes out with only a few moist crumbs. If the top browns too quickly before the middle is done, lay a loose piece of foil over it for the last part of baking. Let the loaf cool a bit before glazing so the icing sits on top instead of melting straight off.
How to Adapt This for Different Apples, Dairy Swaps, or a Bigger Batch
Use Greek yogurt instead of sour cream
Plain Greek yogurt works well here, especially full-fat yogurt. The bread will be a touch less rich, but the crumb stays moist and tender. If your yogurt is very thick, loosen it with a spoonful of milk so it blends cleanly into the batter.
Choose apples that hold their shape
Granny Smith gives you a tart edge and firmer pieces, while Honeycrisp or Braeburn bring more sweetness and a softer bite. Very soft apples break down too much and make the loaf wet in the center, so firm fruit gives the best texture.
Make it dairy-free
Use a neutral plant-based butter and a thick dairy-free yogurt in place of the sour cream. The loaf will still bake up tender, though the flavor will be a little less rich and the crumb slightly lighter. Skip any thin yogurt alternative; it adds too much water and can make the center gummy.
Double it for two loaves, not one giant pan
This batter scales well, but it bakes more evenly in two loaf pans than in one oversized pan. A larger mass takes longer to set in the middle, which can dry out the edges before the center is done. Two pans give you the same crackly top and a more reliable crumb.
Storage and Reheating
- Refrigerator: Keep the loaf covered for up to 4 days. The crumb stays moist, though the glaze softens a bit after day one.
- Freezer: Freeze slices tightly wrapped for up to 2 months. Thaw at room temperature or overnight in the fridge, then glaze after thawing if you want the top to stay crisp.
- Reheating: Warm slices in the microwave for 10 to 15 seconds or in a low oven until just heated through. Long reheating dries the loaf out and melts the glaze into the bread.
Answers to the Questions Worth Asking
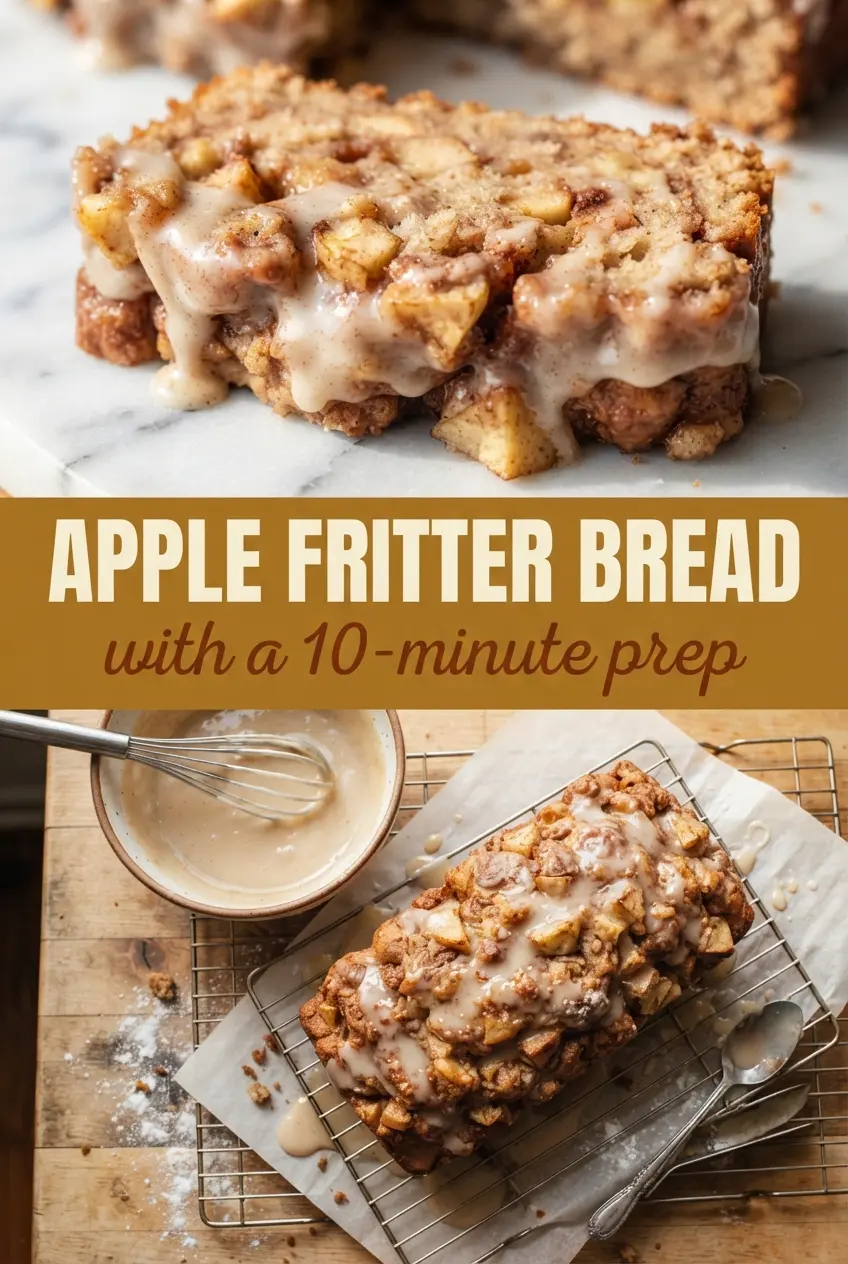
Spiced Apple Fritter Bread
Ingredients
Equipment
Method
- Preheat the oven to 350°F and line a 9x5-inch loaf pan with parchment or lightly grease it so the loaf releases easily.
- Whisk the melted butter, brown sugar, eggs, and sour cream until smooth and glossy.
- Stir in the all-purpose flour mixture with baking powder, baking soda, salt, and 2 teaspoons ground cinnamon, then fold until just combined.
- Fold in the peeled and diced apples so the pieces are evenly distributed through the thick batter.
- Pour the batter into the prepared loaf pan and bake for 55 minutes, until a toothpick in the center comes out mostly clean and the top looks golden.
- Cool the loaf slightly, about 10 minutes, so the glaze stays on top instead of melting away.
- Stir together powdered sugar, milk, and 1/2 teaspoon cinnamon until thick but pourable, then drizzle over the warm loaf for a crackling finish.