
Sweet peach and pear salsa lands in that sweet spot between bright and savory, with enough body to spoon over tacos, enough acid to keep it lively, and enough fruit to make every bite taste like you caught the produce at exactly the right moment. The peaches soften into a jammy base, the pears hold onto a little shape, and the tomatoes keep it from turning into chutney territory. It’s the kind of jarred salsa that disappears faster than you expect because it works just as well with chips as it does over pork, chicken, or a block of cream cheese.
The balance here comes from treating the fruit like part of the salsa, not a separate sweet add-in. Lemon juice keeps the peaches and pears from browning while you work, balsamic vinegar gives the mix depth instead of sharpness alone, and draining the tomatoes keeps the final texture thick enough to can safely and spoon neatly. Jalapeños bring heat without taking over, especially once the honey and fruit have had time to simmer together.
Below, I’ve included the part that matters most when you’re canning fruit salsa: how to keep it thick without cooking it down into mush, plus the ingredient swaps that still hold the whole thing together.
I was worried the peaches would break down too much, but the texture stayed spoonable and chunky after canning. The balsamic and honey give it this deep sweet-tangy thing, and it was amazing on grilled chicken the next day.
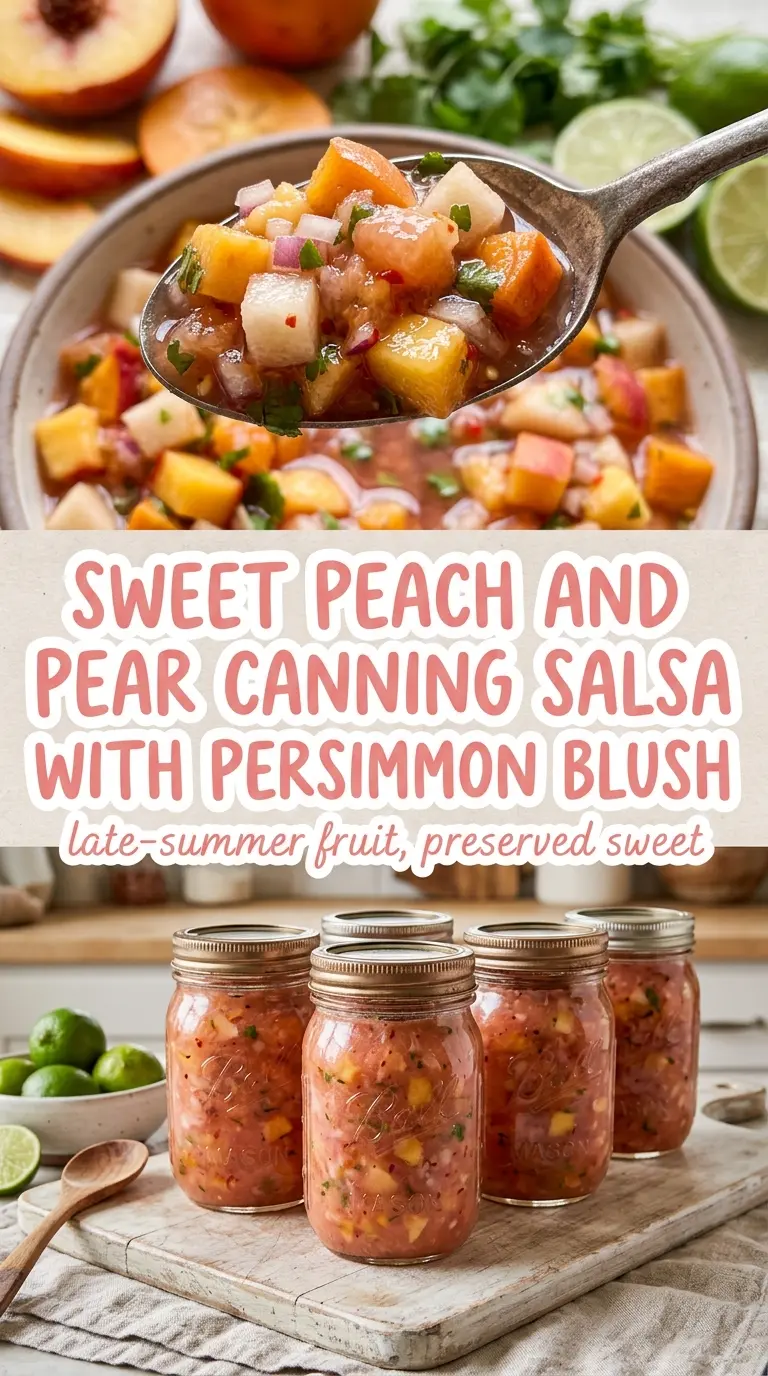
Sweet Peach and Pear Canning Salsa has that chunky, glossy texture that makes it perfect for jars, chips, and spooning over grilled meat.
The Secret to Keeping Peach and Pear Salsa Thick Enough for Canning
Fruit salsa gets watery fast when the tomatoes, peaches, and pears all release juice at once. The fix isn’t extra cooking time alone. It’s starting with drained tomatoes, then letting the mixture simmer just long enough for the fruit to soften and the liquid to reduce without cooking the peaches into paste. That gives you a salsa that still looks fresh in the jar and doesn’t separate into syrup at the top.
The other thing that matters is how you cut the fruit. Small, even pieces cook at the same rate, which keeps the pears from going mushy while the tomatoes are still firm. Jalapeños and onion need to be fine enough to spread through the salsa, but not minced into nothing. You want some bite left after the water bath.
What Each Ingredient Is Actually Doing in This Salsa
- Roma tomatoes — These give the salsa its savory backbone and keep it from reading like fruit preserves. Roma tomatoes are worth using because they’re meatier and less watery than slicers, which helps the salsa hold together after simmering and canning.
- Peaches and pears — This is the combination that makes the salsa taste layered instead of one-note sweet. Peaches melt into softness while pears keep a little structure, so the final texture stays interesting. Use ripe fruit, but not bruised fruit that will collapse too quickly.
- Honey — Honey smooths out the acidity and ties the fruit together. Local honey is great here, but it doesn’t need to be fancy. Don’t swap in a heavy syrup unless you want a noticeably different finish and a looser texture.
- Balsamic vinegar — This adds depth that plain white vinegar can’t match. It brings a dark, rounded tang that works especially well with peaches and pears. If you need to substitute, use apple cider vinegar, but expect a brighter, less mellow result.
- Lemon juice and zest — The juice prevents browning and adds the acid you need for a safe, balanced canned salsa. The zest carries the lemon flavor without making the salsa sour. Don’t skip the zest; it wakes the whole jar up.
- Jalapeños — Three peppers gives this a noticeable but manageable heat. Seed them for a milder salsa, or leave some seeds in if you want more edge. If your peppers are large, taste one first; jalapeño heat can swing a lot.
Building the Salsa Without Losing the Fruit
Prep the fruit before the pot goes on
Blanch the peaches and pears just long enough for the skins to slip off cleanly, then chop them and toss them with lemon juice. That little step keeps the fruit from turning brown while you finish the rest of the prep. If you skip the acid and leave chopped fruit sitting around, the color dulls fast and the salsa loses that fresh look in the jar.
Drain the tomatoes before they meet the fruit
Put the chopped tomatoes in a colander and let the excess liquid run off before they go into the pot. This is the difference between a thick, spoonable salsa and something that turns soupy halfway through the simmer. Once the tomatoes are drained, combine everything in a large pot and stir in the honey, balsamic vinegar, lemon zest, and mint.
Cook just until the fruit softens and the liquid tightens
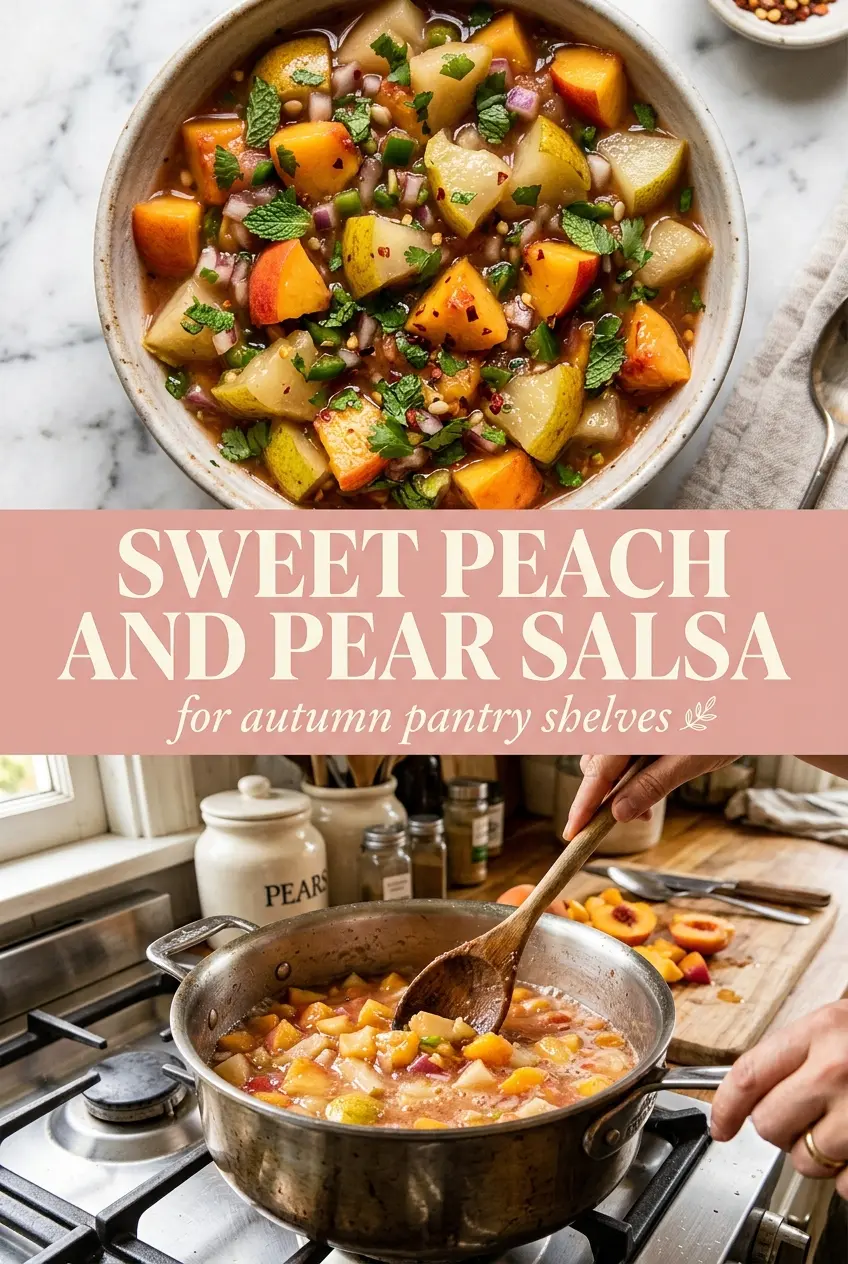
Bring the mixture to a steady simmer and stir now and then so nothing sticks on the bottom. You’re looking for the fruit to soften and the juices to thicken slightly, not for the peaches to dissolve. Pull it off the heat when the mixture looks glossy and a little loose, because it will continue to thicken as it cools and again after canning.
Finish with cilantro and jar while hot
Stir in the cilantro at the end so it keeps its fresh green flavor. Then ladle the salsa into sterilized jars while it’s still hot and proceed with your water bath canning process. If the salsa is bubbling too hard in the pot when you jar it, let it settle for a minute first so you can pack the jars evenly without trapping too much air.
Three Ways to Make This Salsa Fit What You’ve Got
Make It Milder for Kids or Heat-Sensitive Eaters
Use just one jalapeño and remove every seed and white rib. You’ll still get the green pepper flavor without the sharp burn, and the fruit will read louder in the finished salsa. If you want almost no heat, swap one jalapeño for a chopped green bell pepper.
Use Apple Cider Vinegar Instead of Balsamic
Apple cider vinegar works if that’s what you have, and it keeps the acidity where it needs to be for canning. The salsa will taste brighter and less rich, with less of that dark, rounded edge balsamic brings. It’s a good swap, just not a neutral one.
Make It Dairy-Free, Gluten-Free, and Vegetarian-Friendly by Default
This recipe already lands naturally in all three buckets as written, which is part of why it’s such an easy pantry project. Just serve it with gluten-free chips, over grilled vegetables, or with roasted chicken if you want a meal instead of a snack. The salsa itself doesn’t need adjustment.
Swap Mint for Extra Cilantro if You Don’t Love Mint
The mint is subtle, but if it’s not your thing, use all cilantro instead. The salsa will taste more classic and a little less layered, but it will still be balanced and bright. Keep the total herb amount the same so the texture doesn’t turn watery.
Storage and Reheating
- Refrigerator: Once opened, keep refrigerated and use within about 1 to 2 weeks. The fruit will soften a little more each day, but the flavor stays good.
- Freezer: This salsa is better canned than frozen. Freezing changes the texture and makes the fruit soft and watery when thawed.
- Reheating: If you want it warm for serving over meat or rice, heat only the portion you need over low heat. High heat can break down the fruit too far and make the salsa loose.
The Things That Trip People Up With This Salsa
Sweet Peach and Pear Canning Salsa
Ingredients
Equipment
Method
- Blanch the peaches and pears in boiling water for 30 seconds, then transfer to cold water and slip off the skins. Look for the fruit skins to loosen and peel easily after chilling.
- Chop and pit the peaches and pears, tossing them in a bowl with lemon juice to prevent browning. Aim for even bite-size pieces so the salsa thickens uniformly.
- Chop the tomatoes and place them in a colander to drain excess liquid. The mix should look less watery before it goes into the pot.
- Combine the drained tomatoes, peaches, pears, bell pepper, red onion, and jalapeños in a large pot. Stir once to evenly distribute the fruit and vegetables.
- Stir in the honey, lemon zest, balsamic vinegar, and mint, then bring to a simmer, stirring occasionally. Keep it at a steady bubbling simmer so the fruit softens and the mixture starts to thicken.
- Cook until the fruit softens and the mixture thickens slightly, then stir in the cilantro. The salsa should cling lightly to a spoon.
- Ladle hot into sterilized jars for water bath canning. Leave proper headspace and use a visual check for sealed lids after the bath.